Spring is in the air, and what better way to welcome the new season than with some fun and easy spring craft projects?
Us mums know it can be a challenge to keep children entertained and engaged, and off of screens. This is why we’ve come up with some fun crafts, which can be adapted for most ages, and are a great way to keep little ones occupied.
My favourite kinds of crafts are those which can be kept as a memory, and that can be done with things you generally find around the house, making use of all sorts of supplies. With these simple ideas, you’ll have your little ones happily creating easy spring crafts that are super sweet.
So gather your supplies using the shopping lists provided and get ready to make some memories with these easy spring craft projects!
Printed cloth napkins
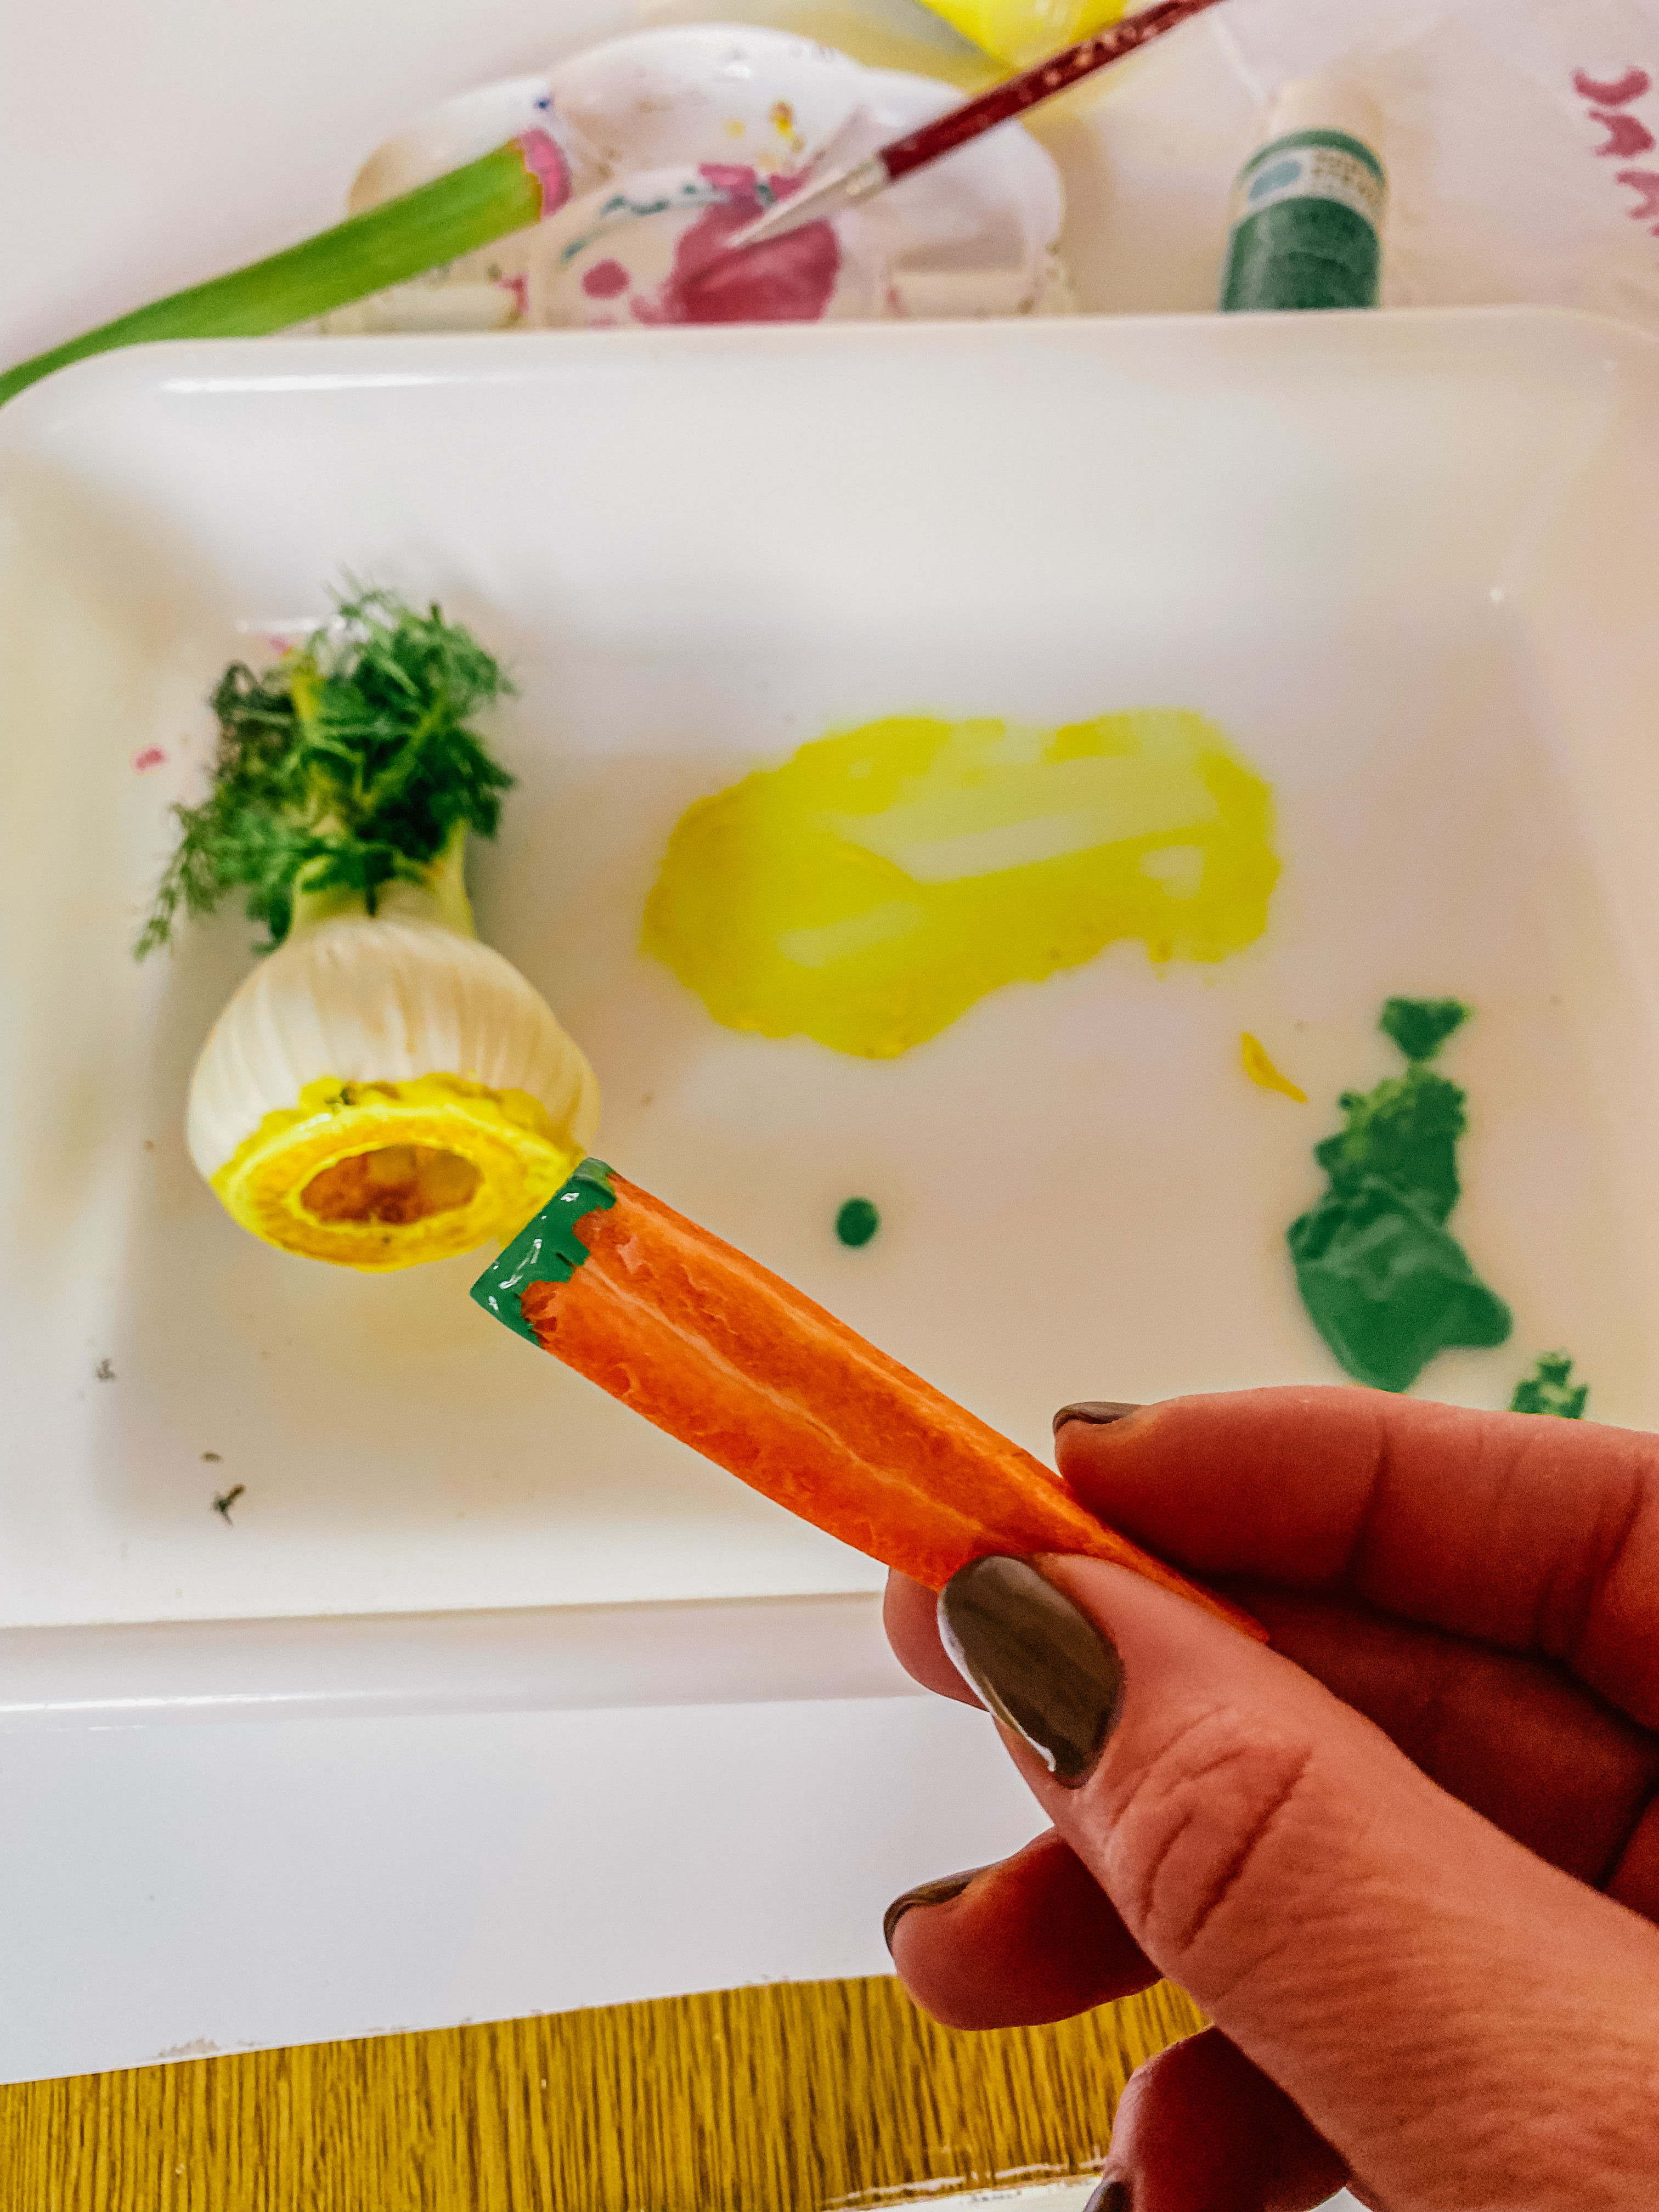
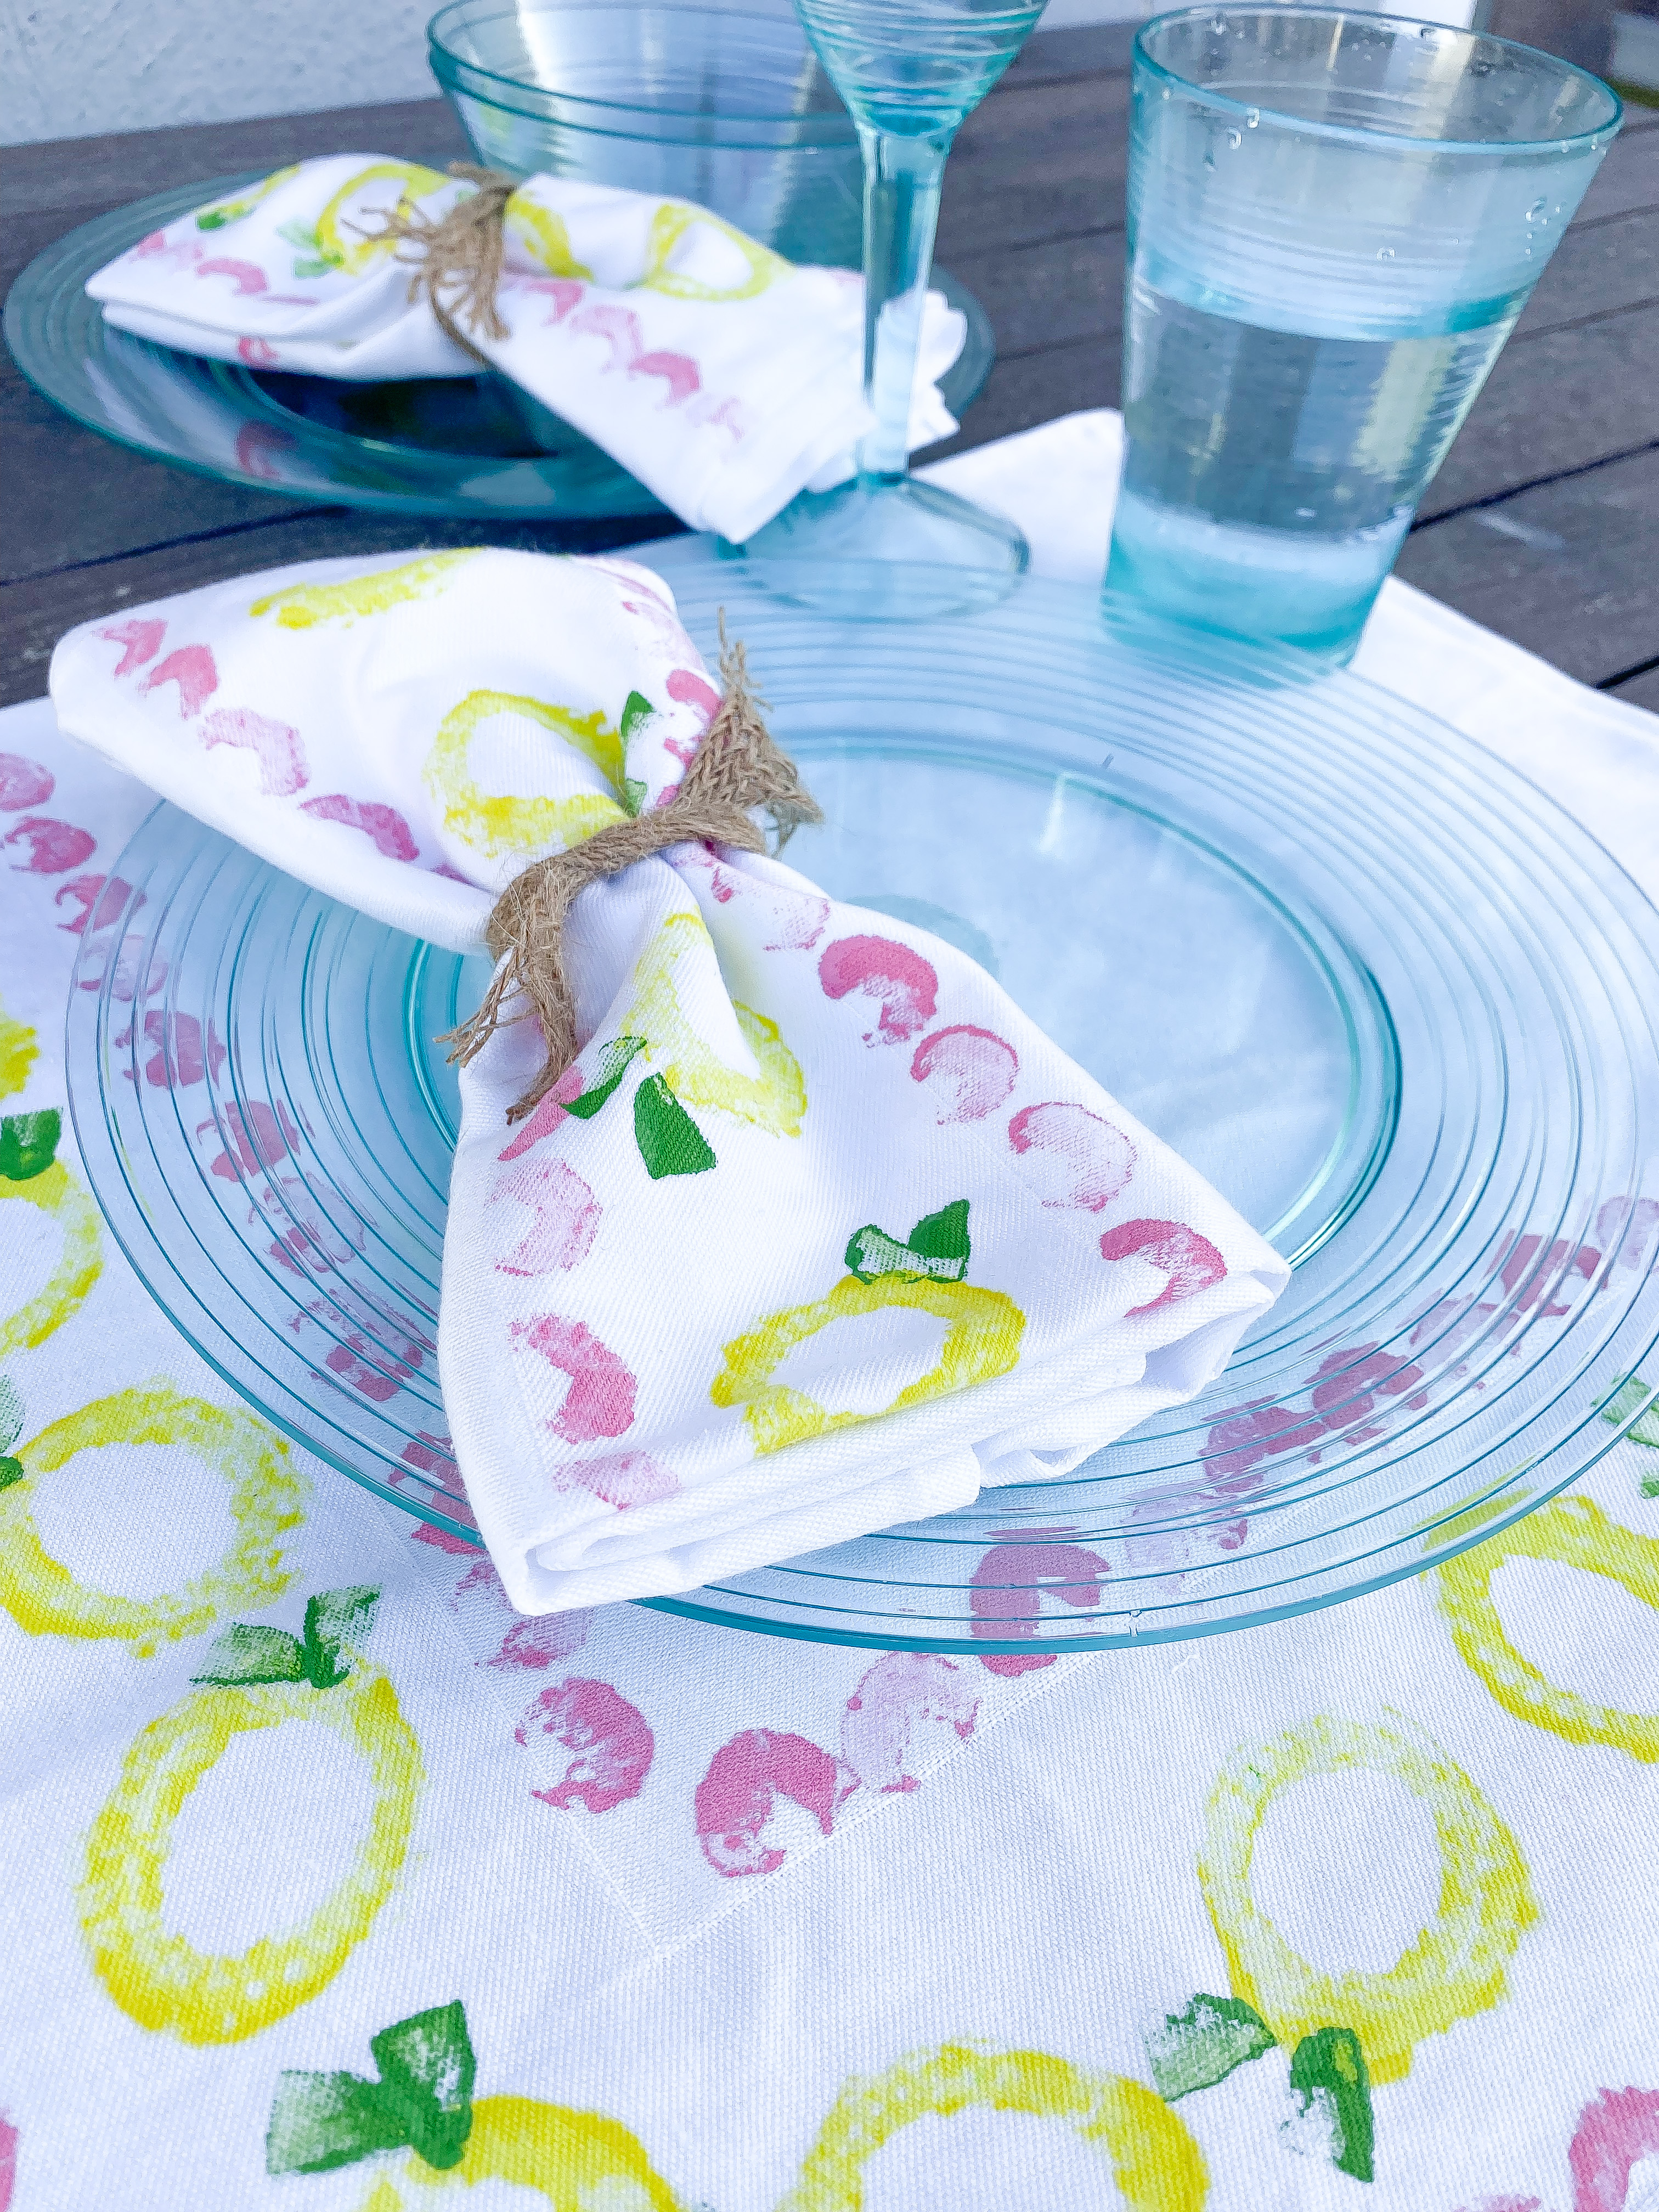
For our first spring craft project, we’re making printed cloth napkins. If you’re planning a Easter lunch at home, this is a sweet task for your little ones to prepare and show off on the big day!
Your shopping list:
Plain cloth napkin/fabric that can be used as napkins
Acrylic paint
Different fruit/veg to be used for stamping
Paint brush
Paint palette
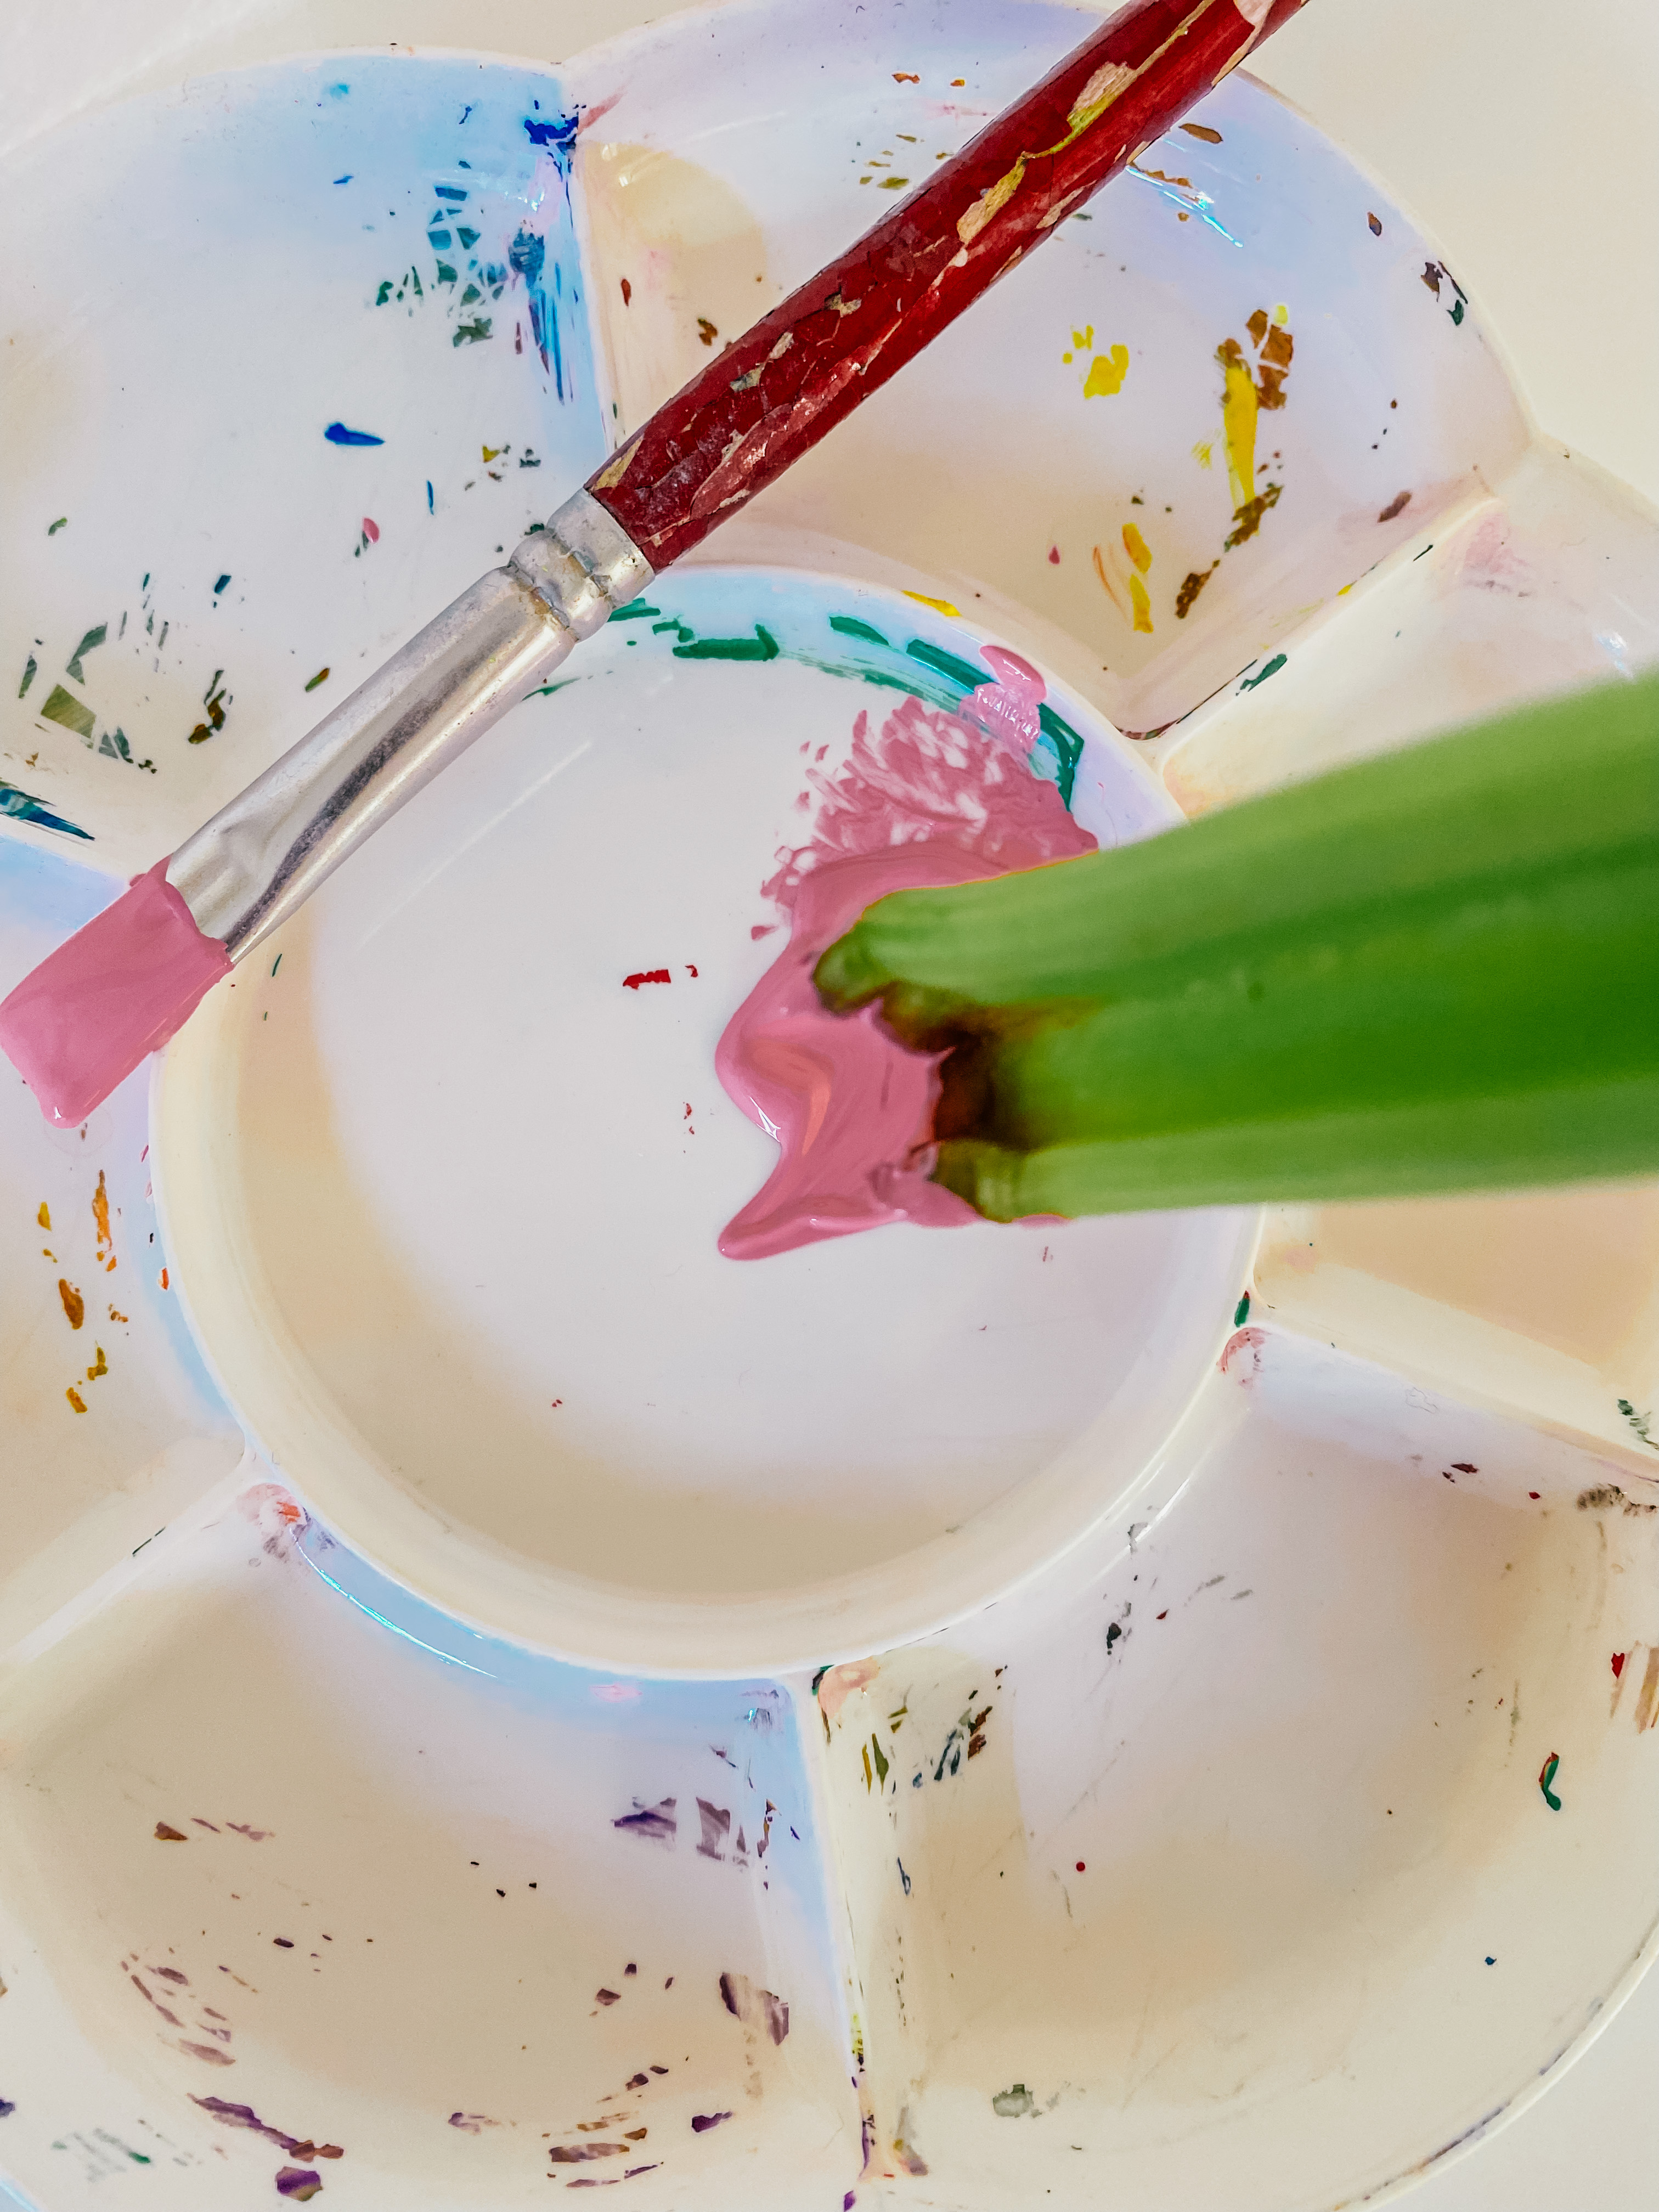
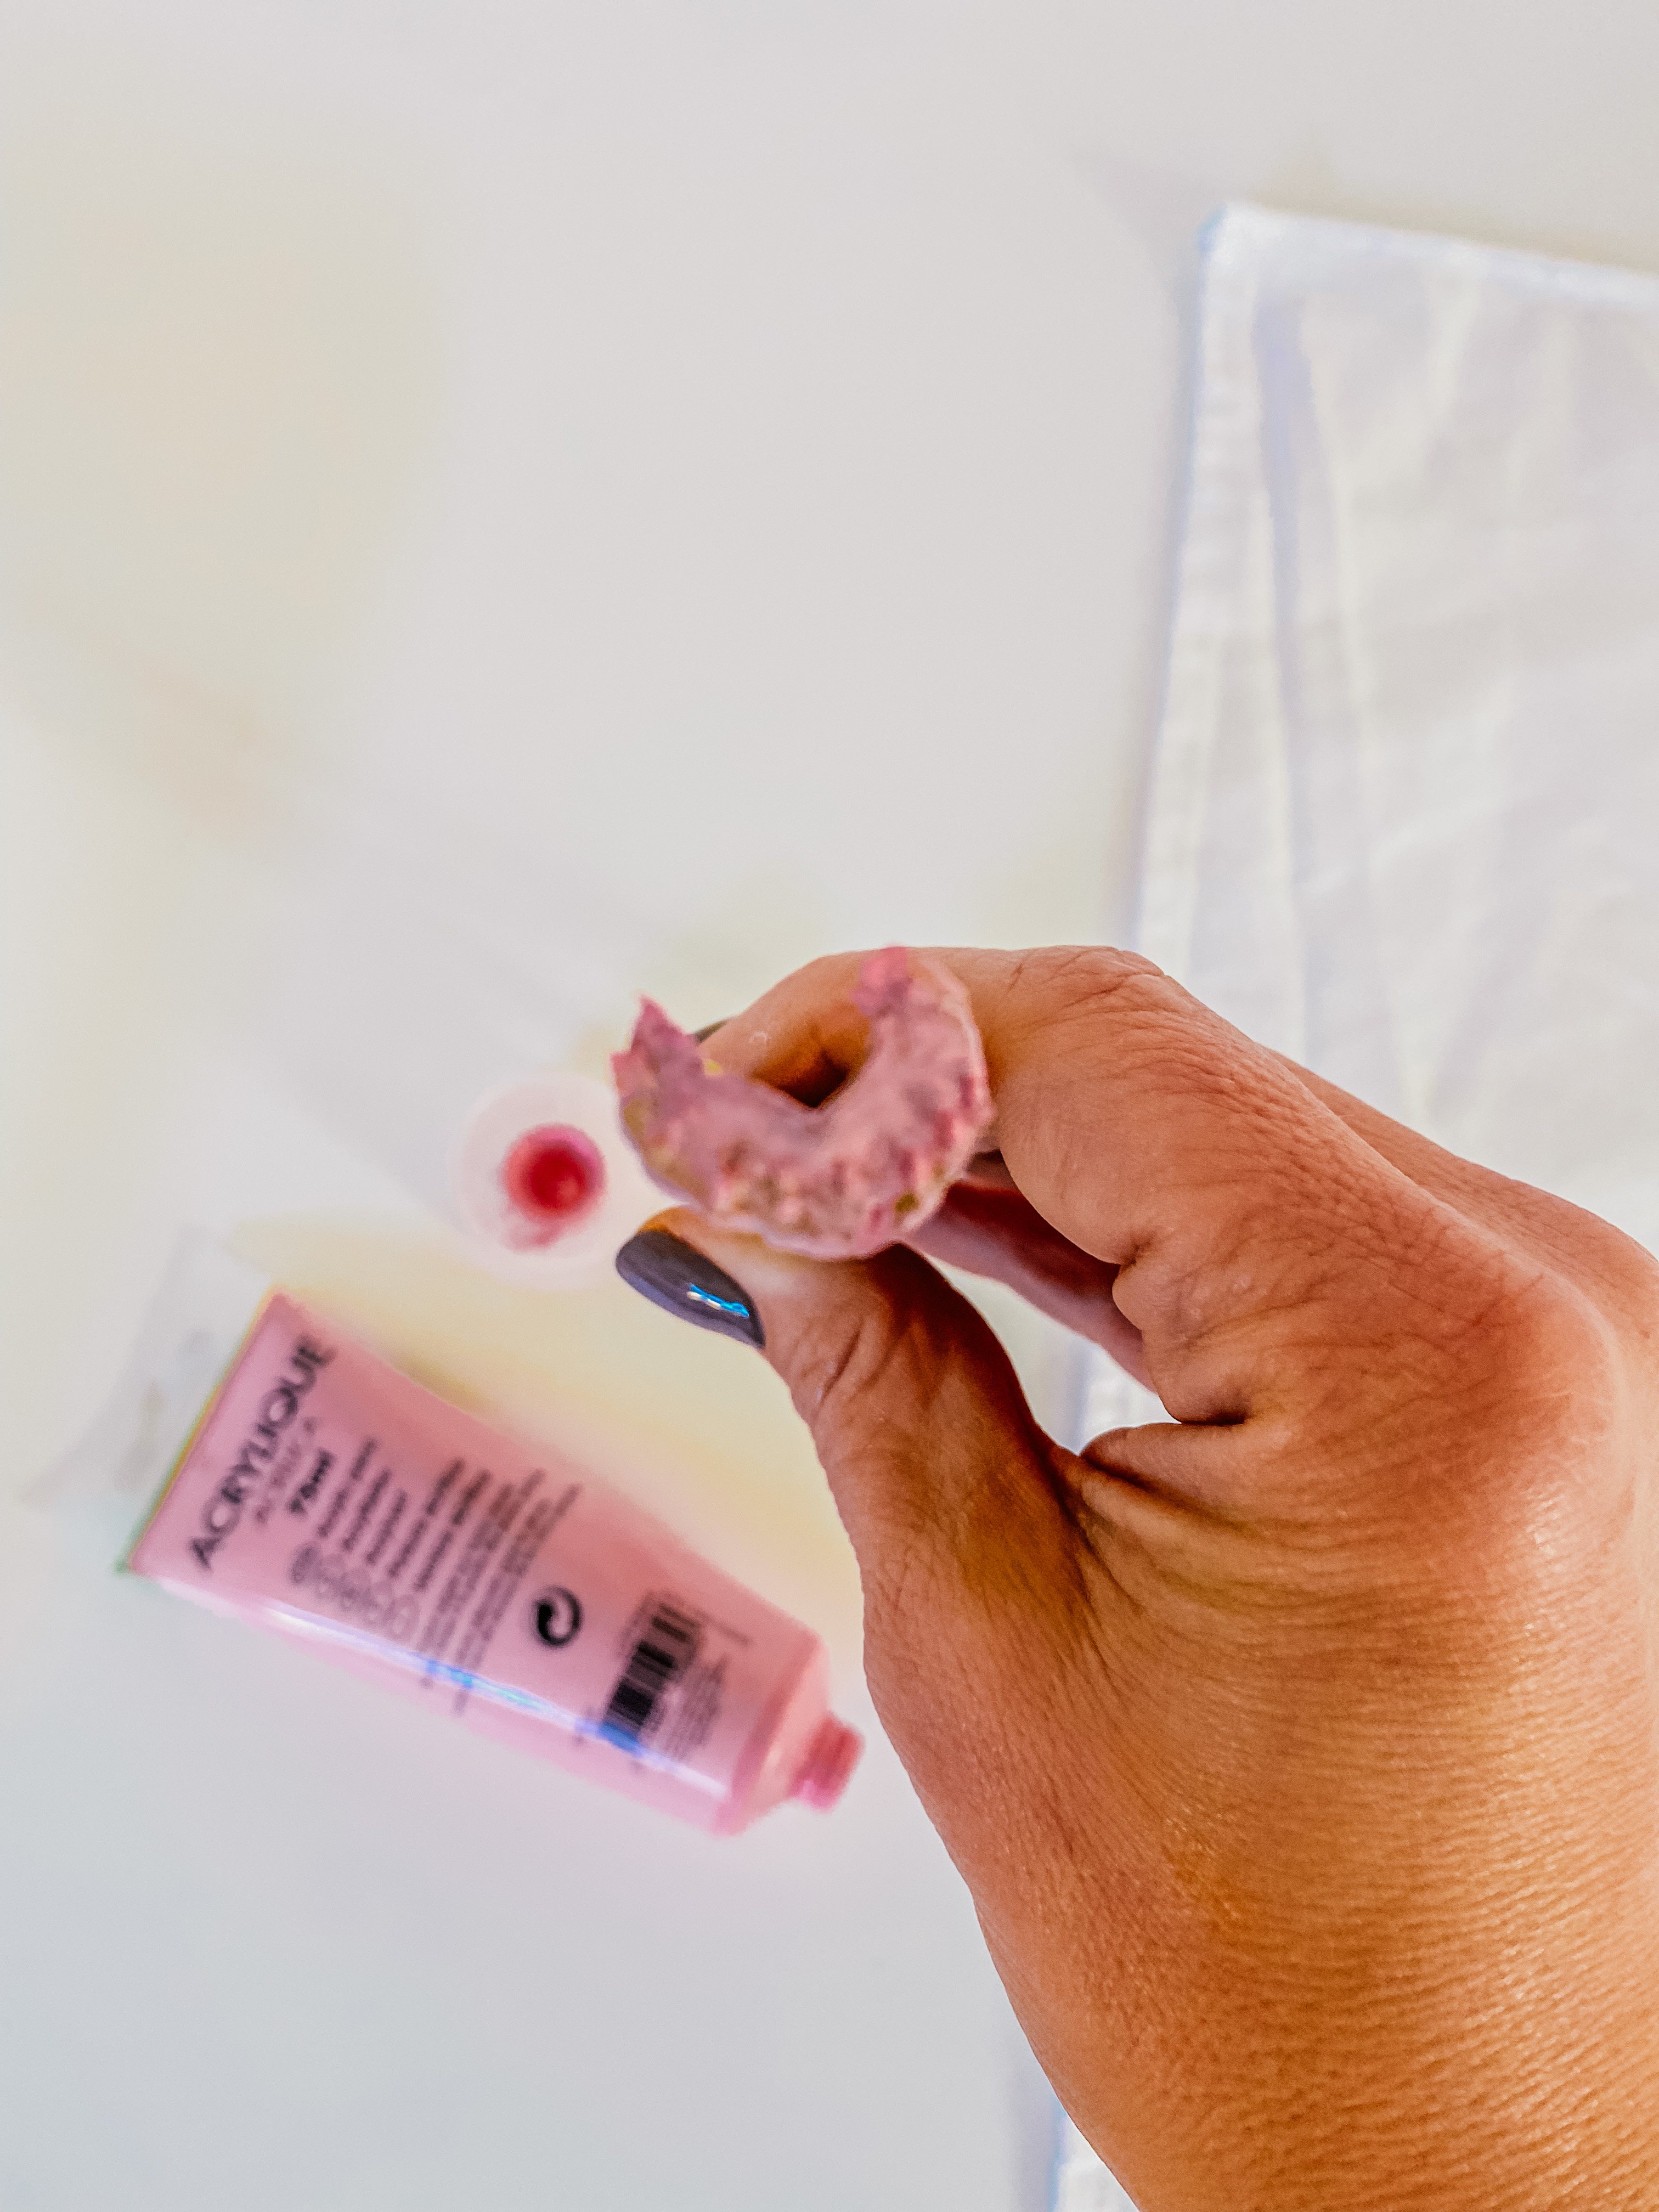
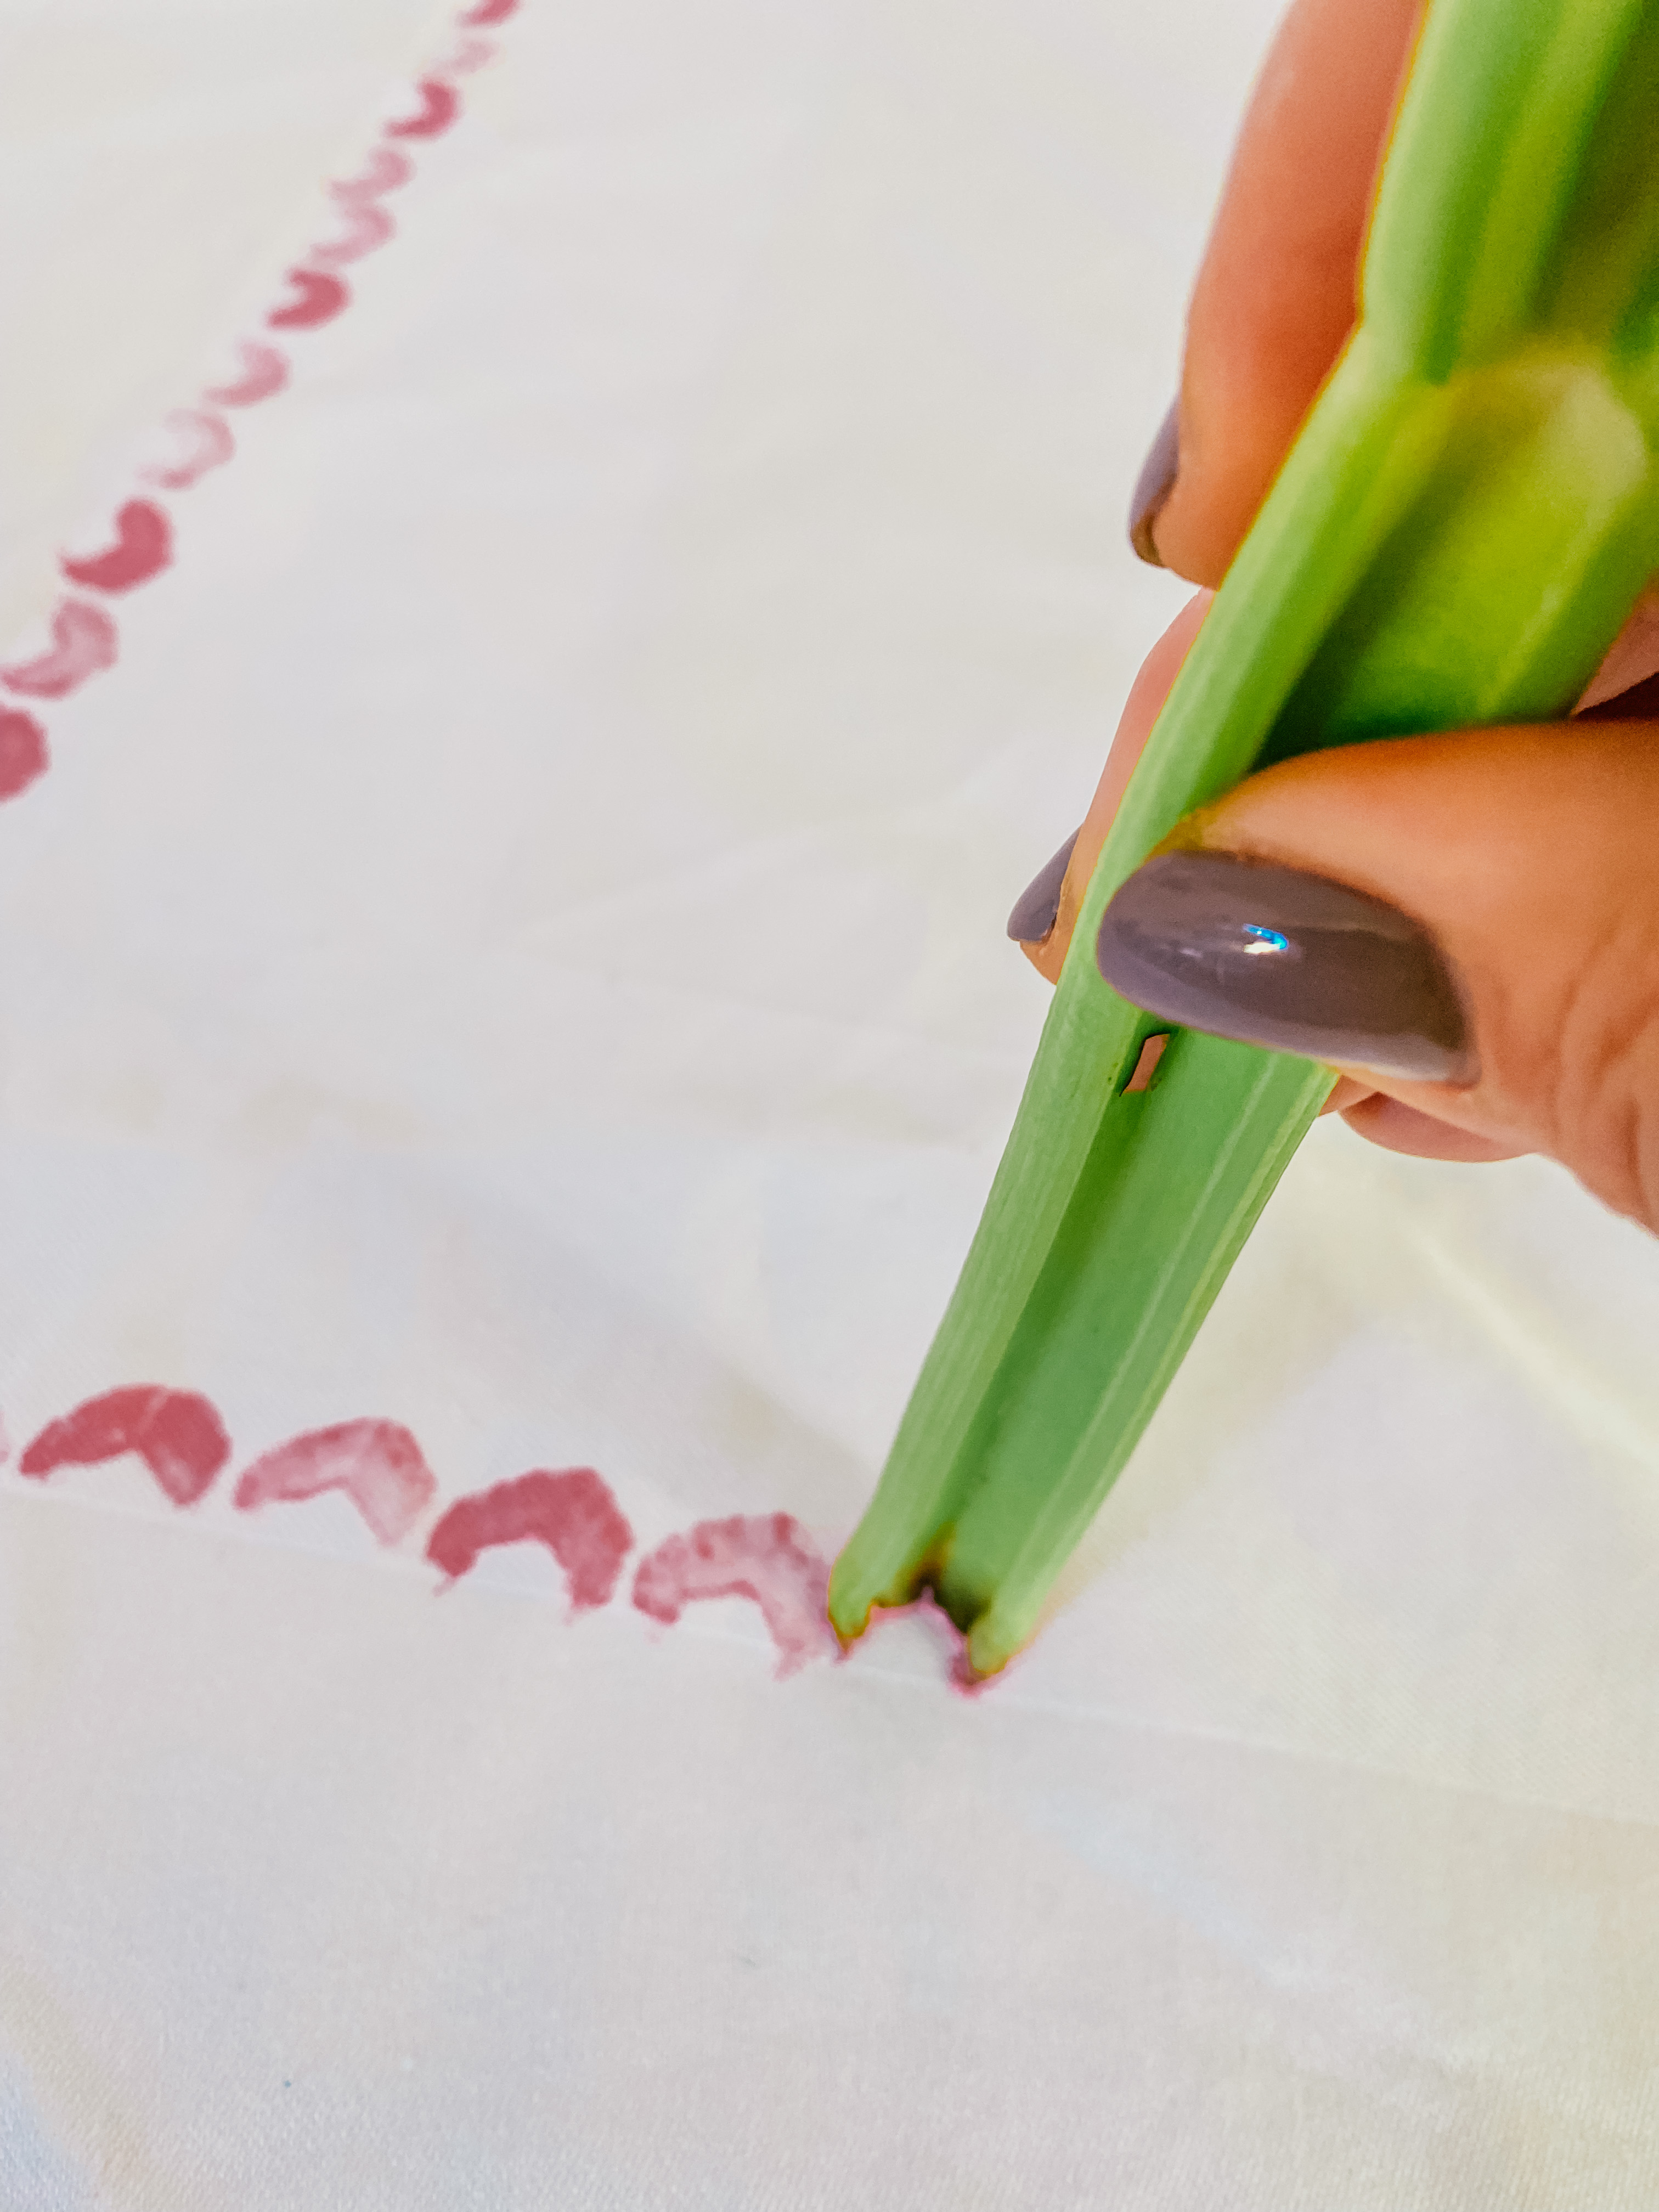
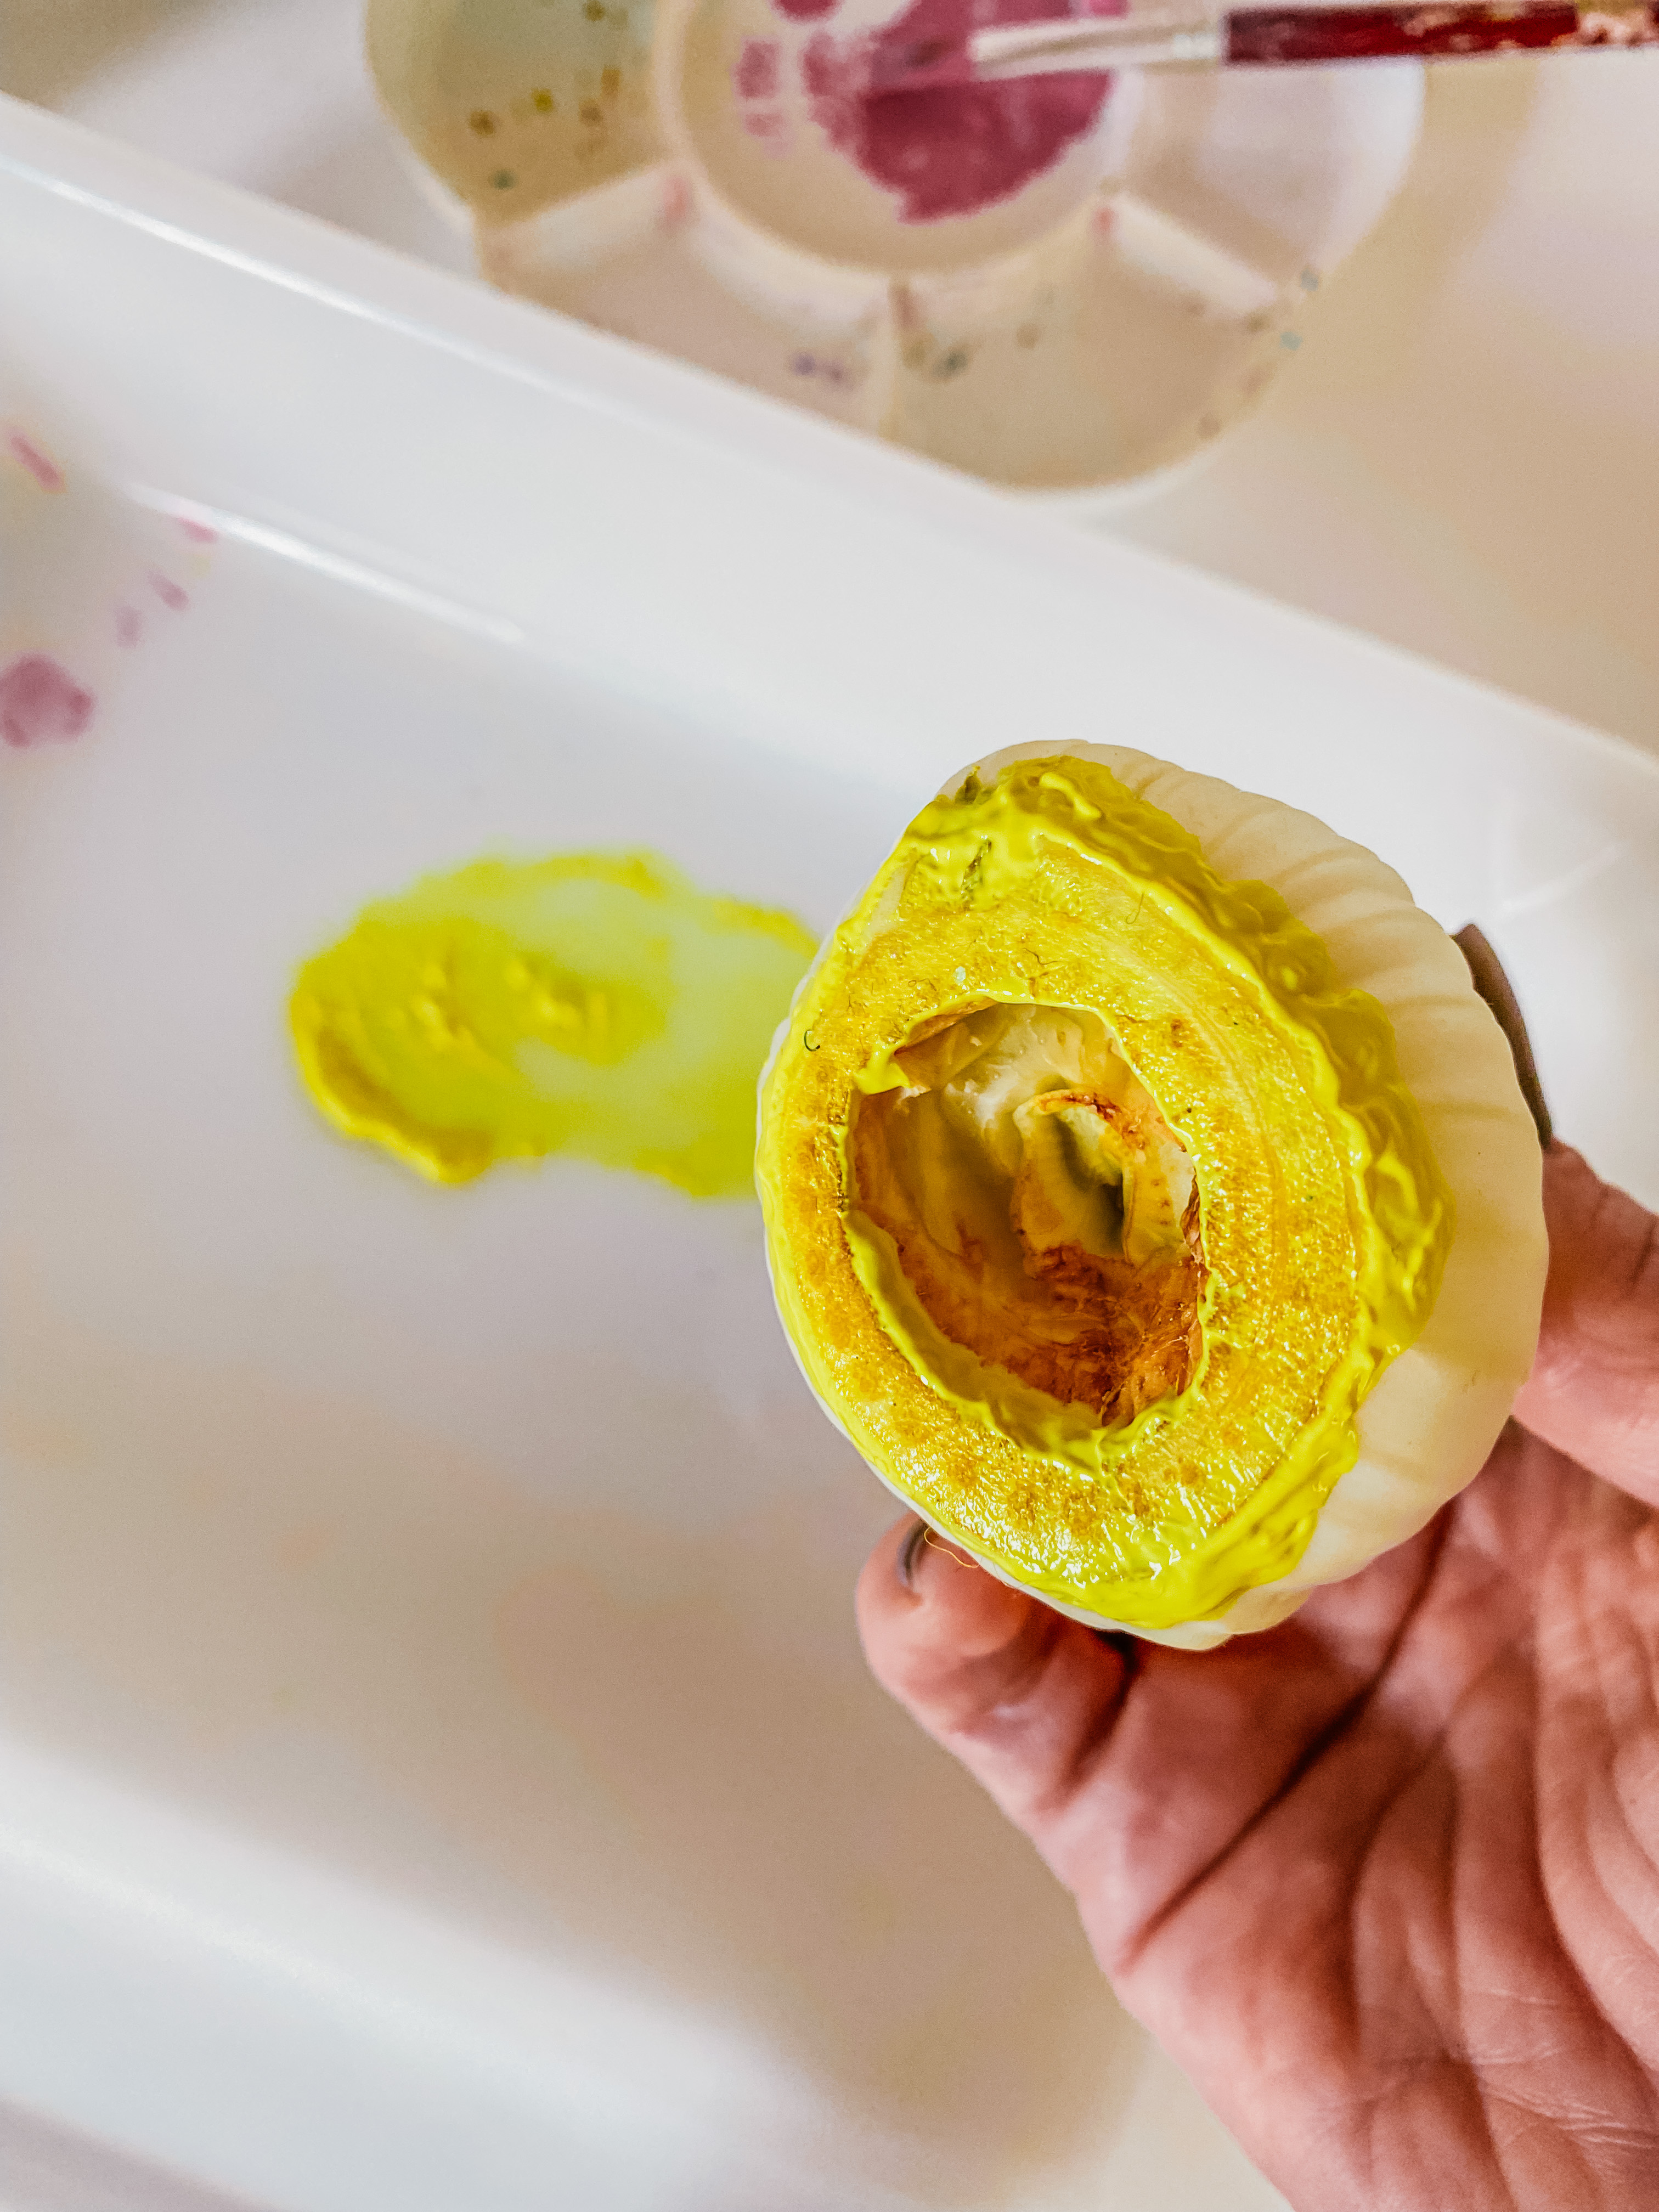
INSTRUCTIONS
- Wash and clean the different fruit or veg that you’ll be using.
- Prepare the cloth and lay it onto a flat surface. It’s a good idea to put newspaper or scrap paper underneath as the paint can seep through.
- Pour out some paint onto your palette and dip the vegetable/fruit end into the paint and then knot the cloth. Ideally think of the pattern that you want on the cloth and stamp away – dipping the cutting into the paint and then stamping the cloth.
- Lay the stamped cloth aside to dry.
Bean art
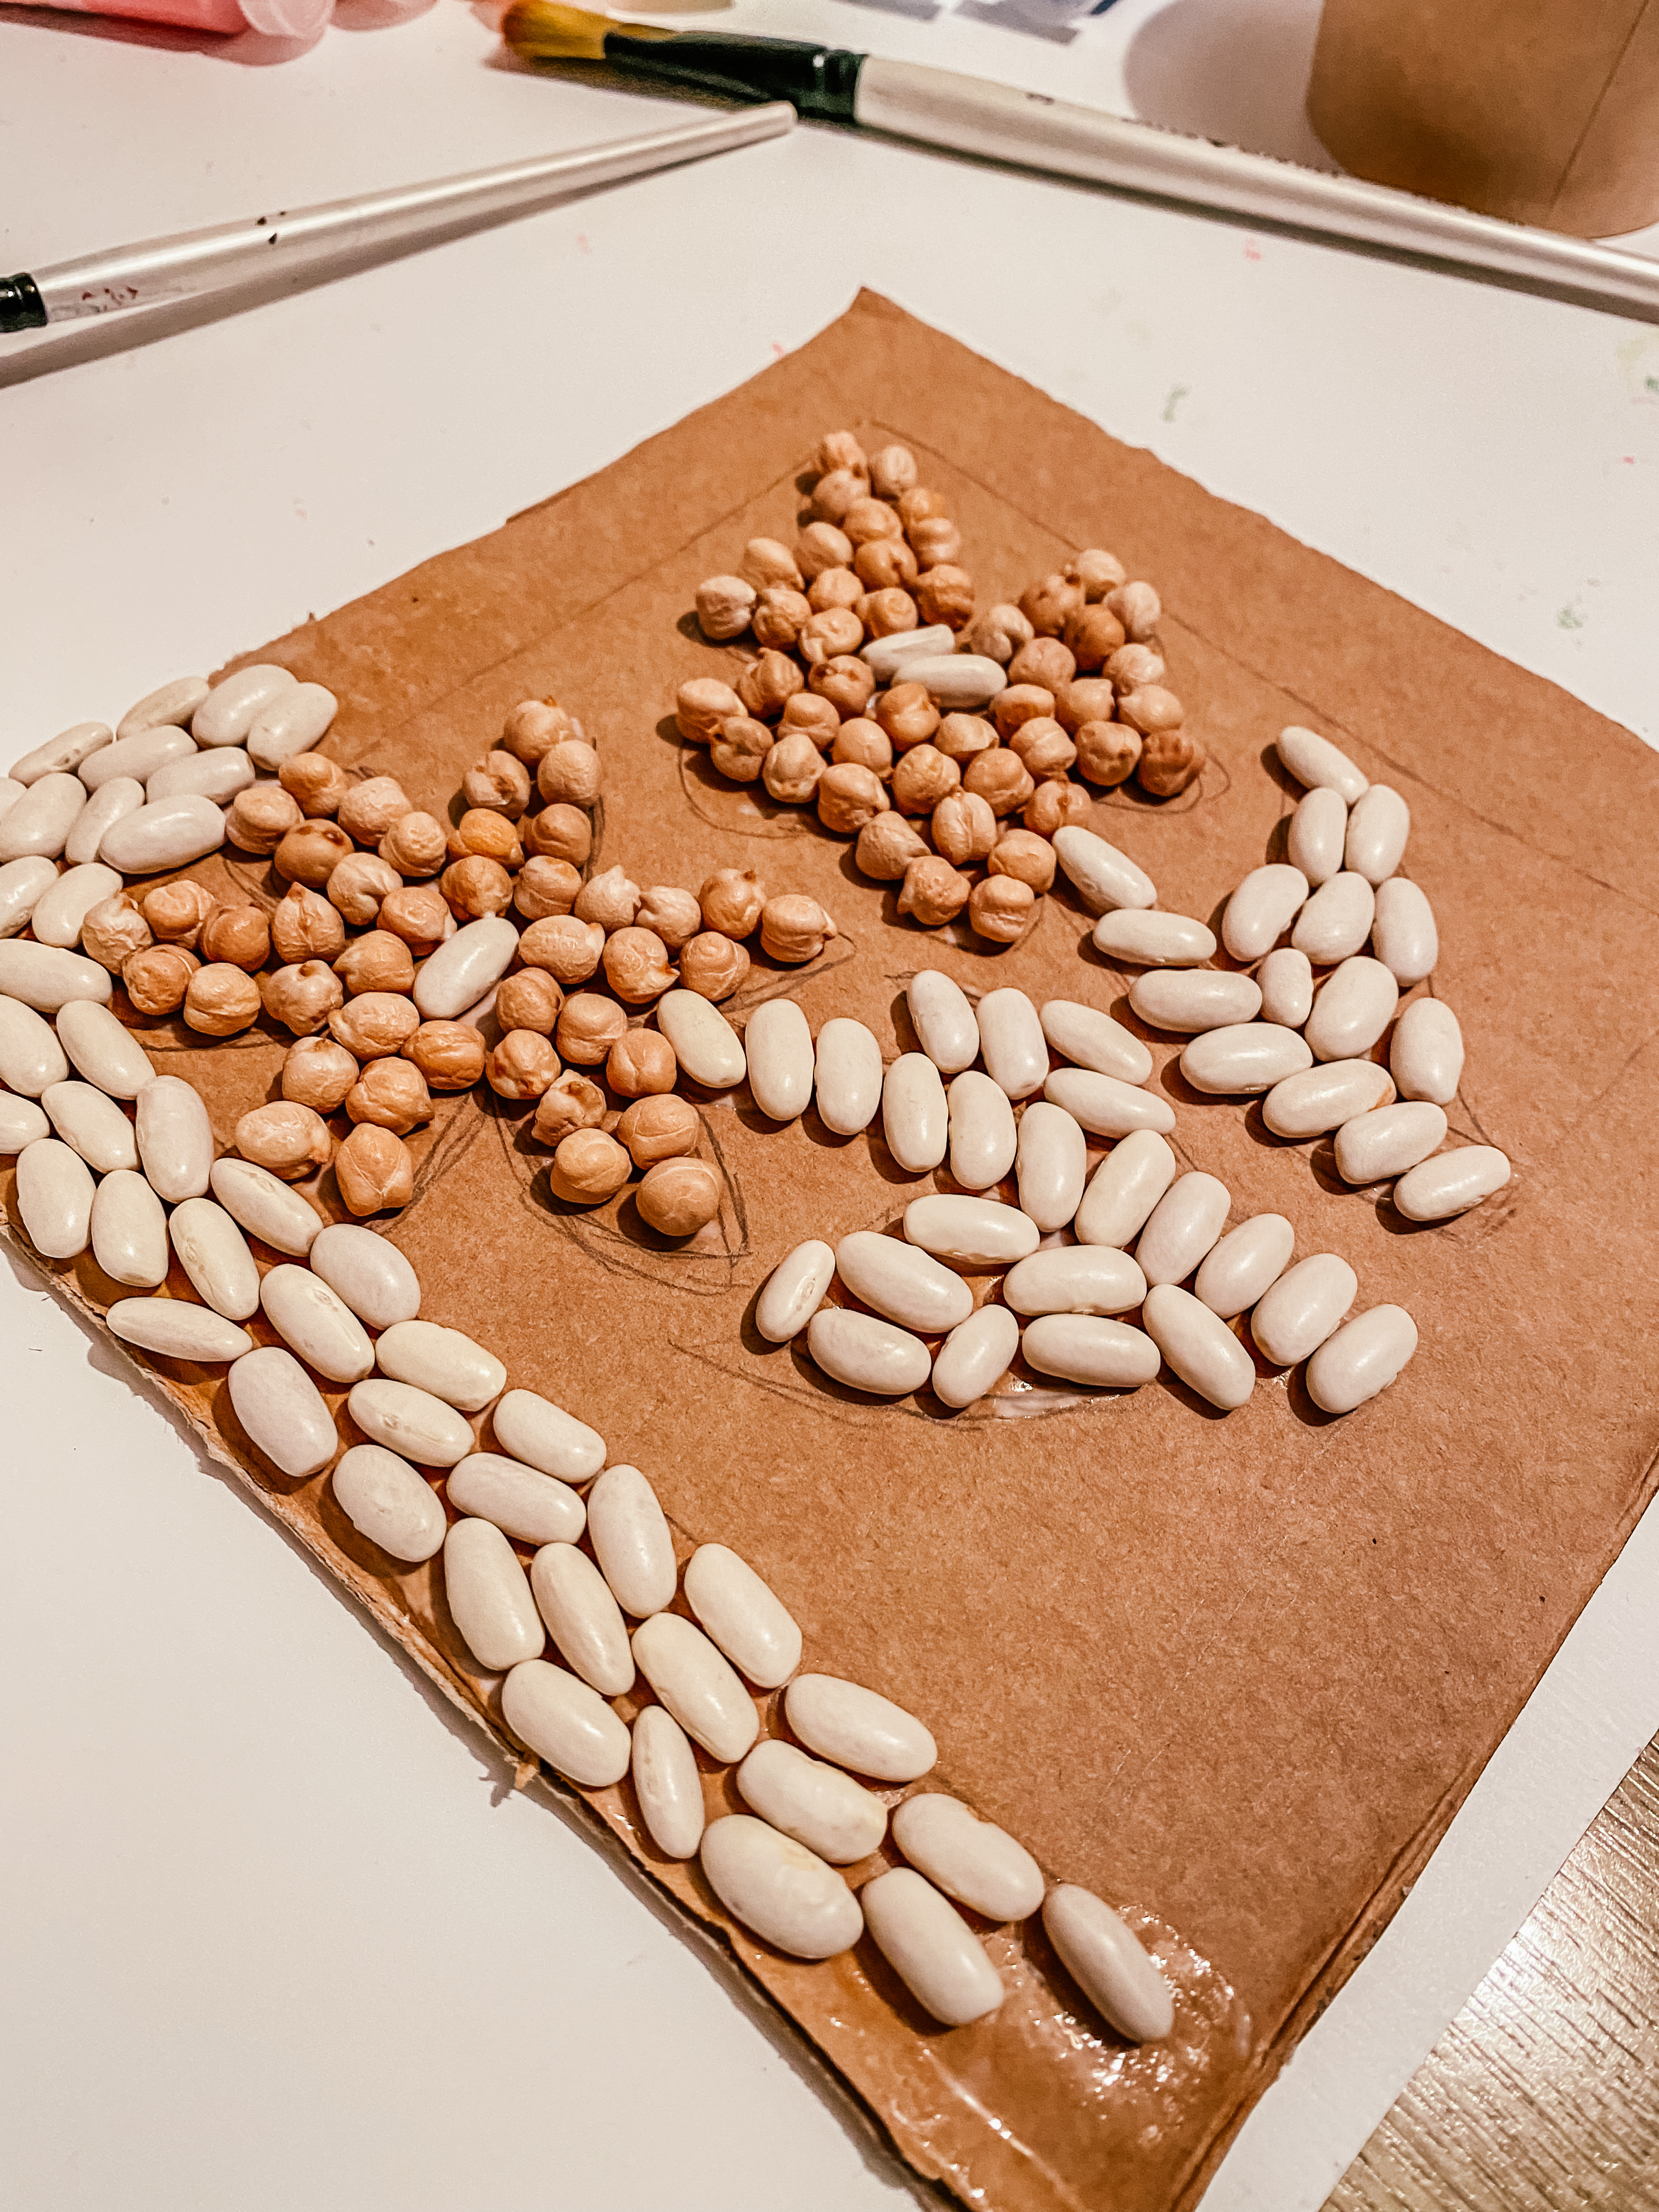
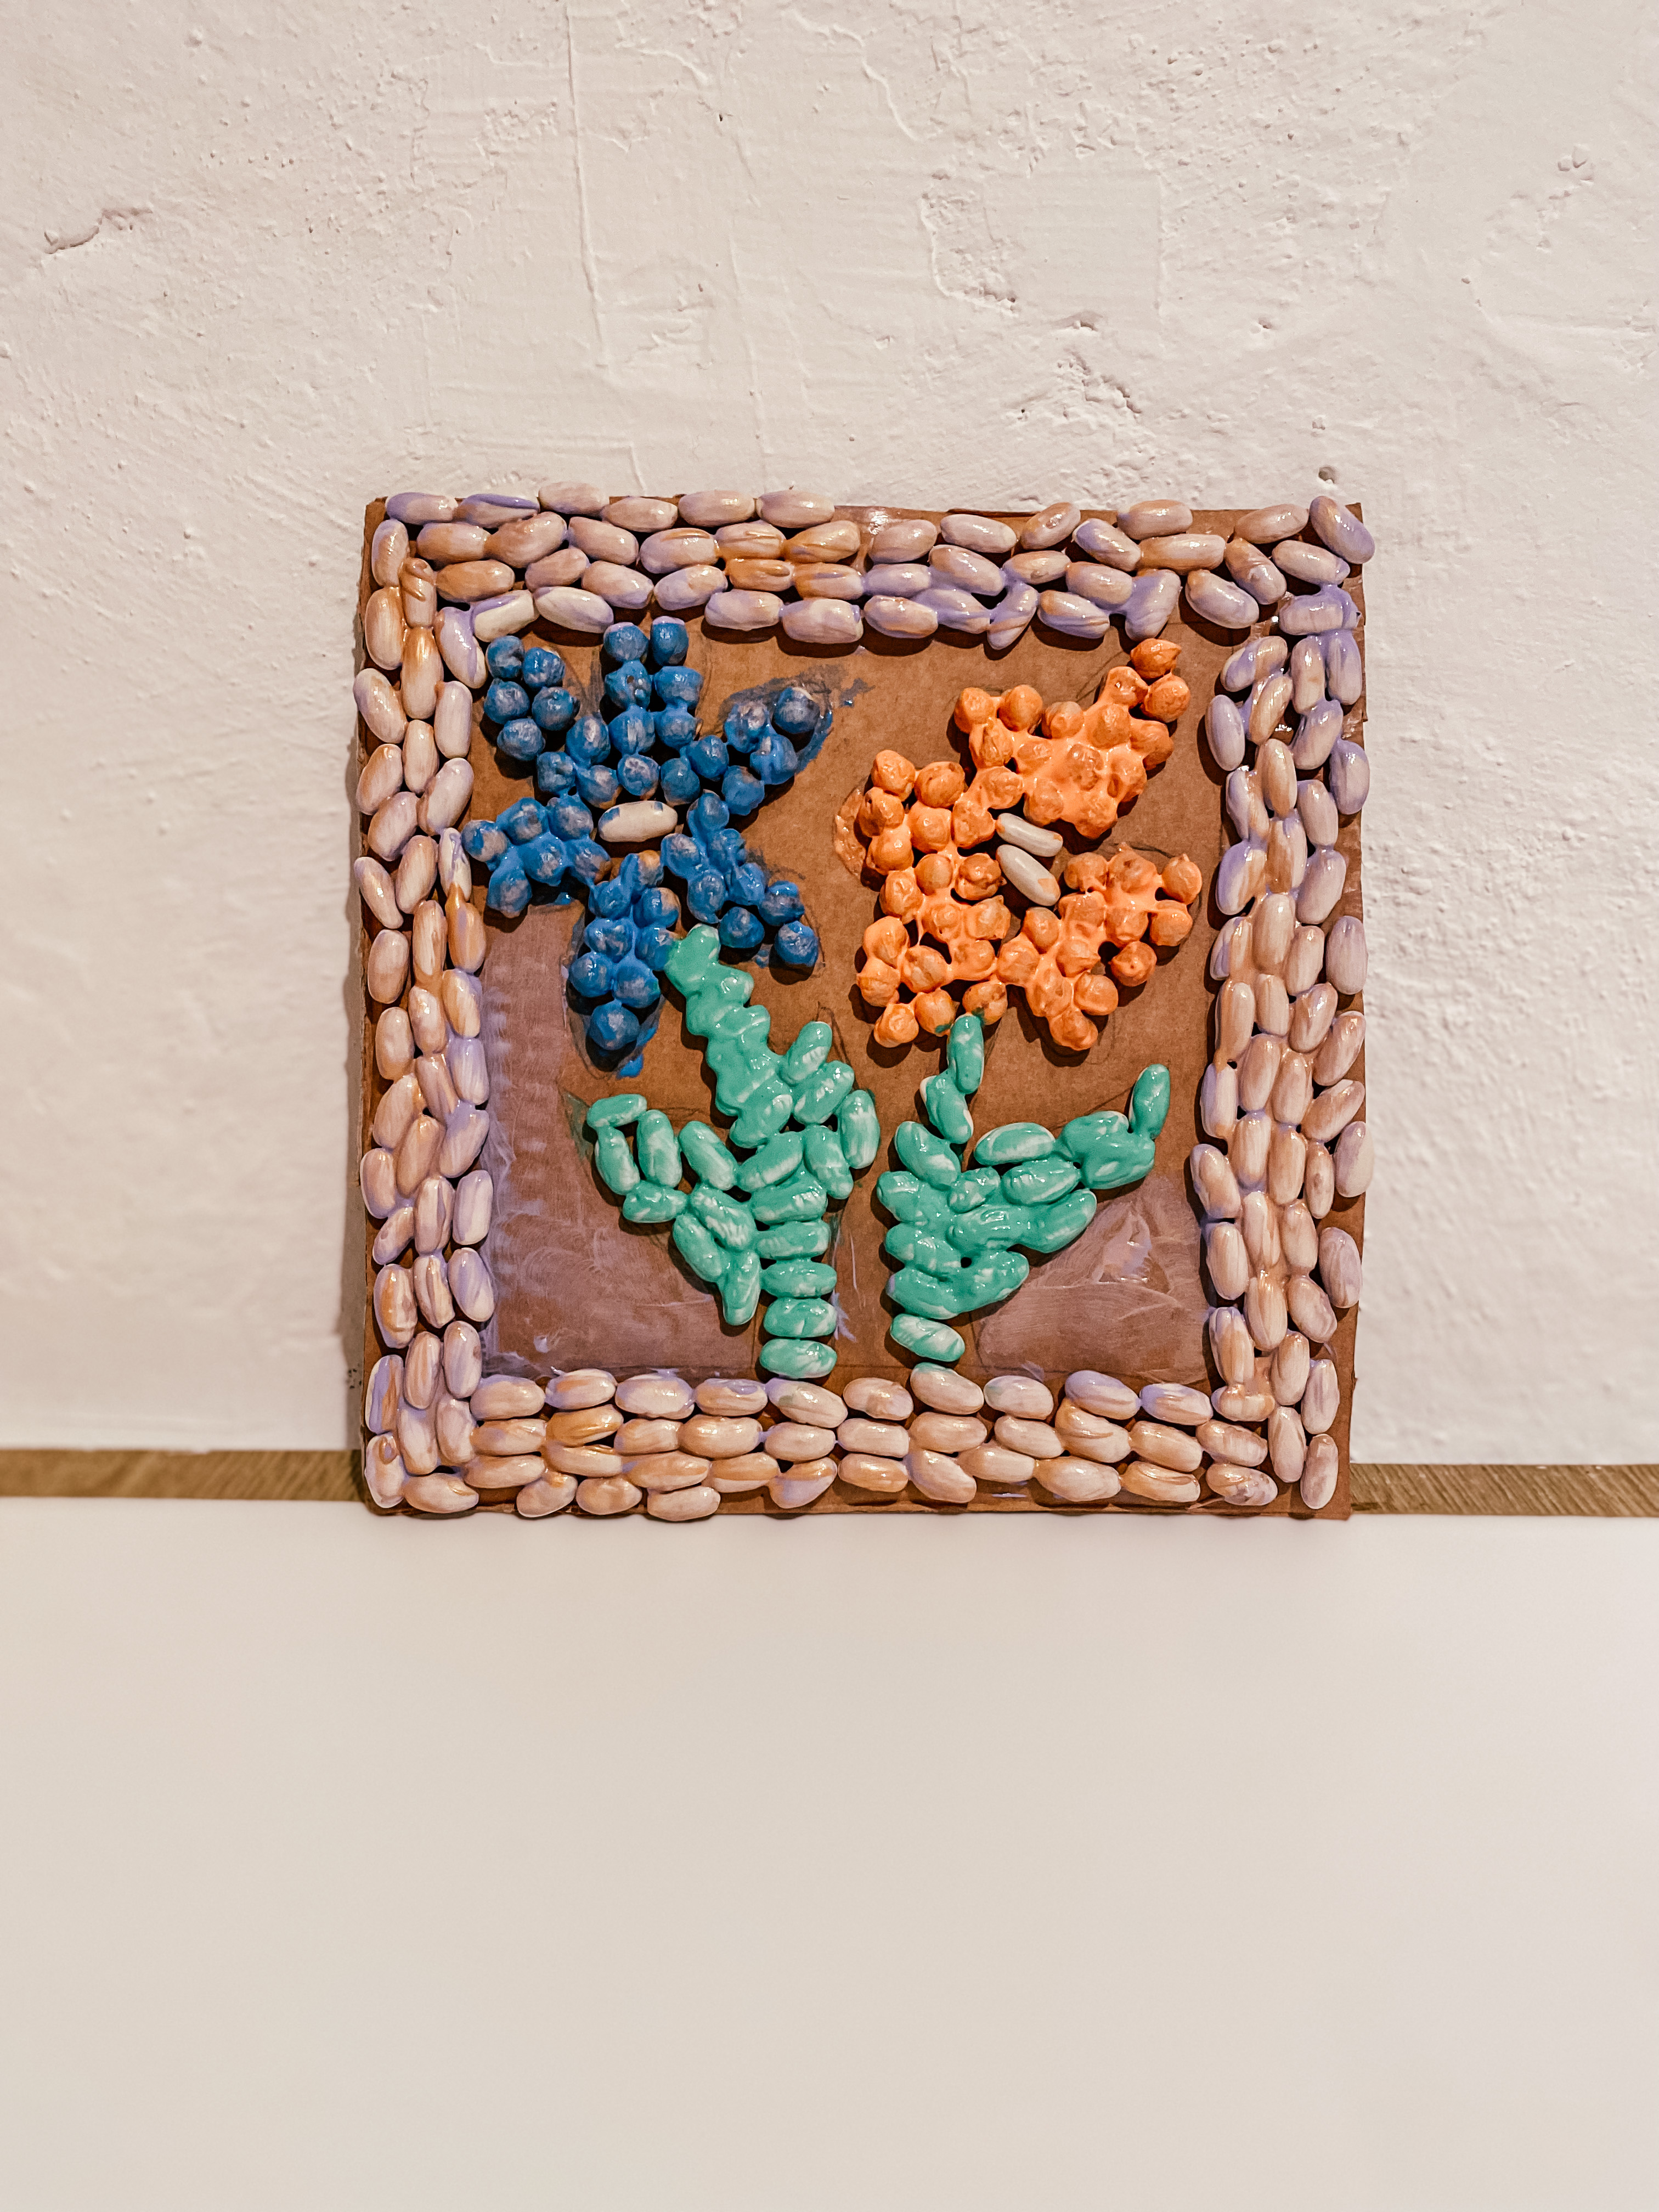
Spring craft project number 2: a sweet frame to display in any room, or make as a gift. We are making a spring-themed floral design here, but feel free to go to town and get super creative here!
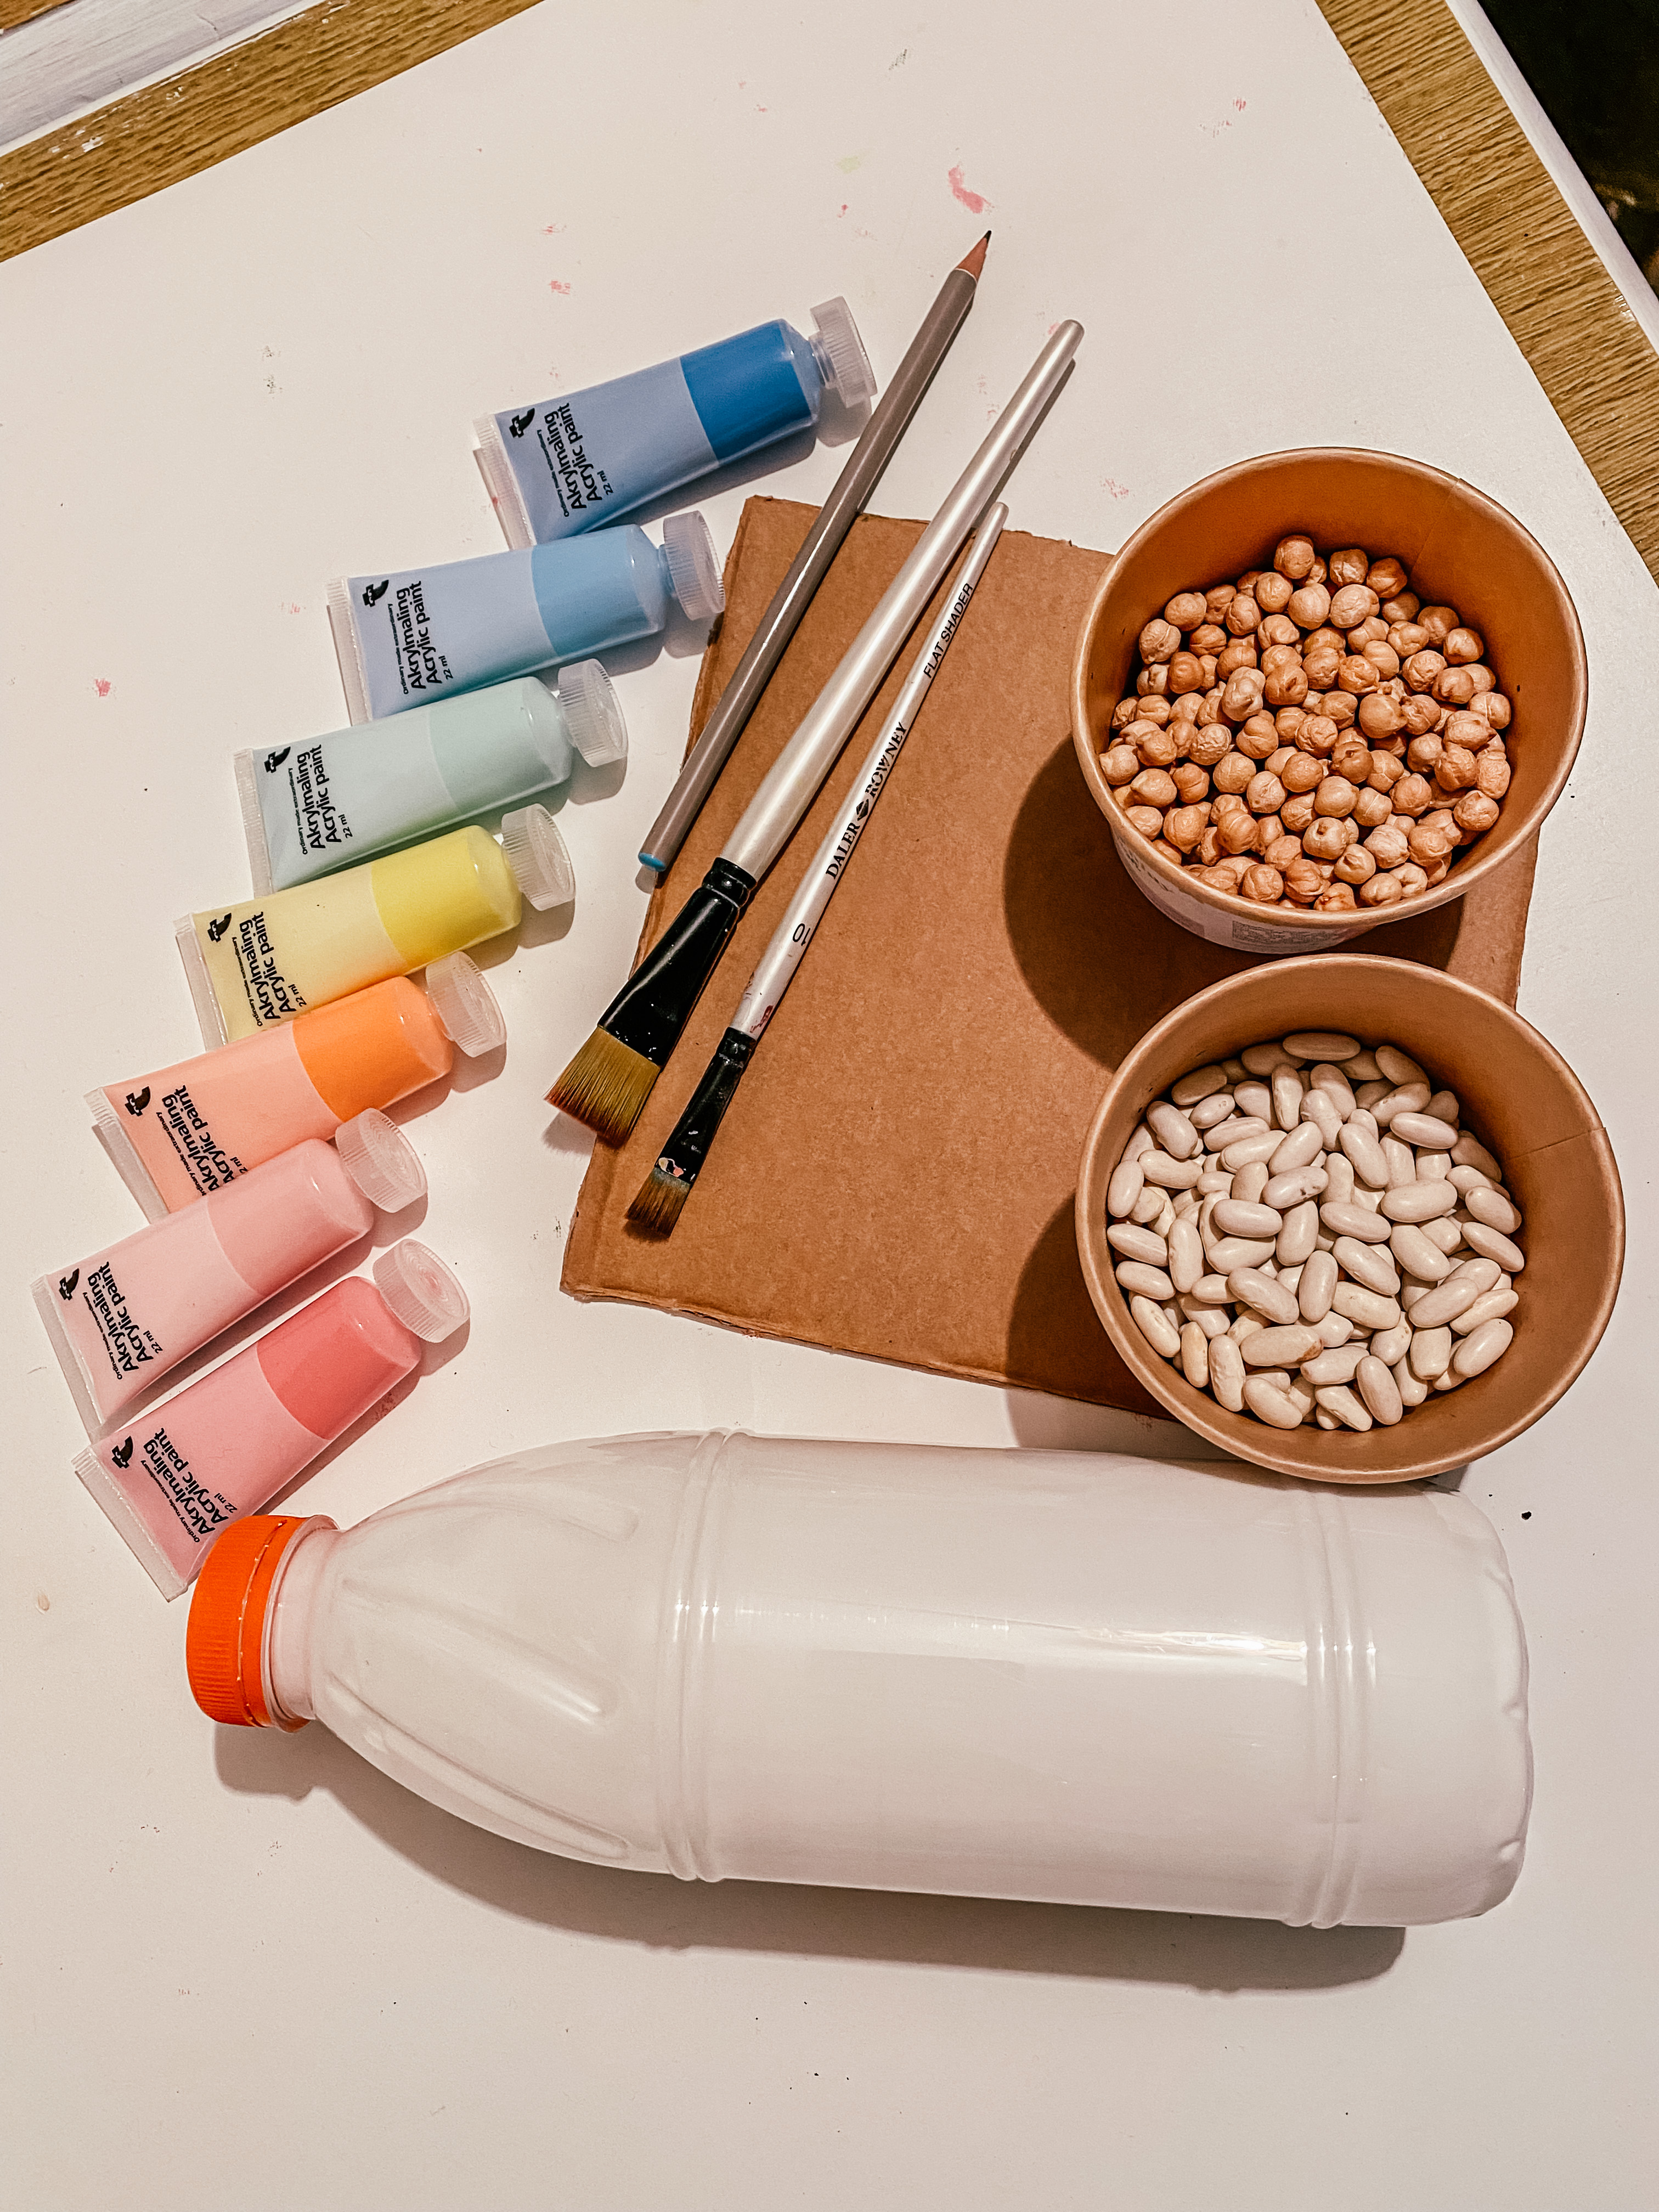
Your shopping list:
Scrap cardboard
White craft glue
Pencil
Dried beans (various sizes and shapes)
Acrylic Craft Paint
Paintbrushes
INSTRUCTIONS
- Cut your scrap cardboard down to whatever size you like.
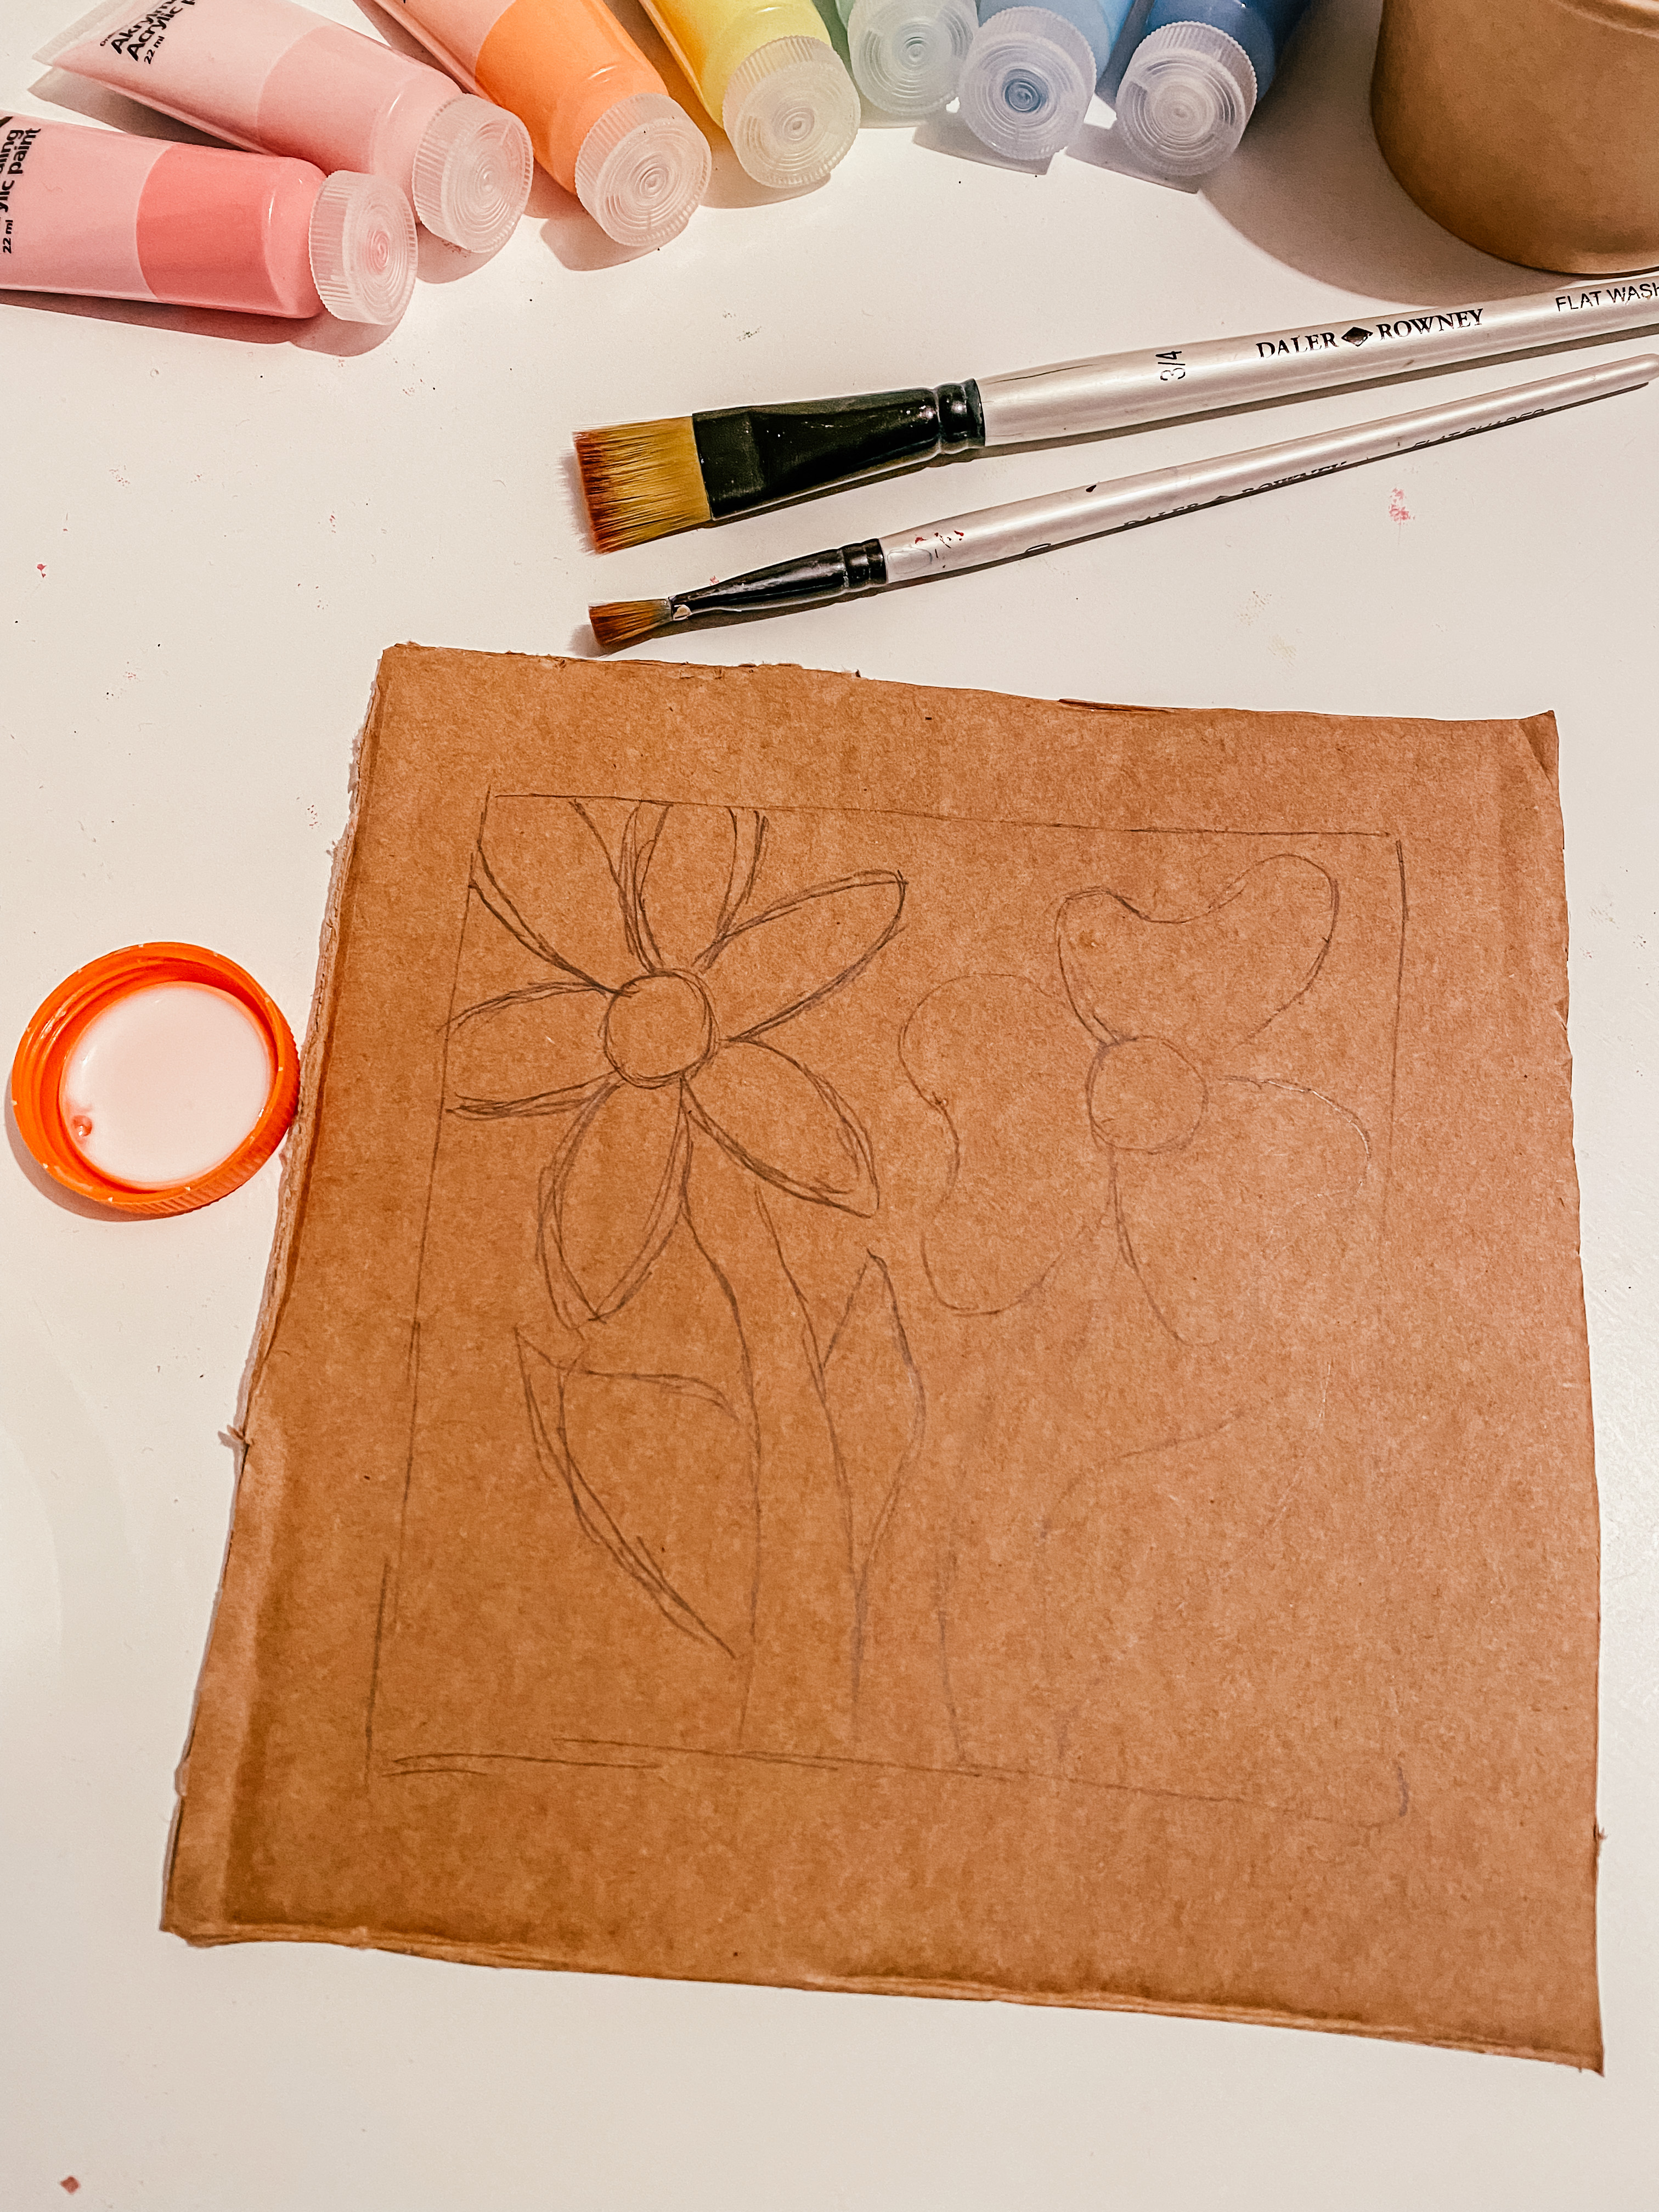
- Use a pencil to sketch out your drawing.
- Apply a thick layer of glue on the areas you want your beans to cover.
- Add the dried beans to the areas you want to cover.
- Use different sizes for different areas to make the drawing stand out and create different textures.
- Once beans are dry, paint over the areas with your choice of colours.
Embroidered bird ornament
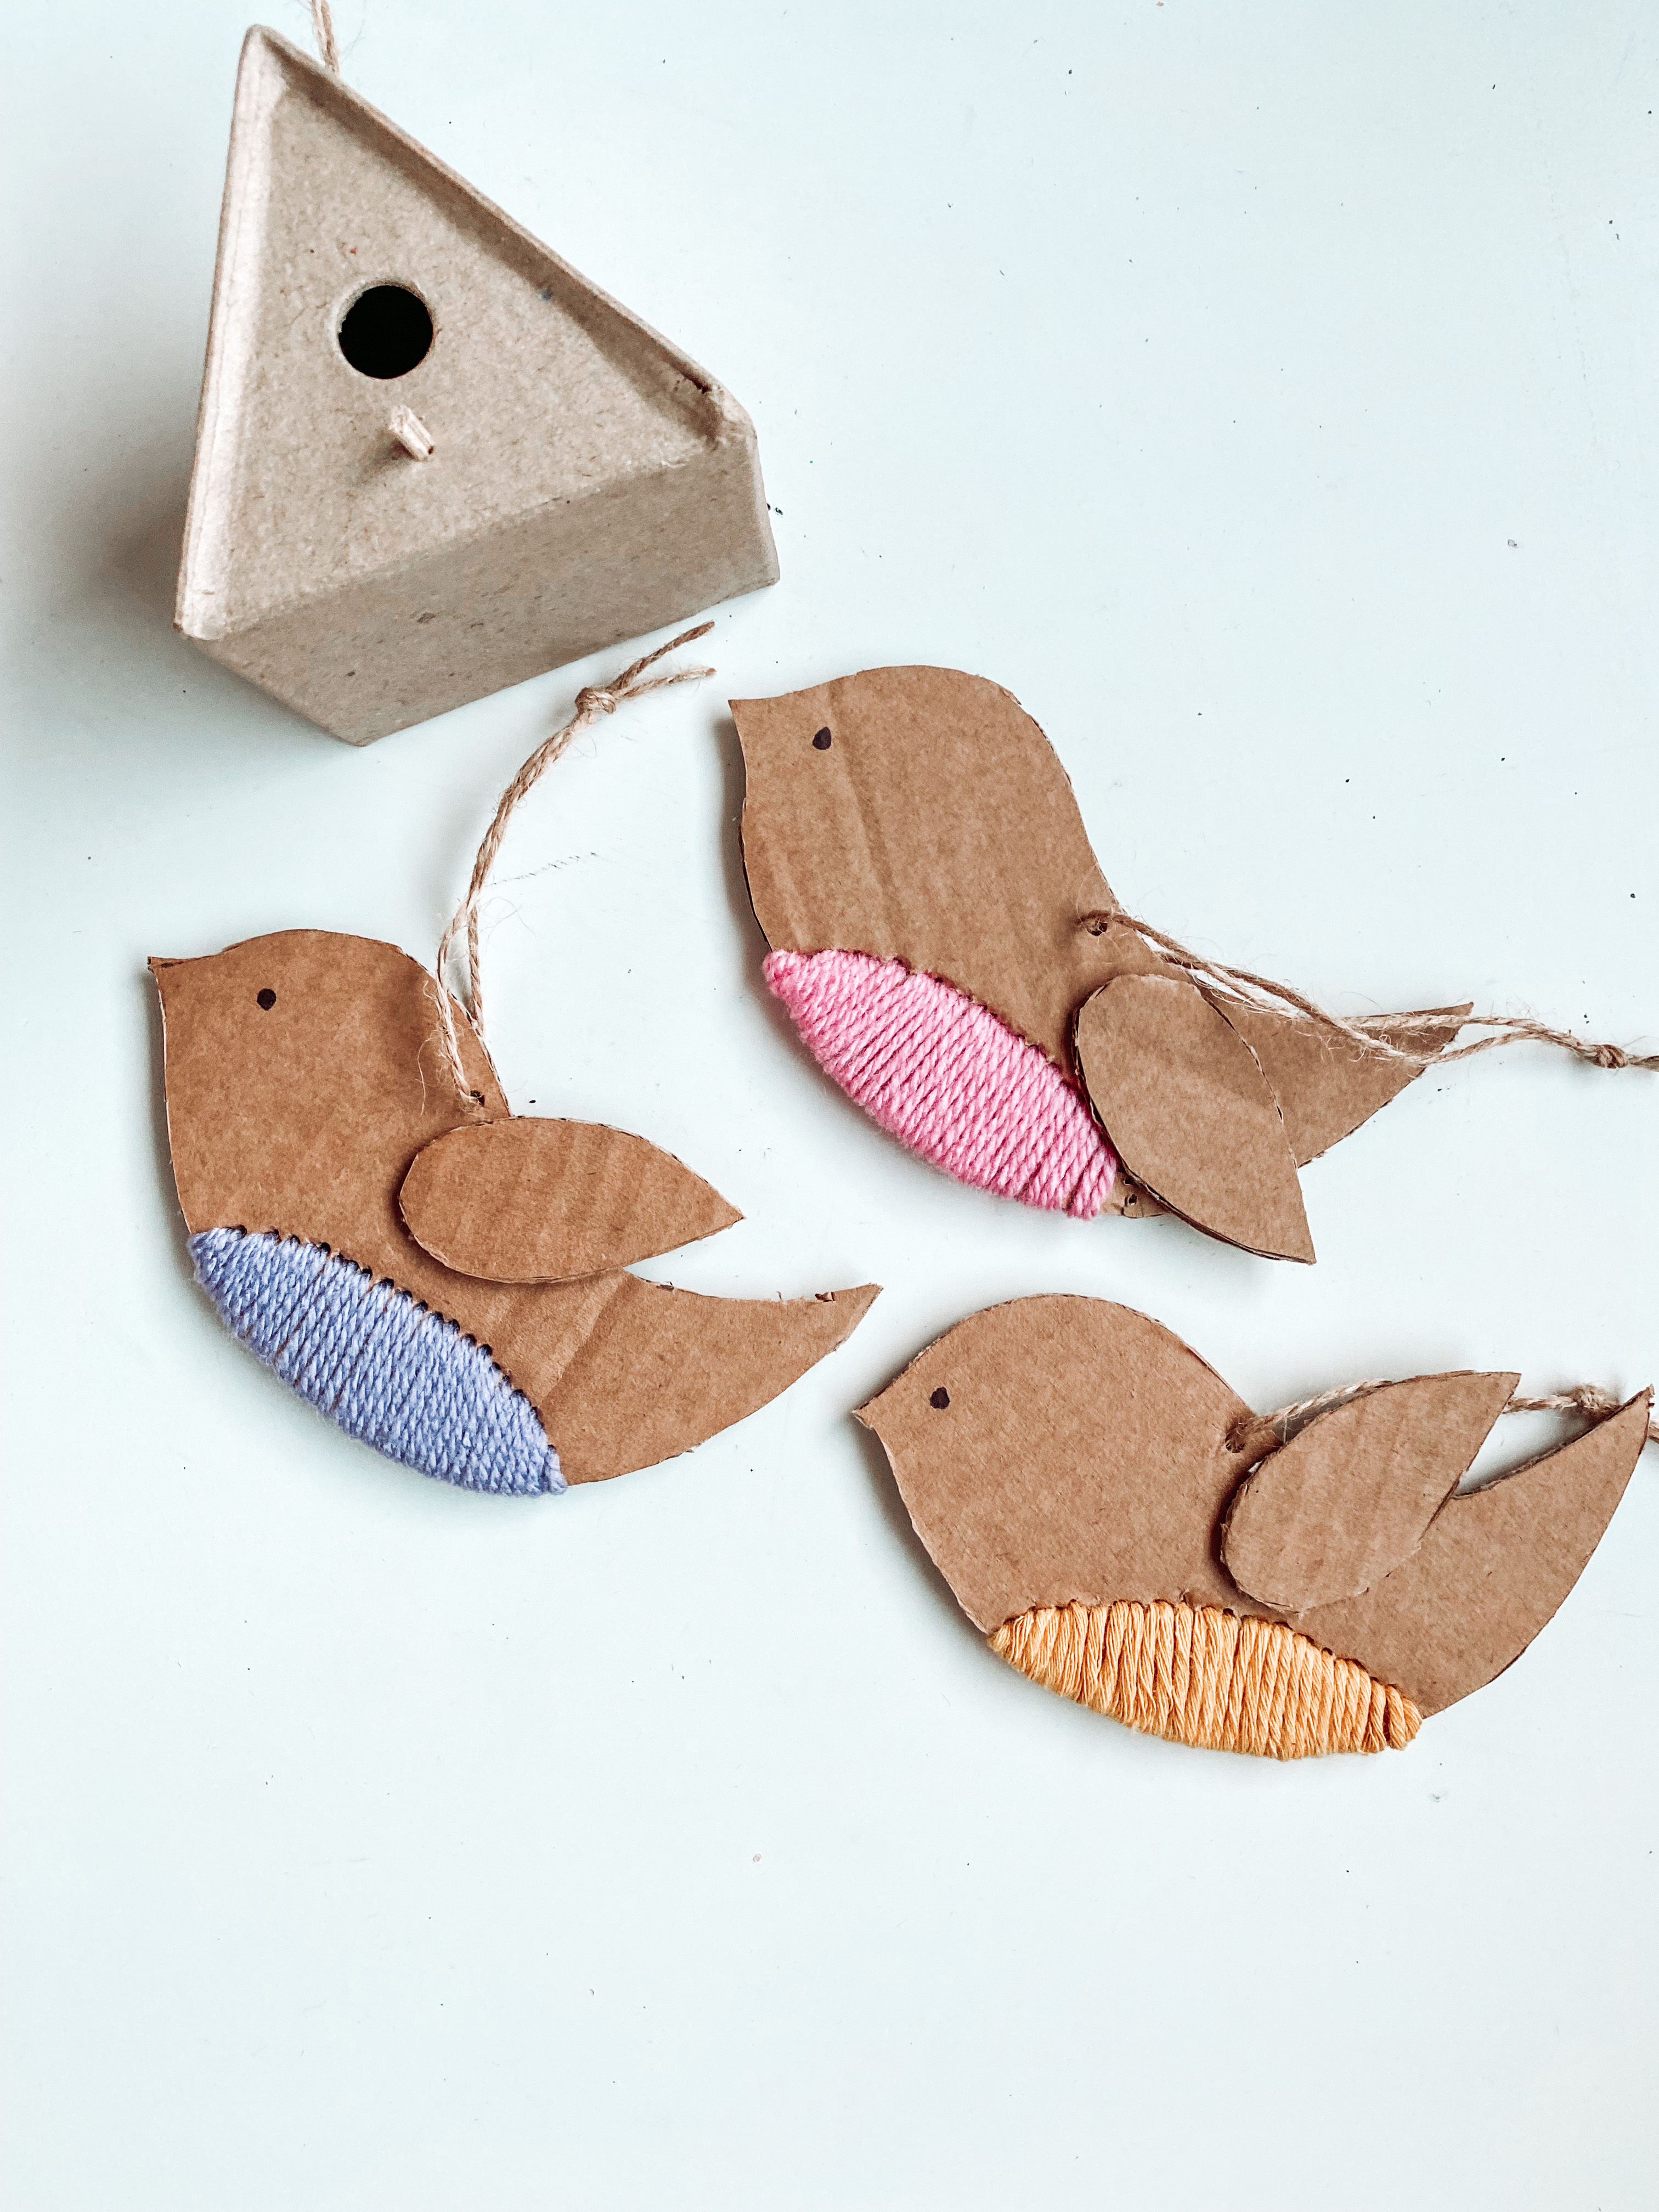
Onto our next spring craft project: pretty embroidered birds. I really love the idea of hanging a few of these off an Easter tree!
Your shopping list:
Cardboard scraps
Pencil
Glue
Yarn
Scissors
Toothpick
Thick sewing needle
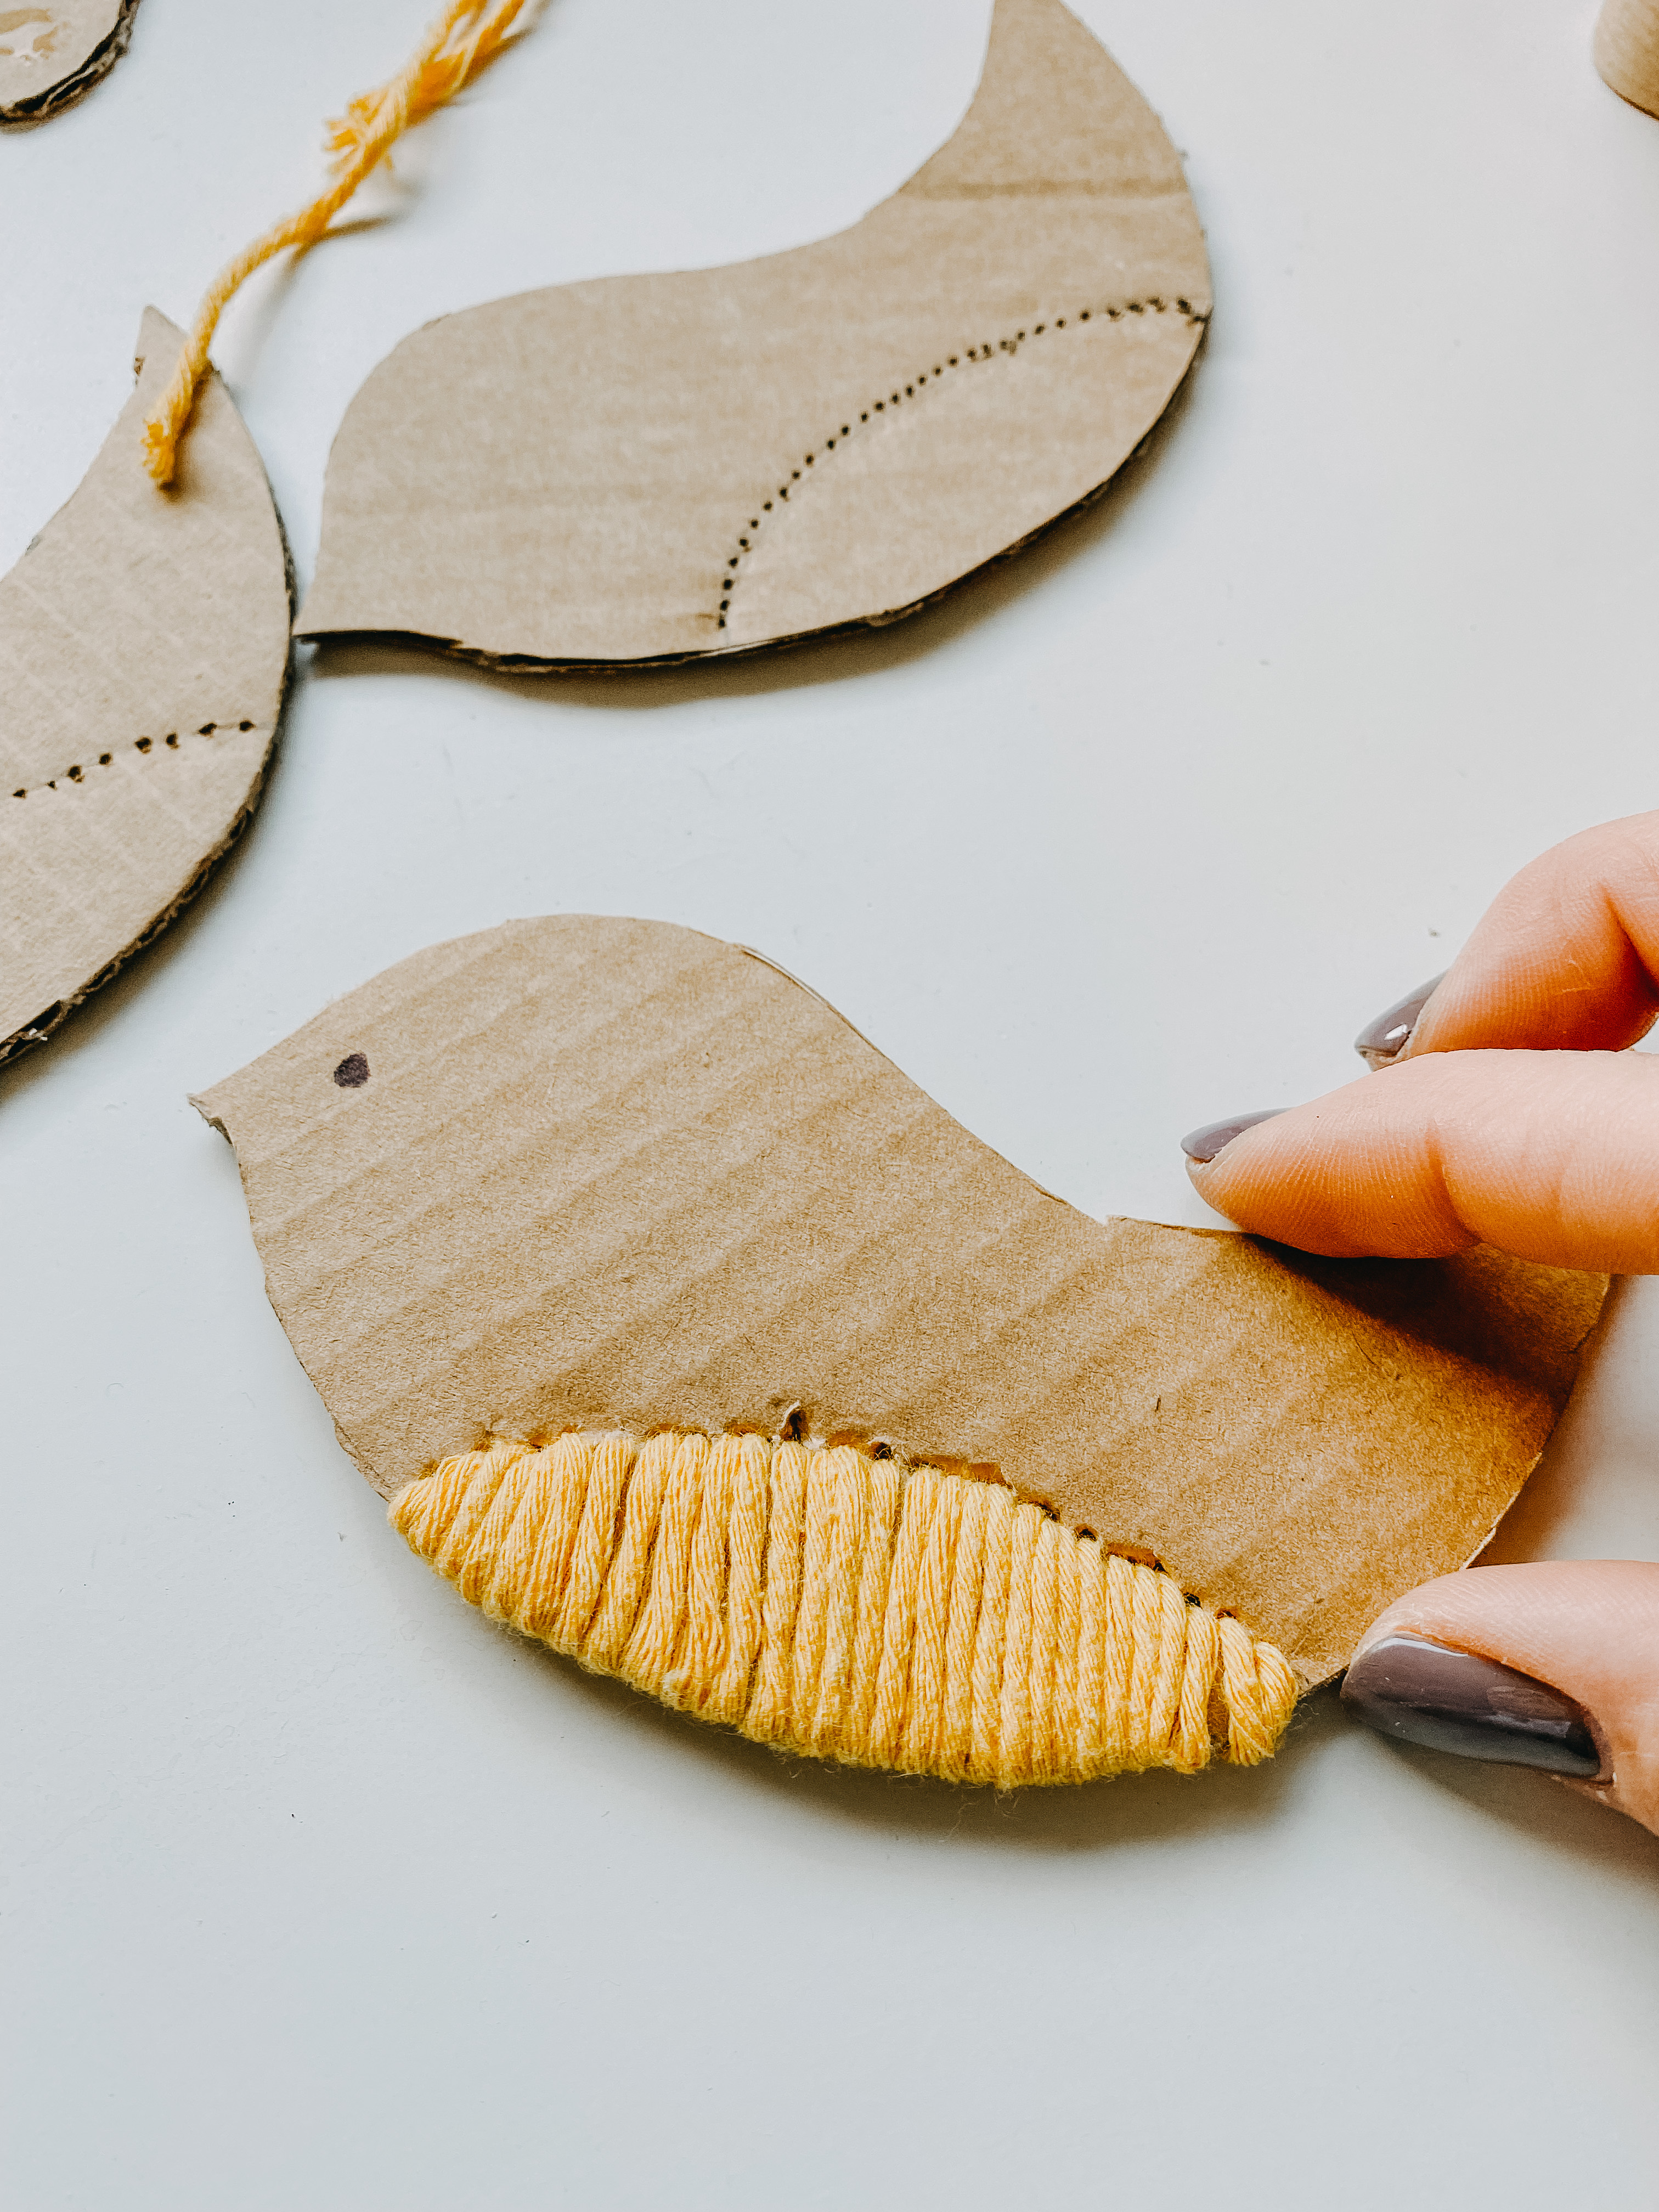
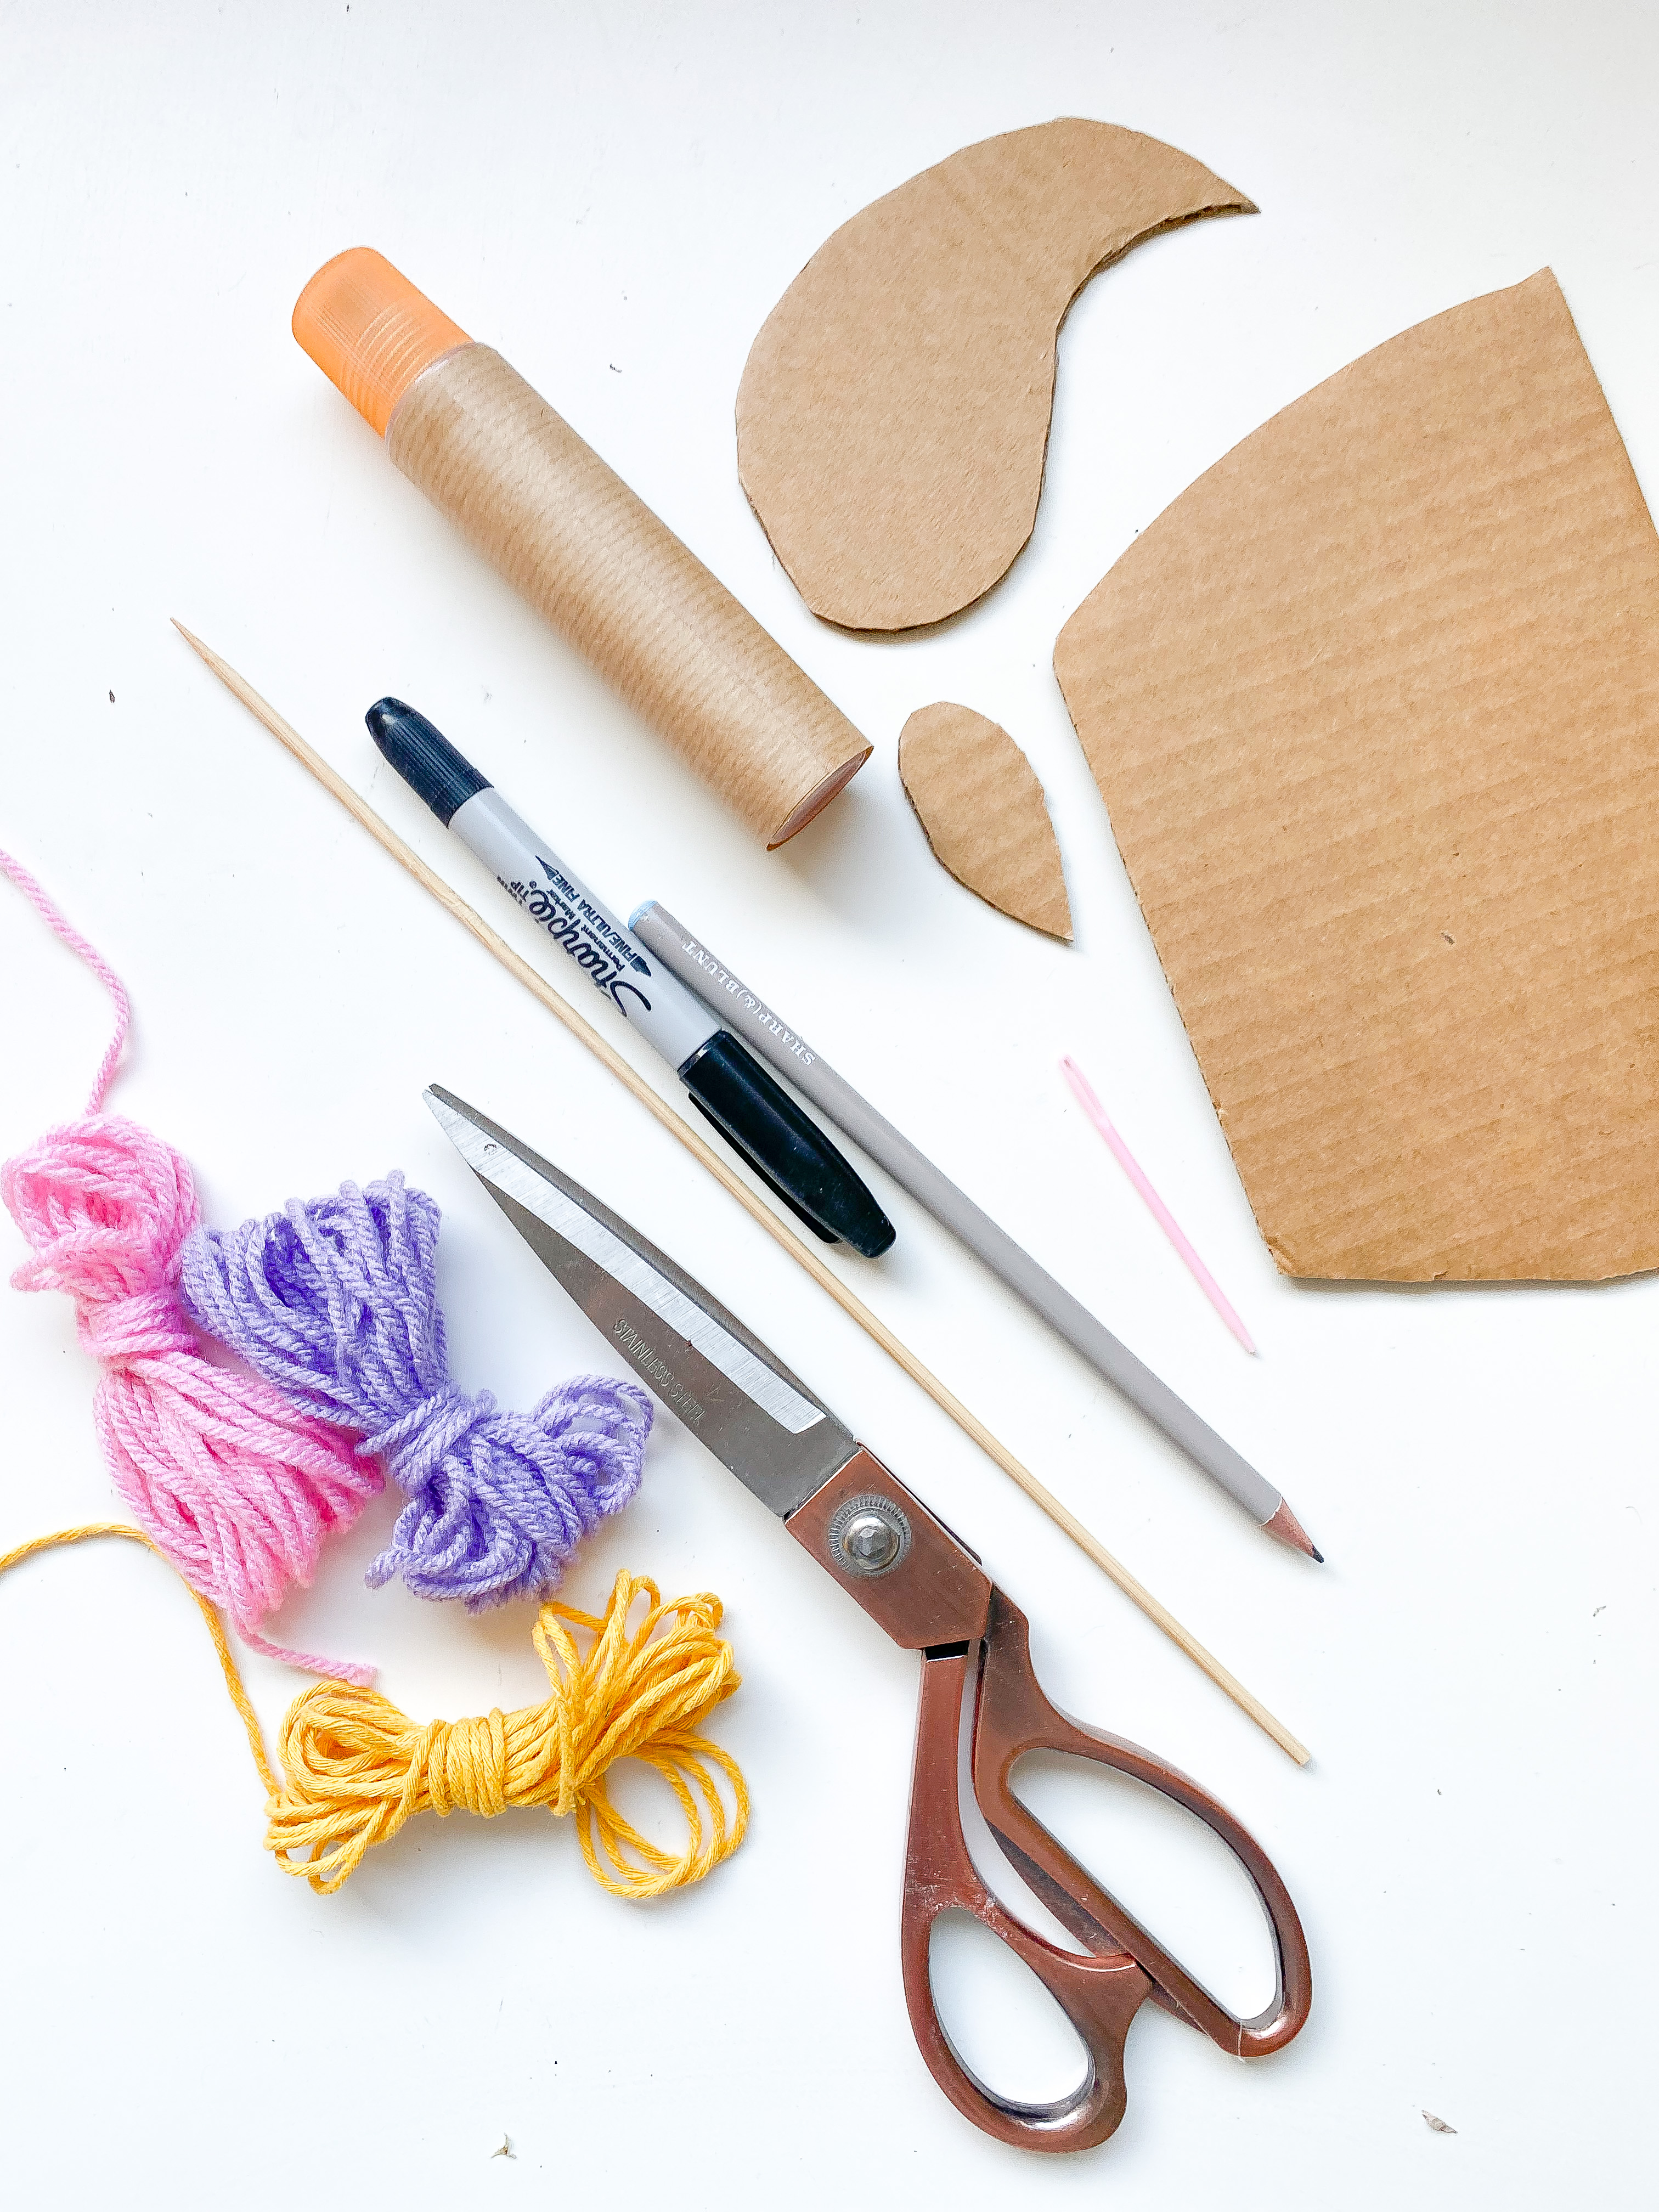
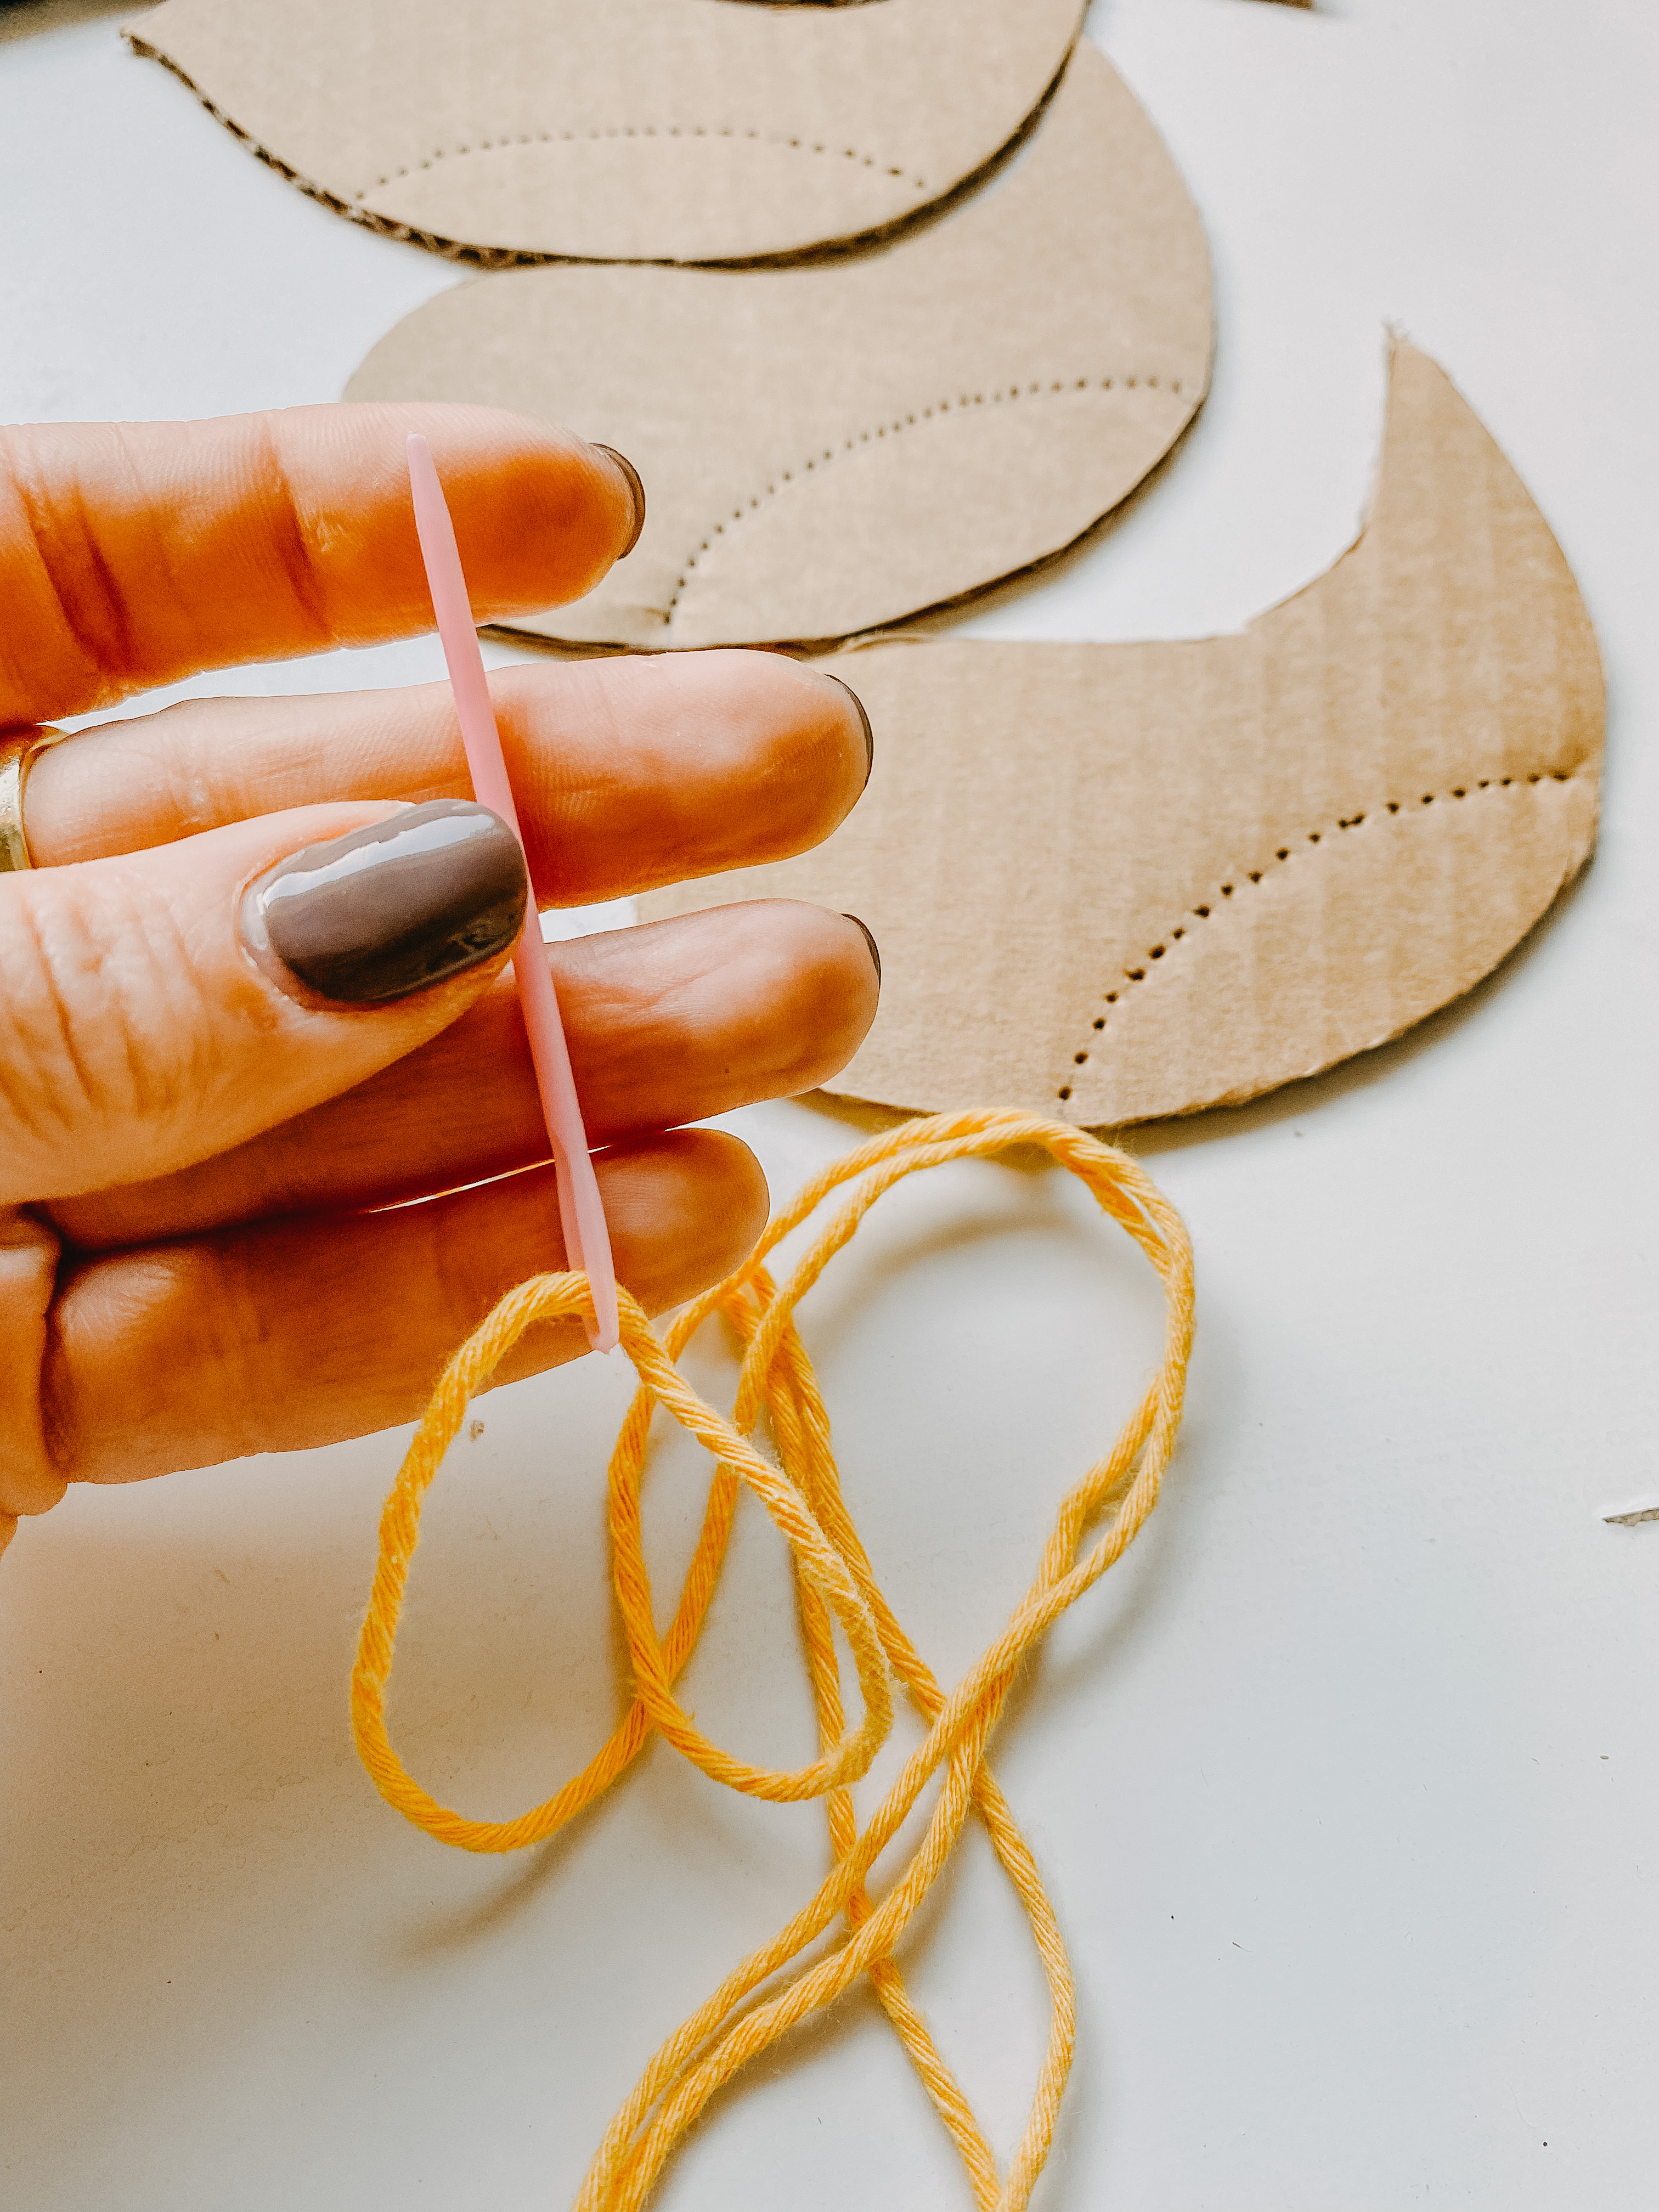
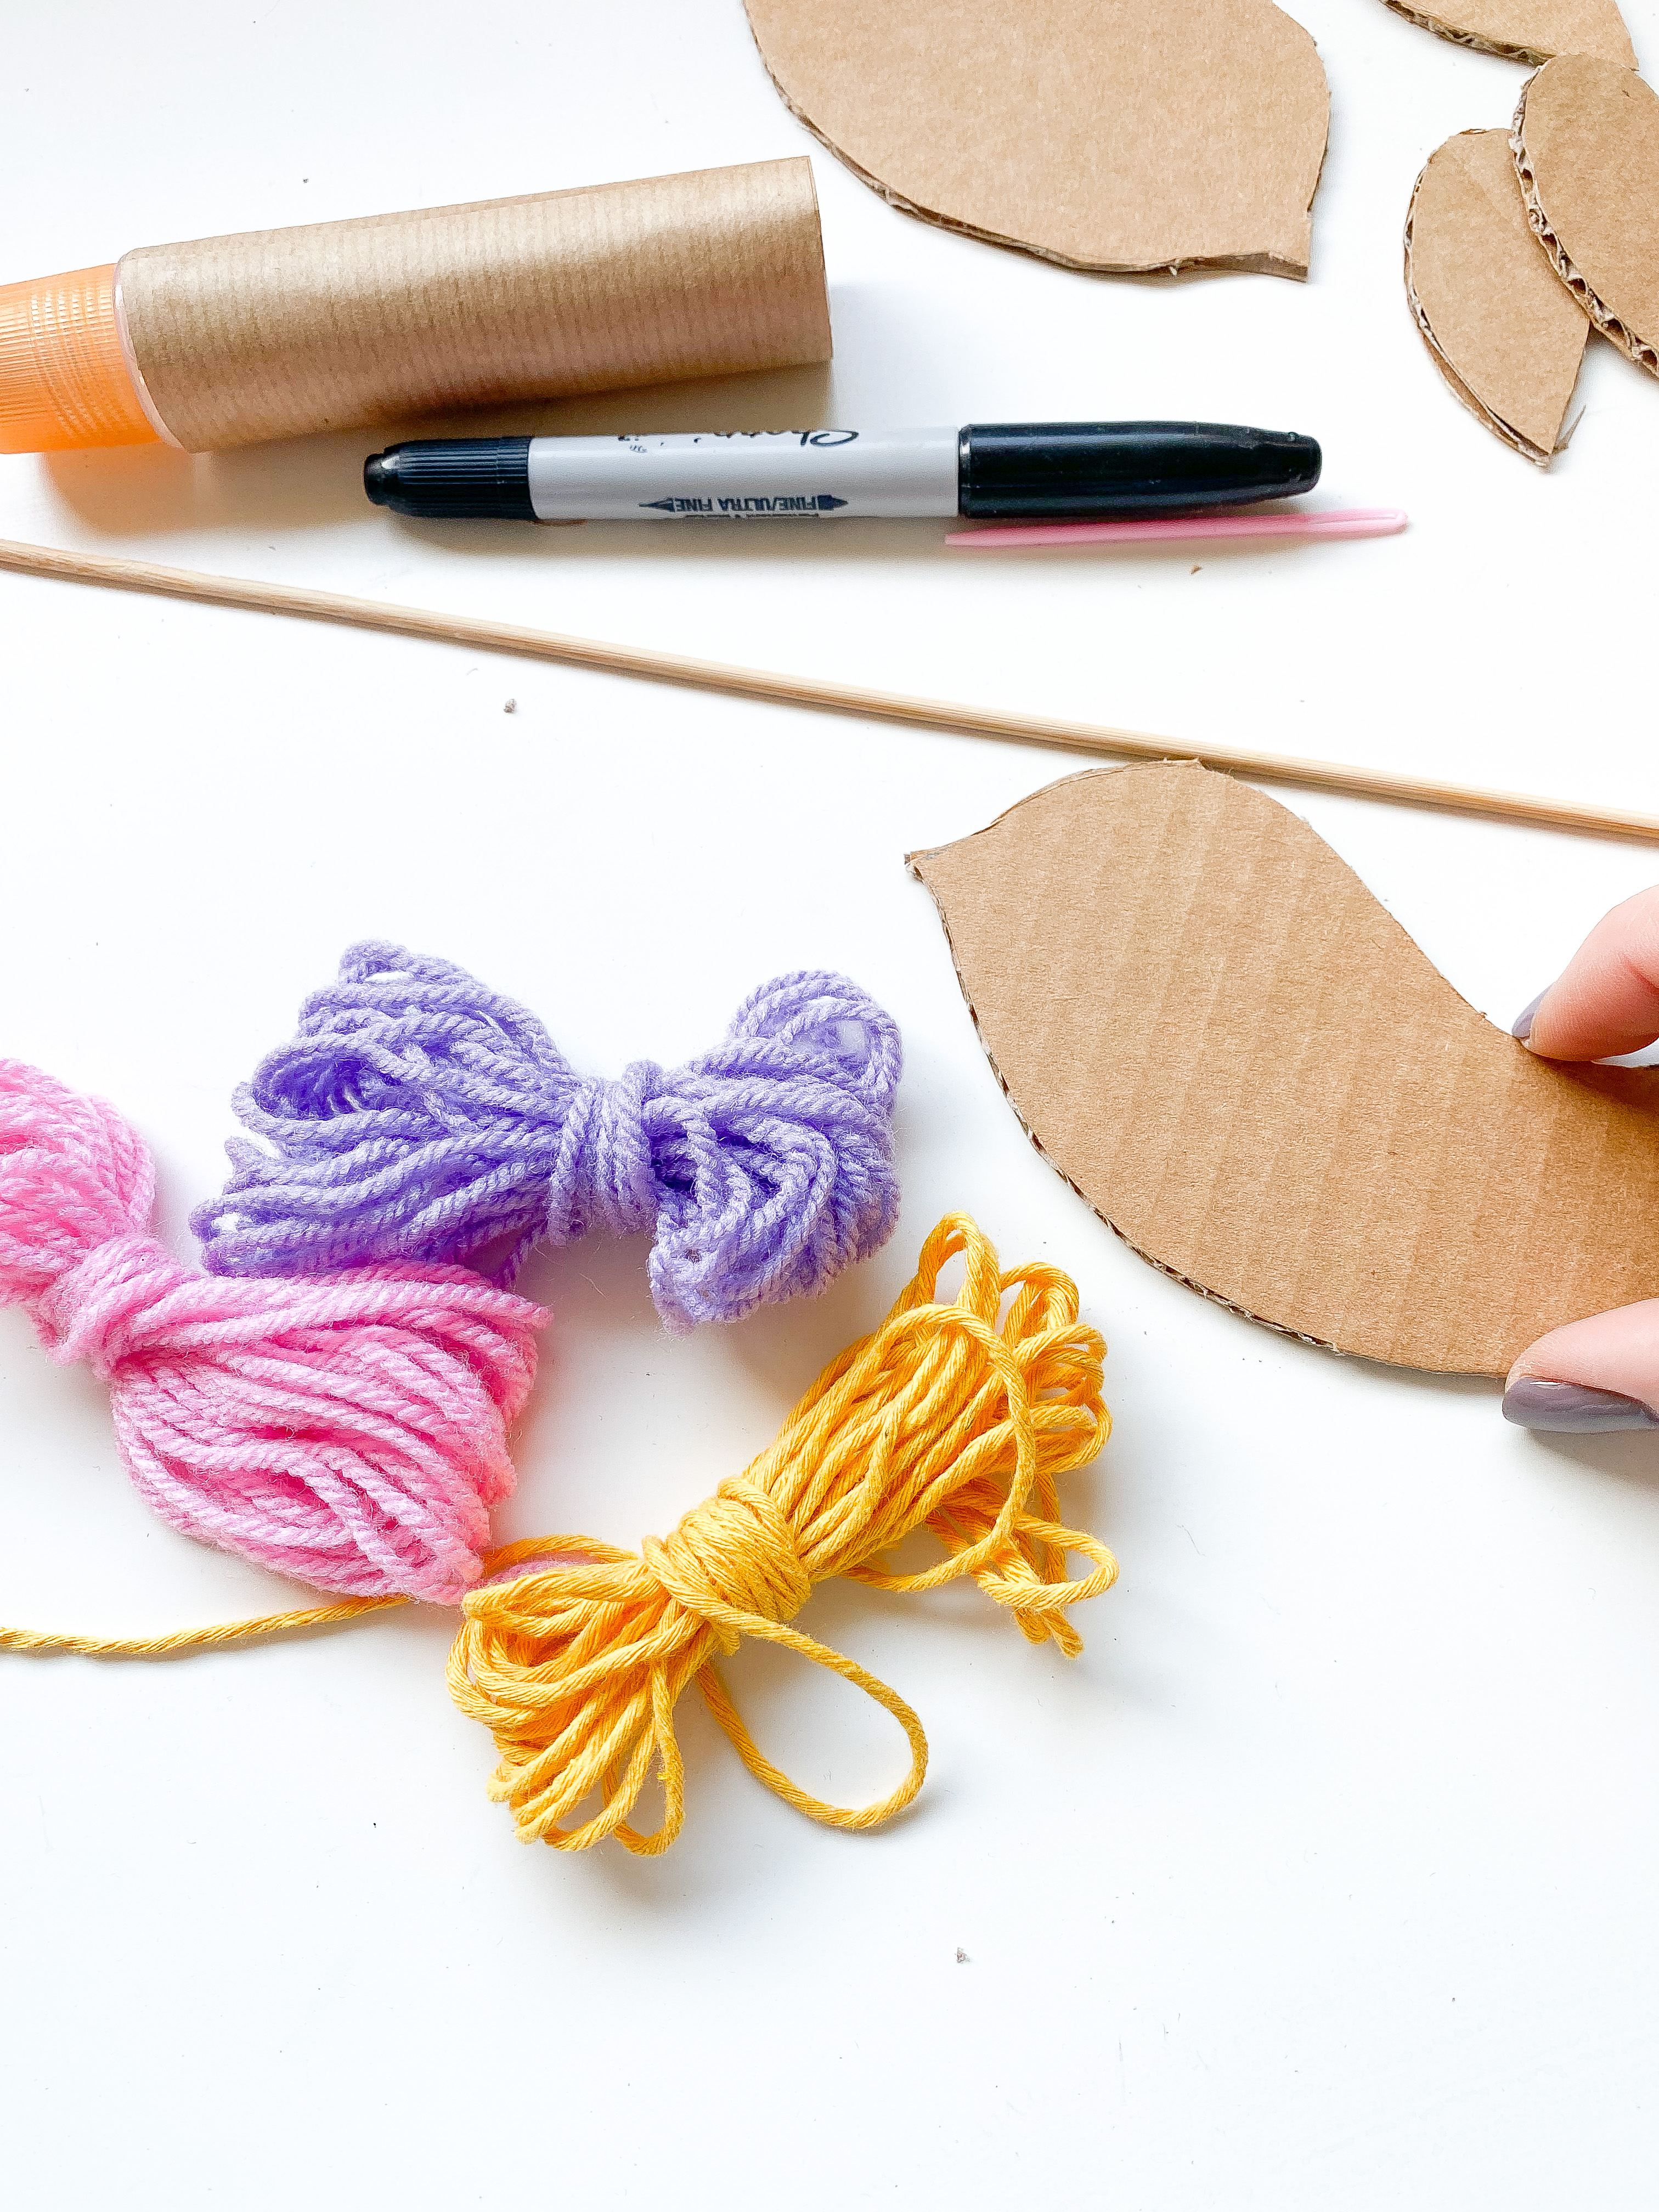
INSTRUCTIONS
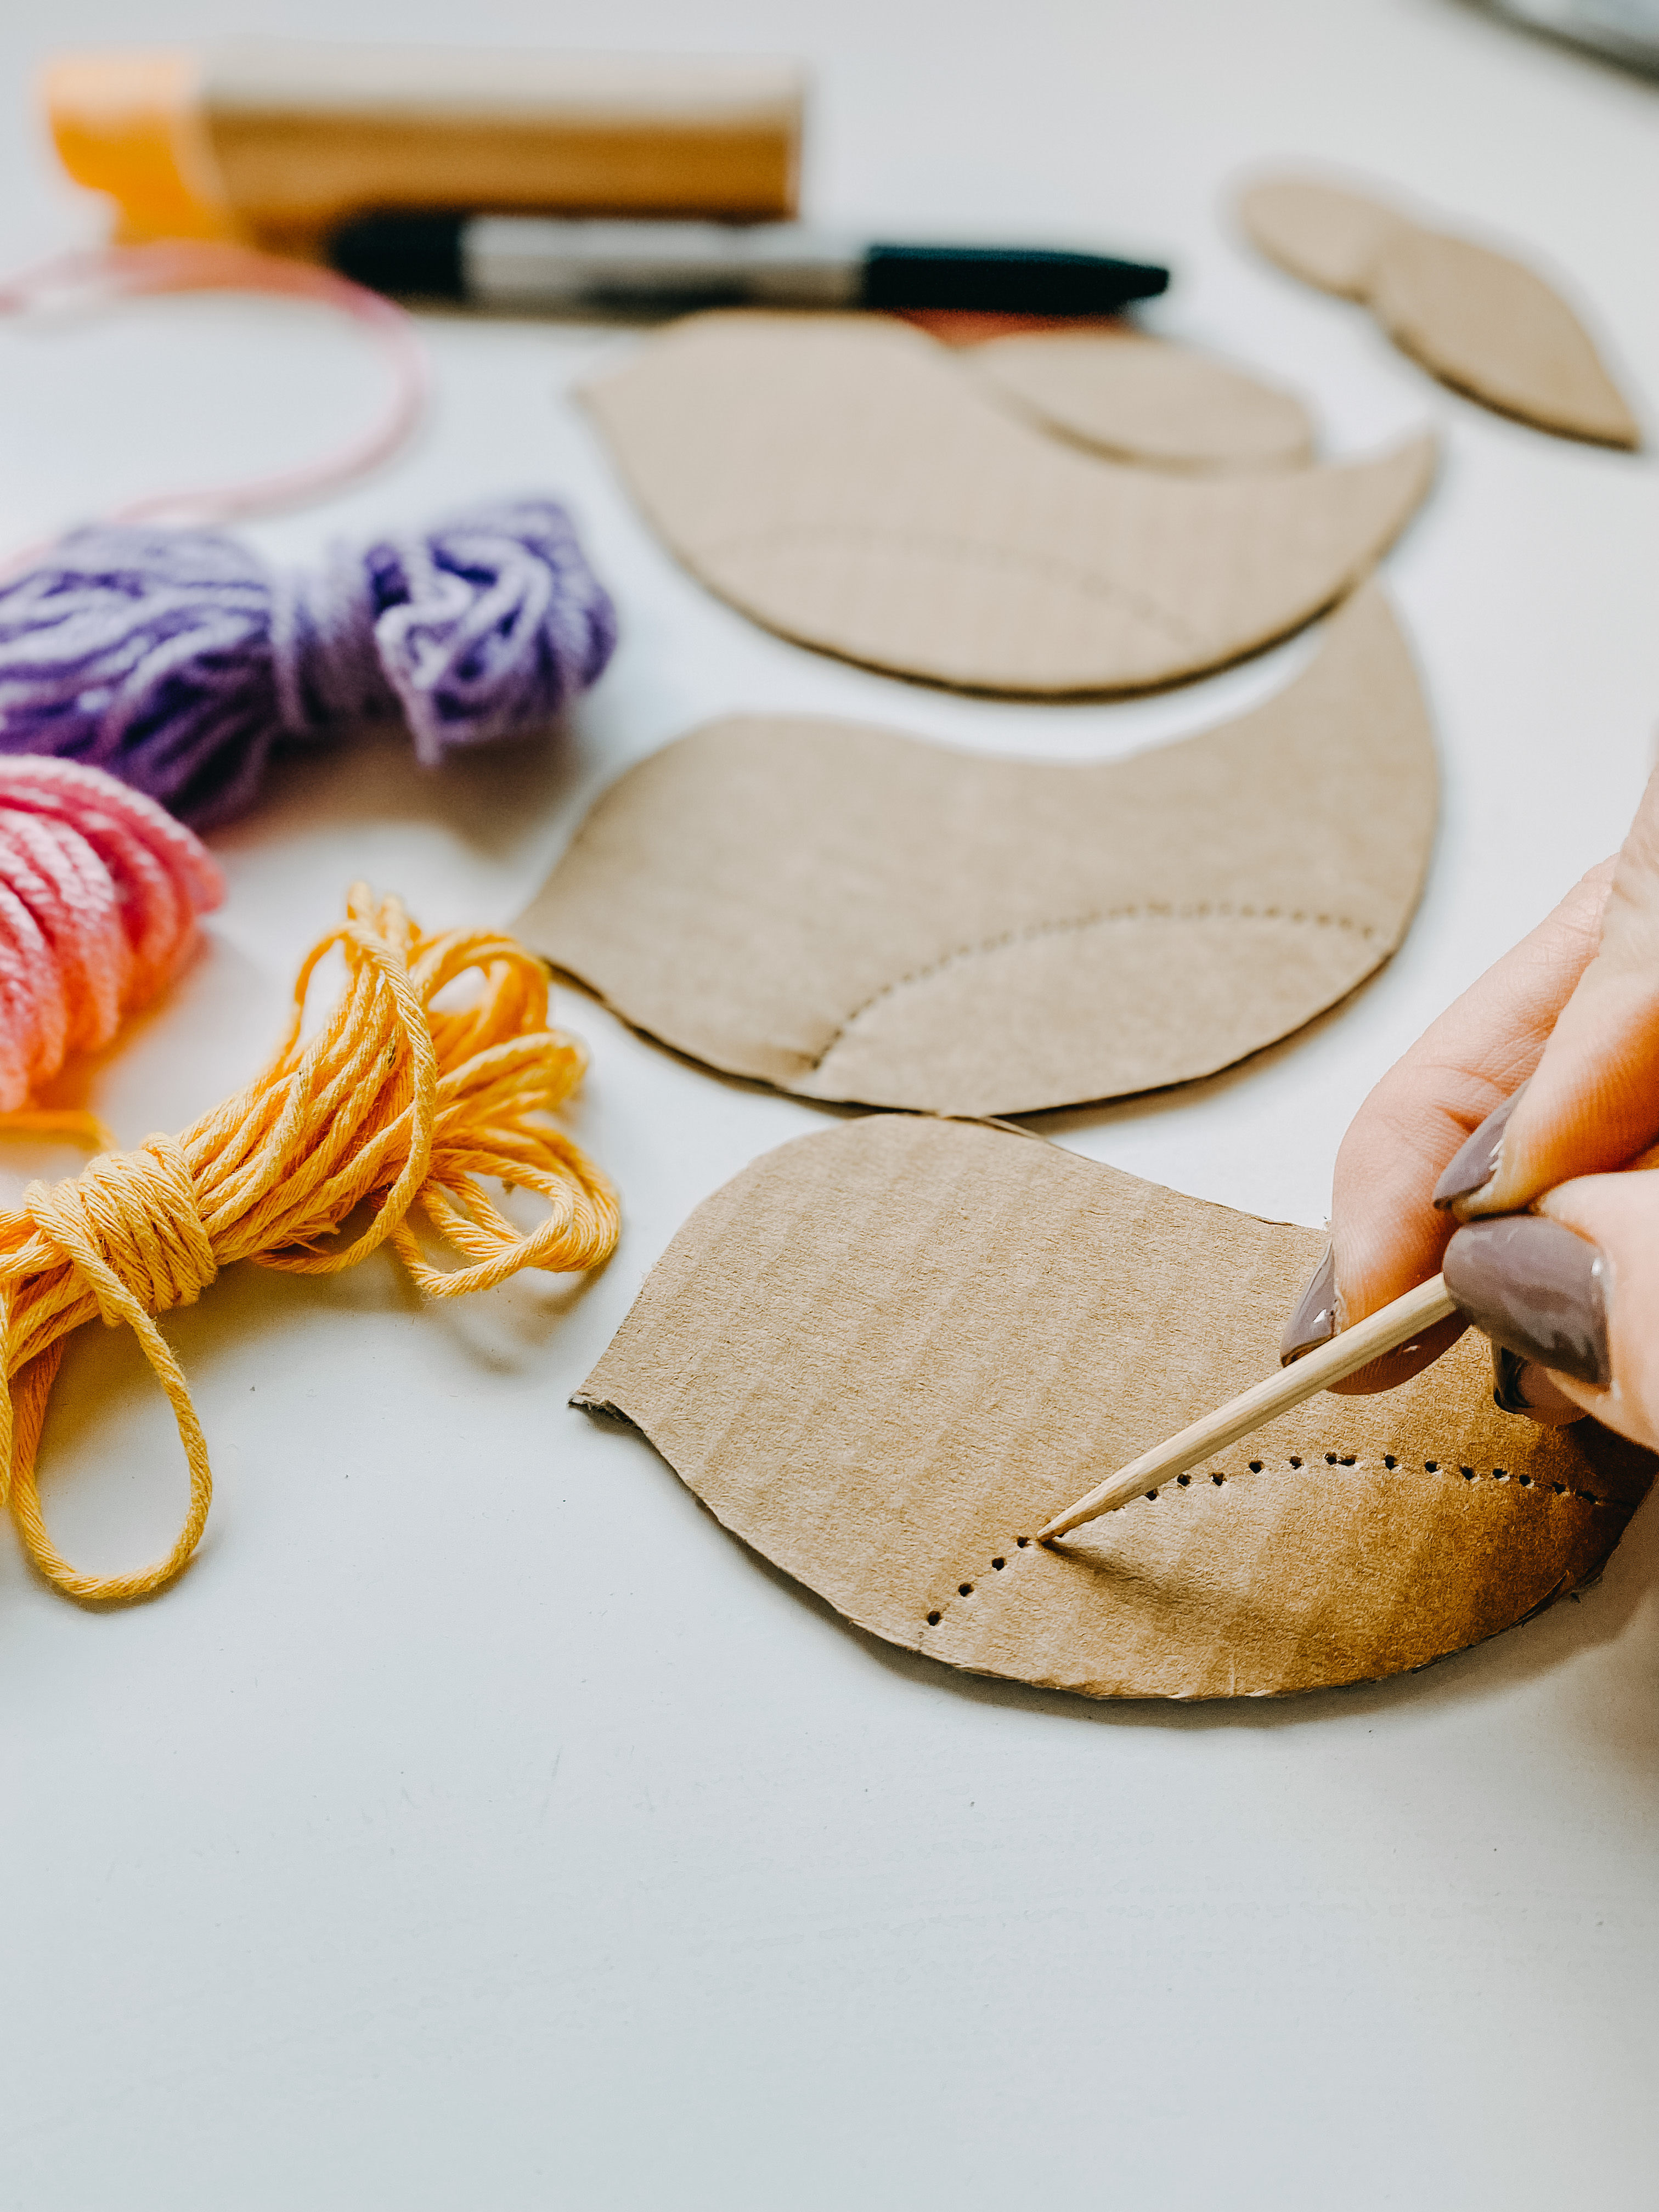
- Sketch out the bird shape as per the photos as well as an extra wing on your cardboard. Cut them out.
- Draw the breast of the bird and create holes to outline it with your toothpick.
- Thread your sewing needle with the choice of yarn and ‘embroider’ the breast of the bird through the holes.
- Poke a hole at the top of the bird and thread a string to hang on a door knob, tree branch, or wherever you fancy.
Garden fairy door
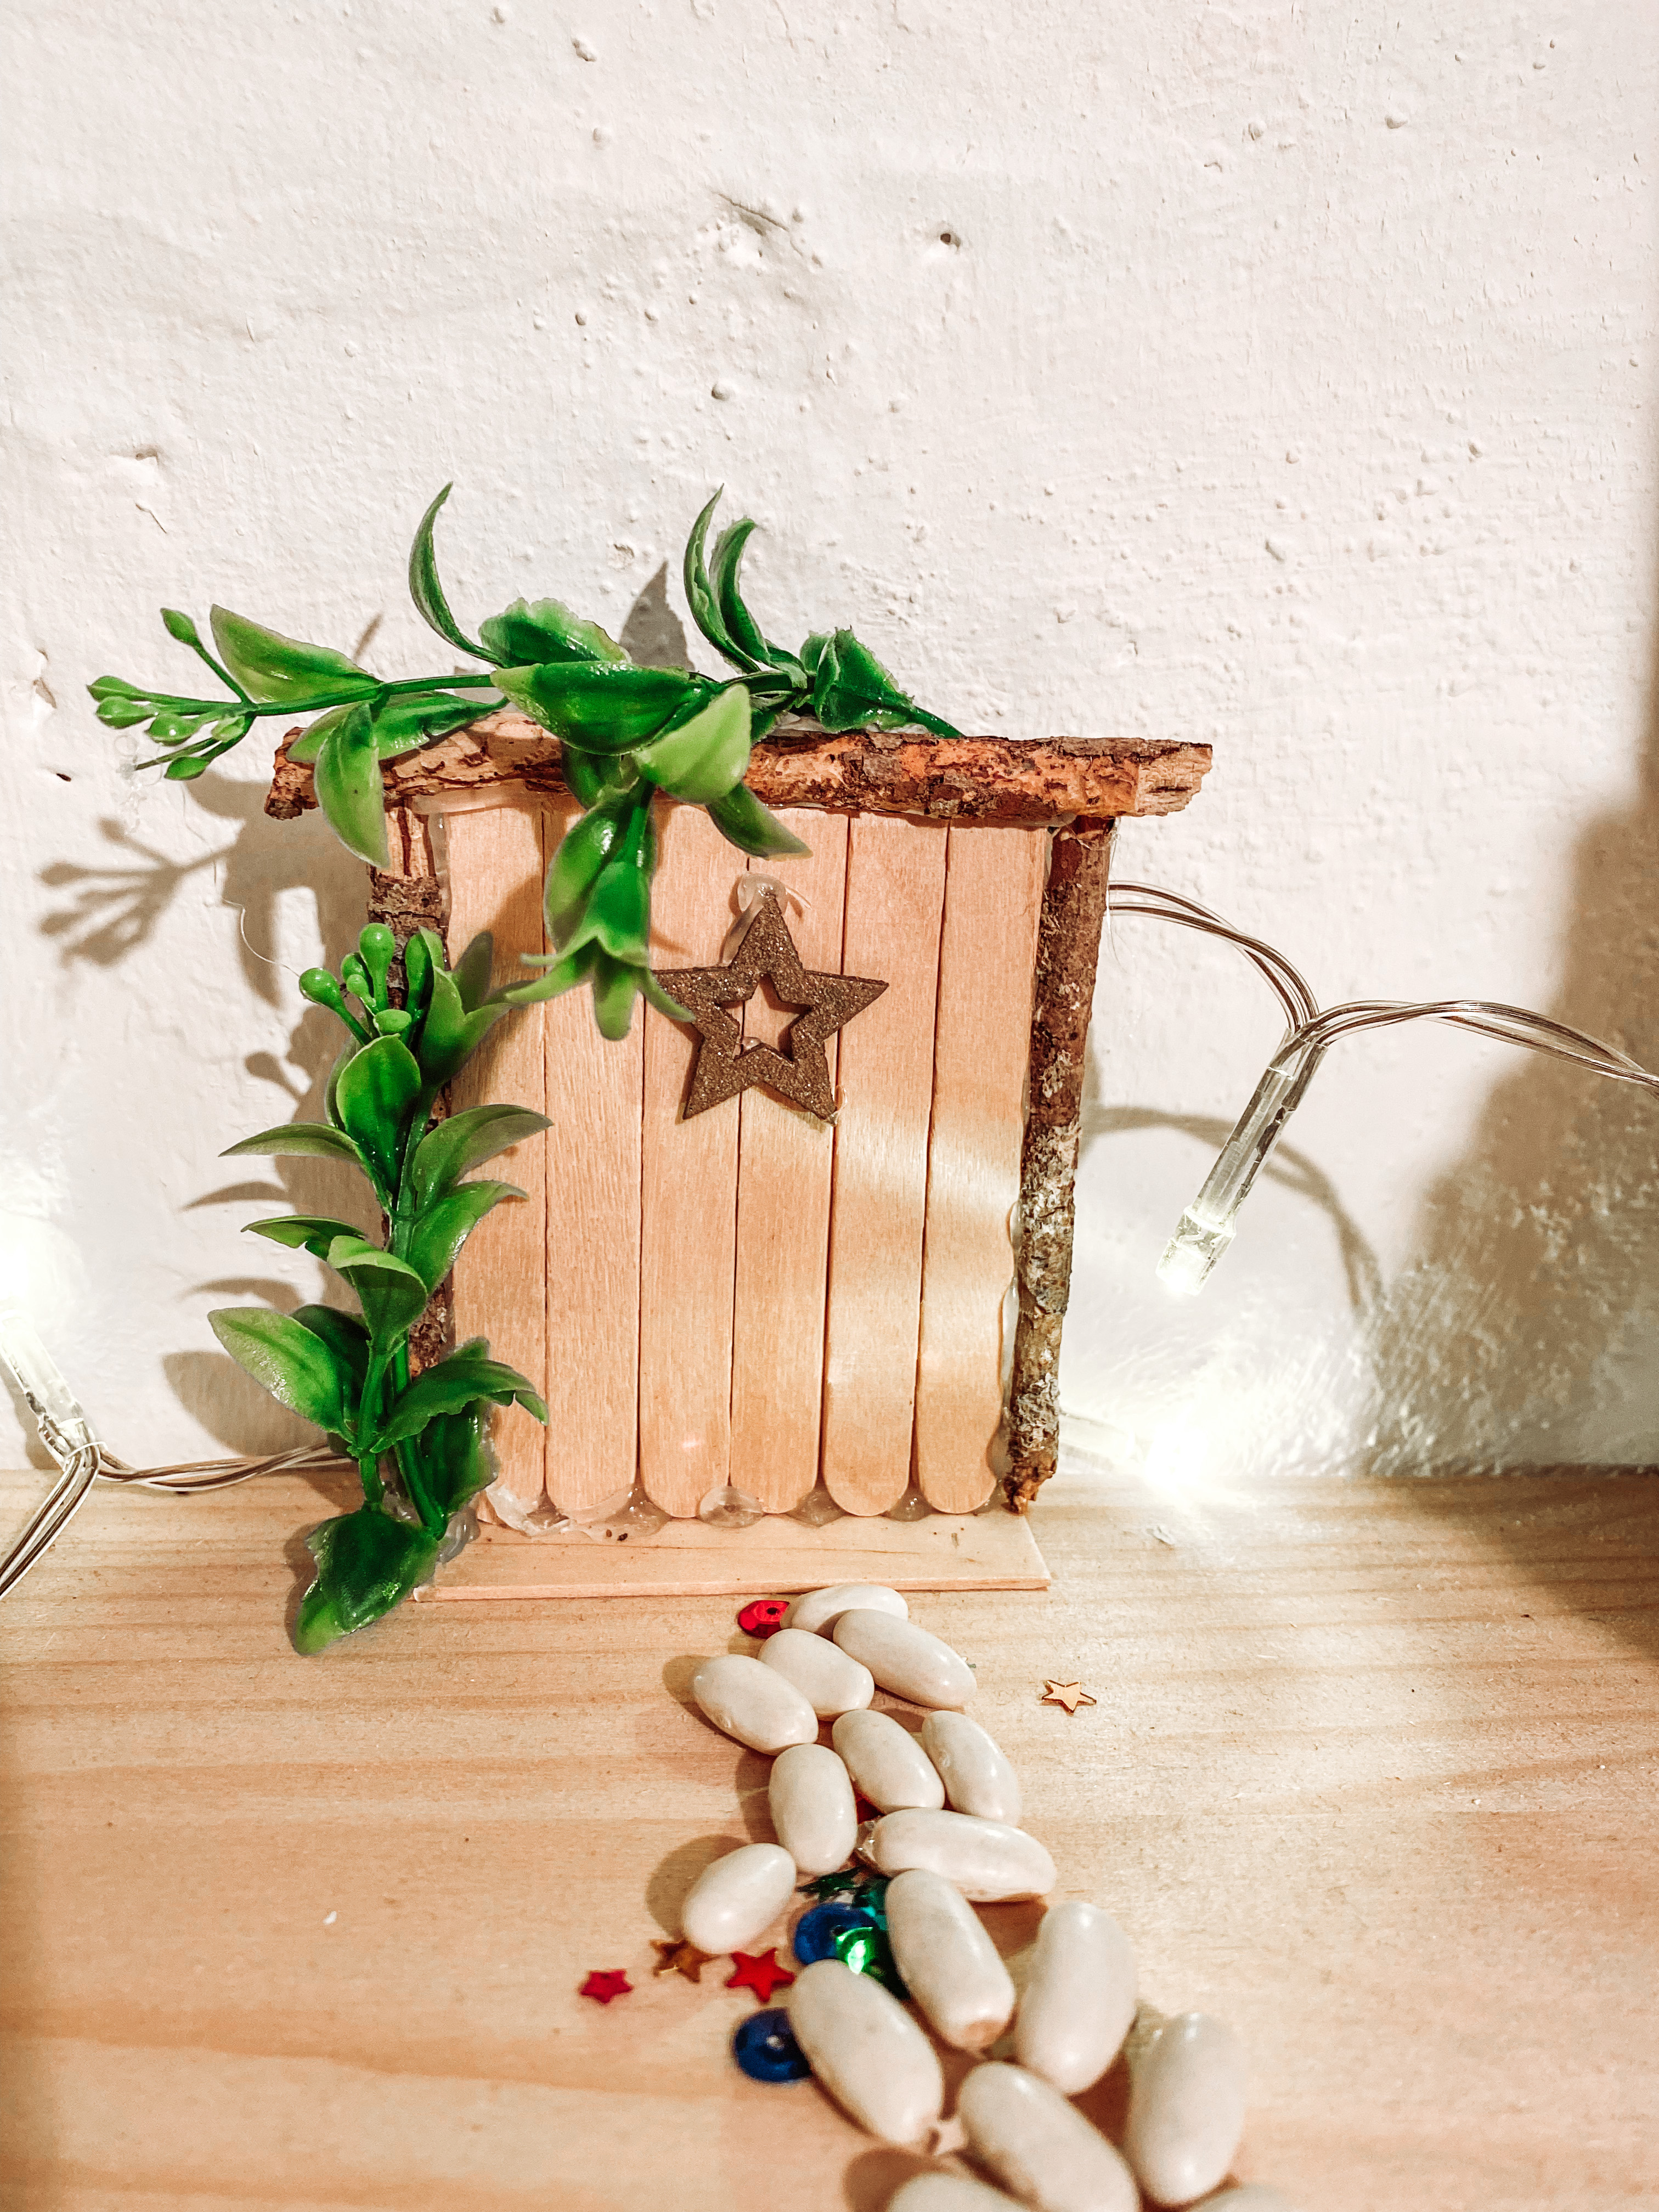
For our final spring craft project: a whimsical fairy door fit for any little one’s room or garden.
Your shopping list:
Popsicle sticks
Wooden twigs
Glue gun
Embellishments
Large wooden popsicle stick or thick cardboard base
Artificial leaves/flowers
Scissors
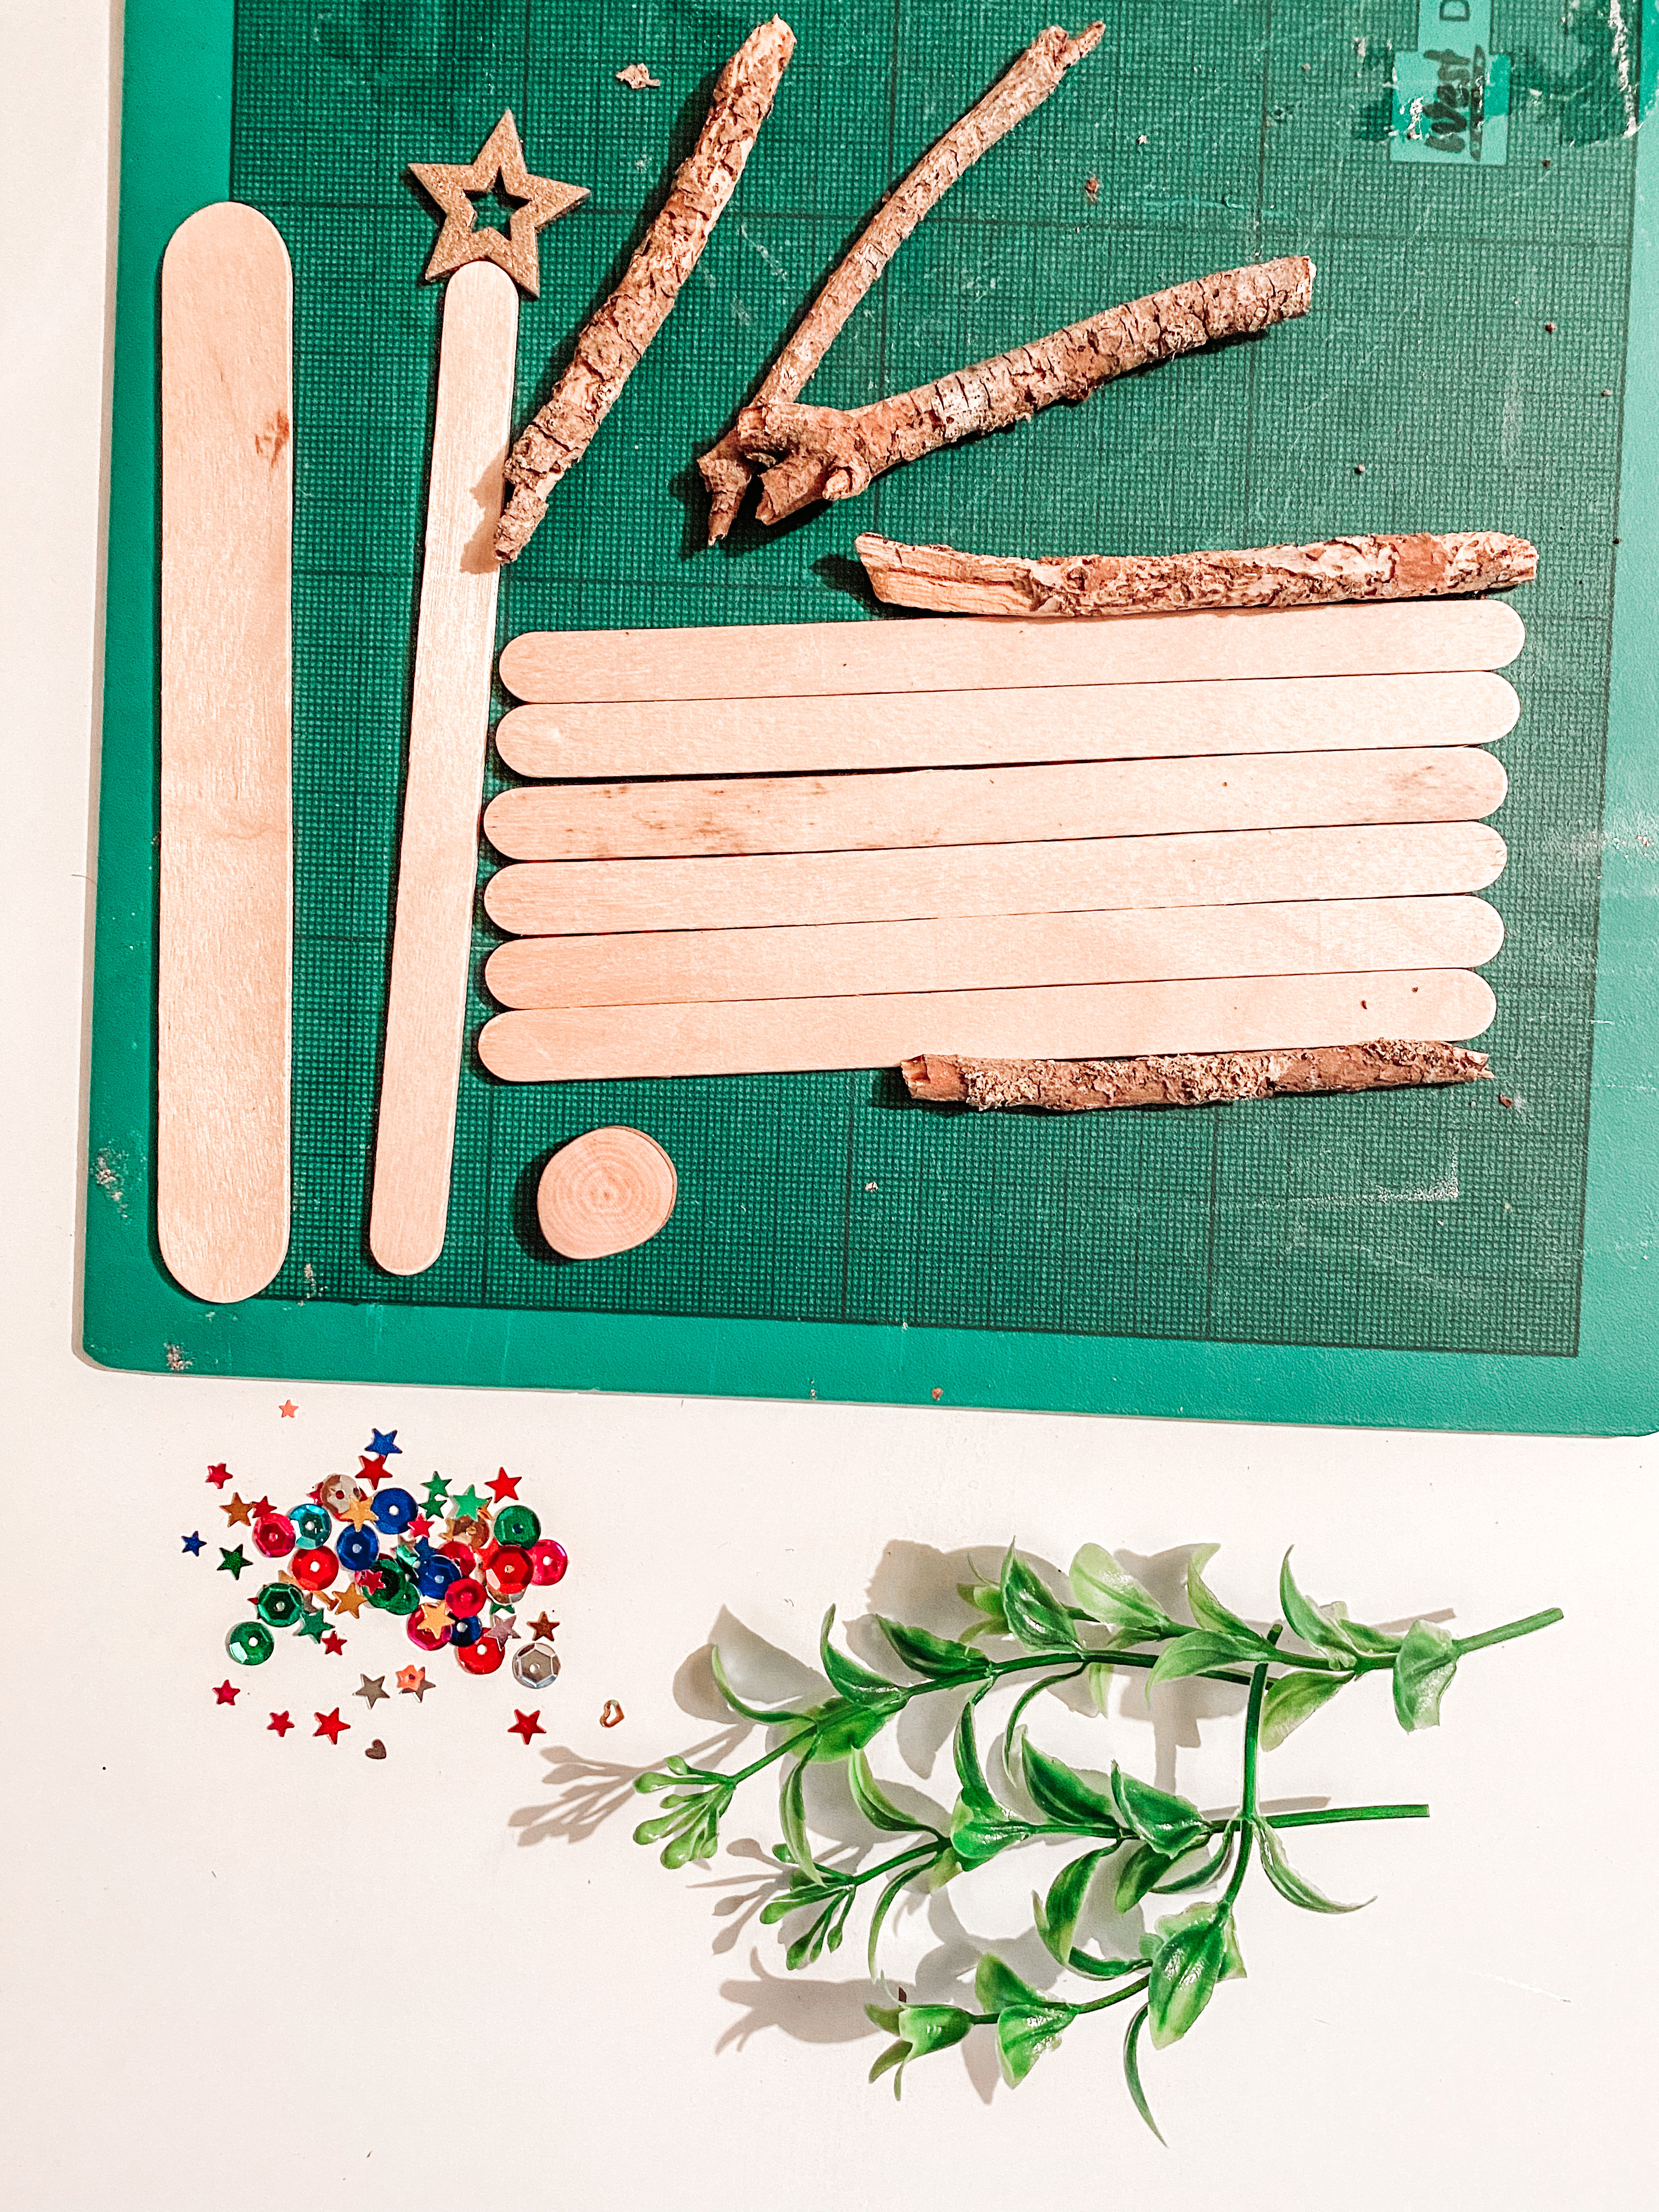
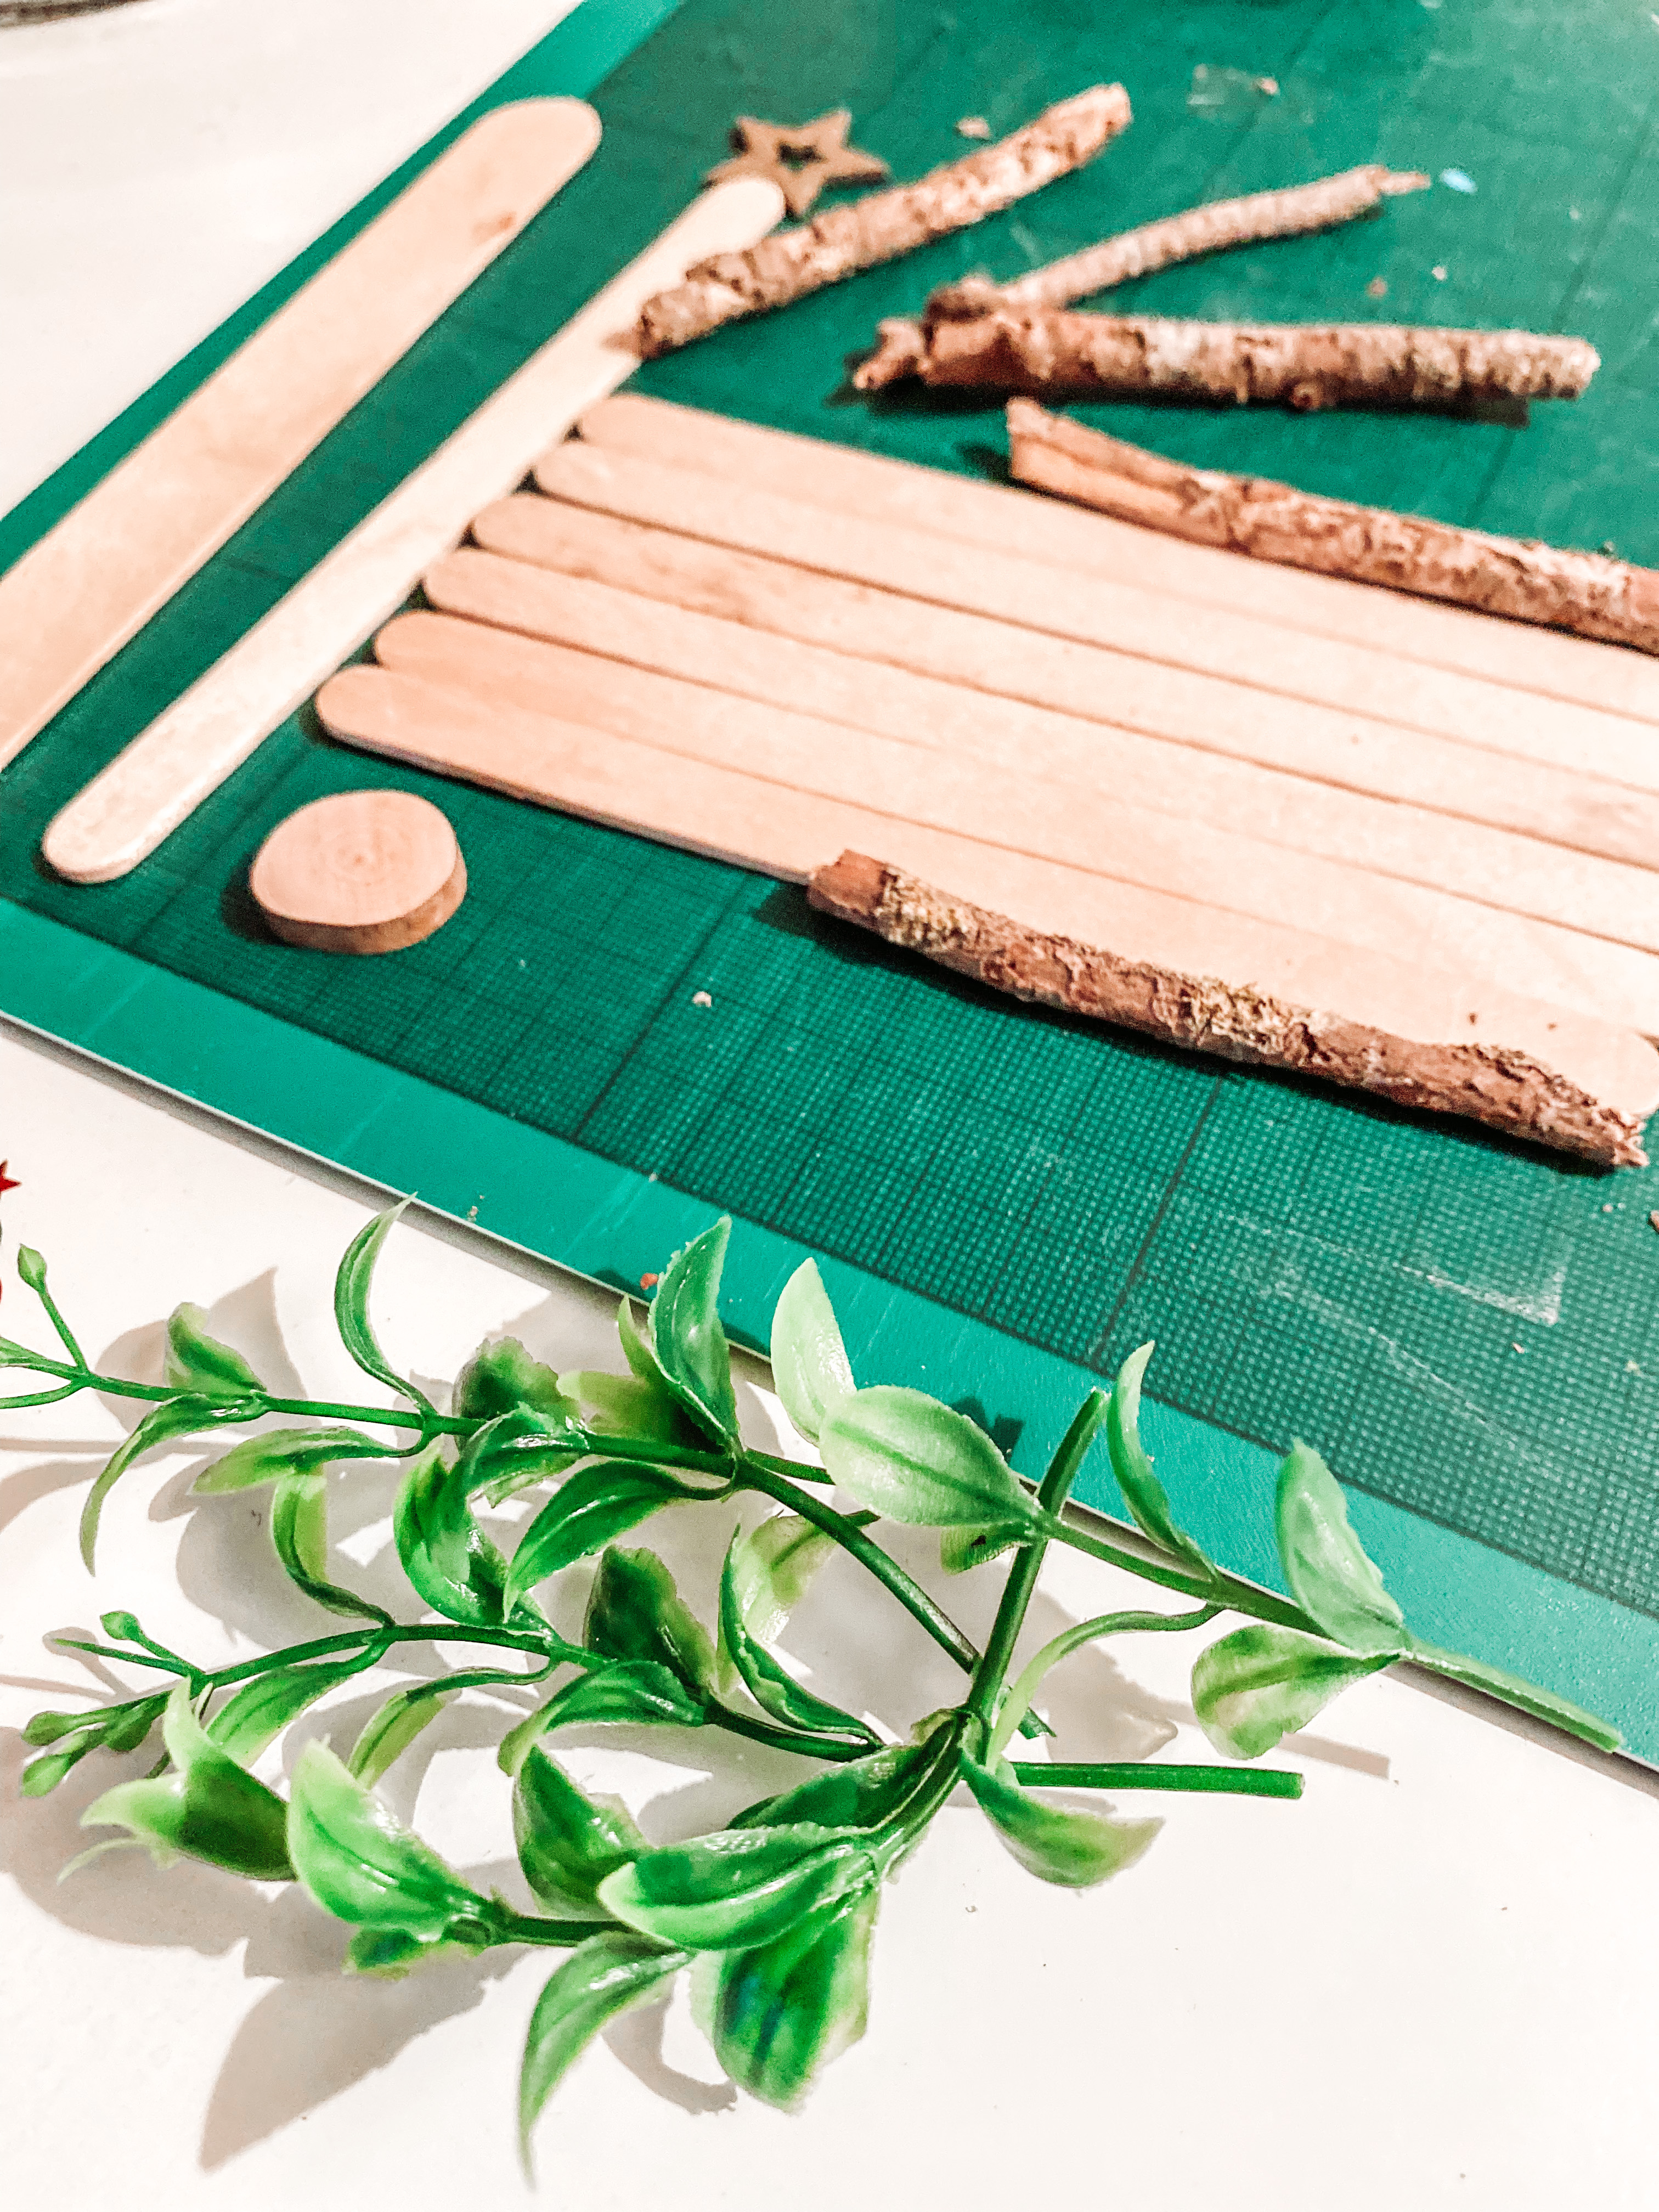
INSTRUCTIONS
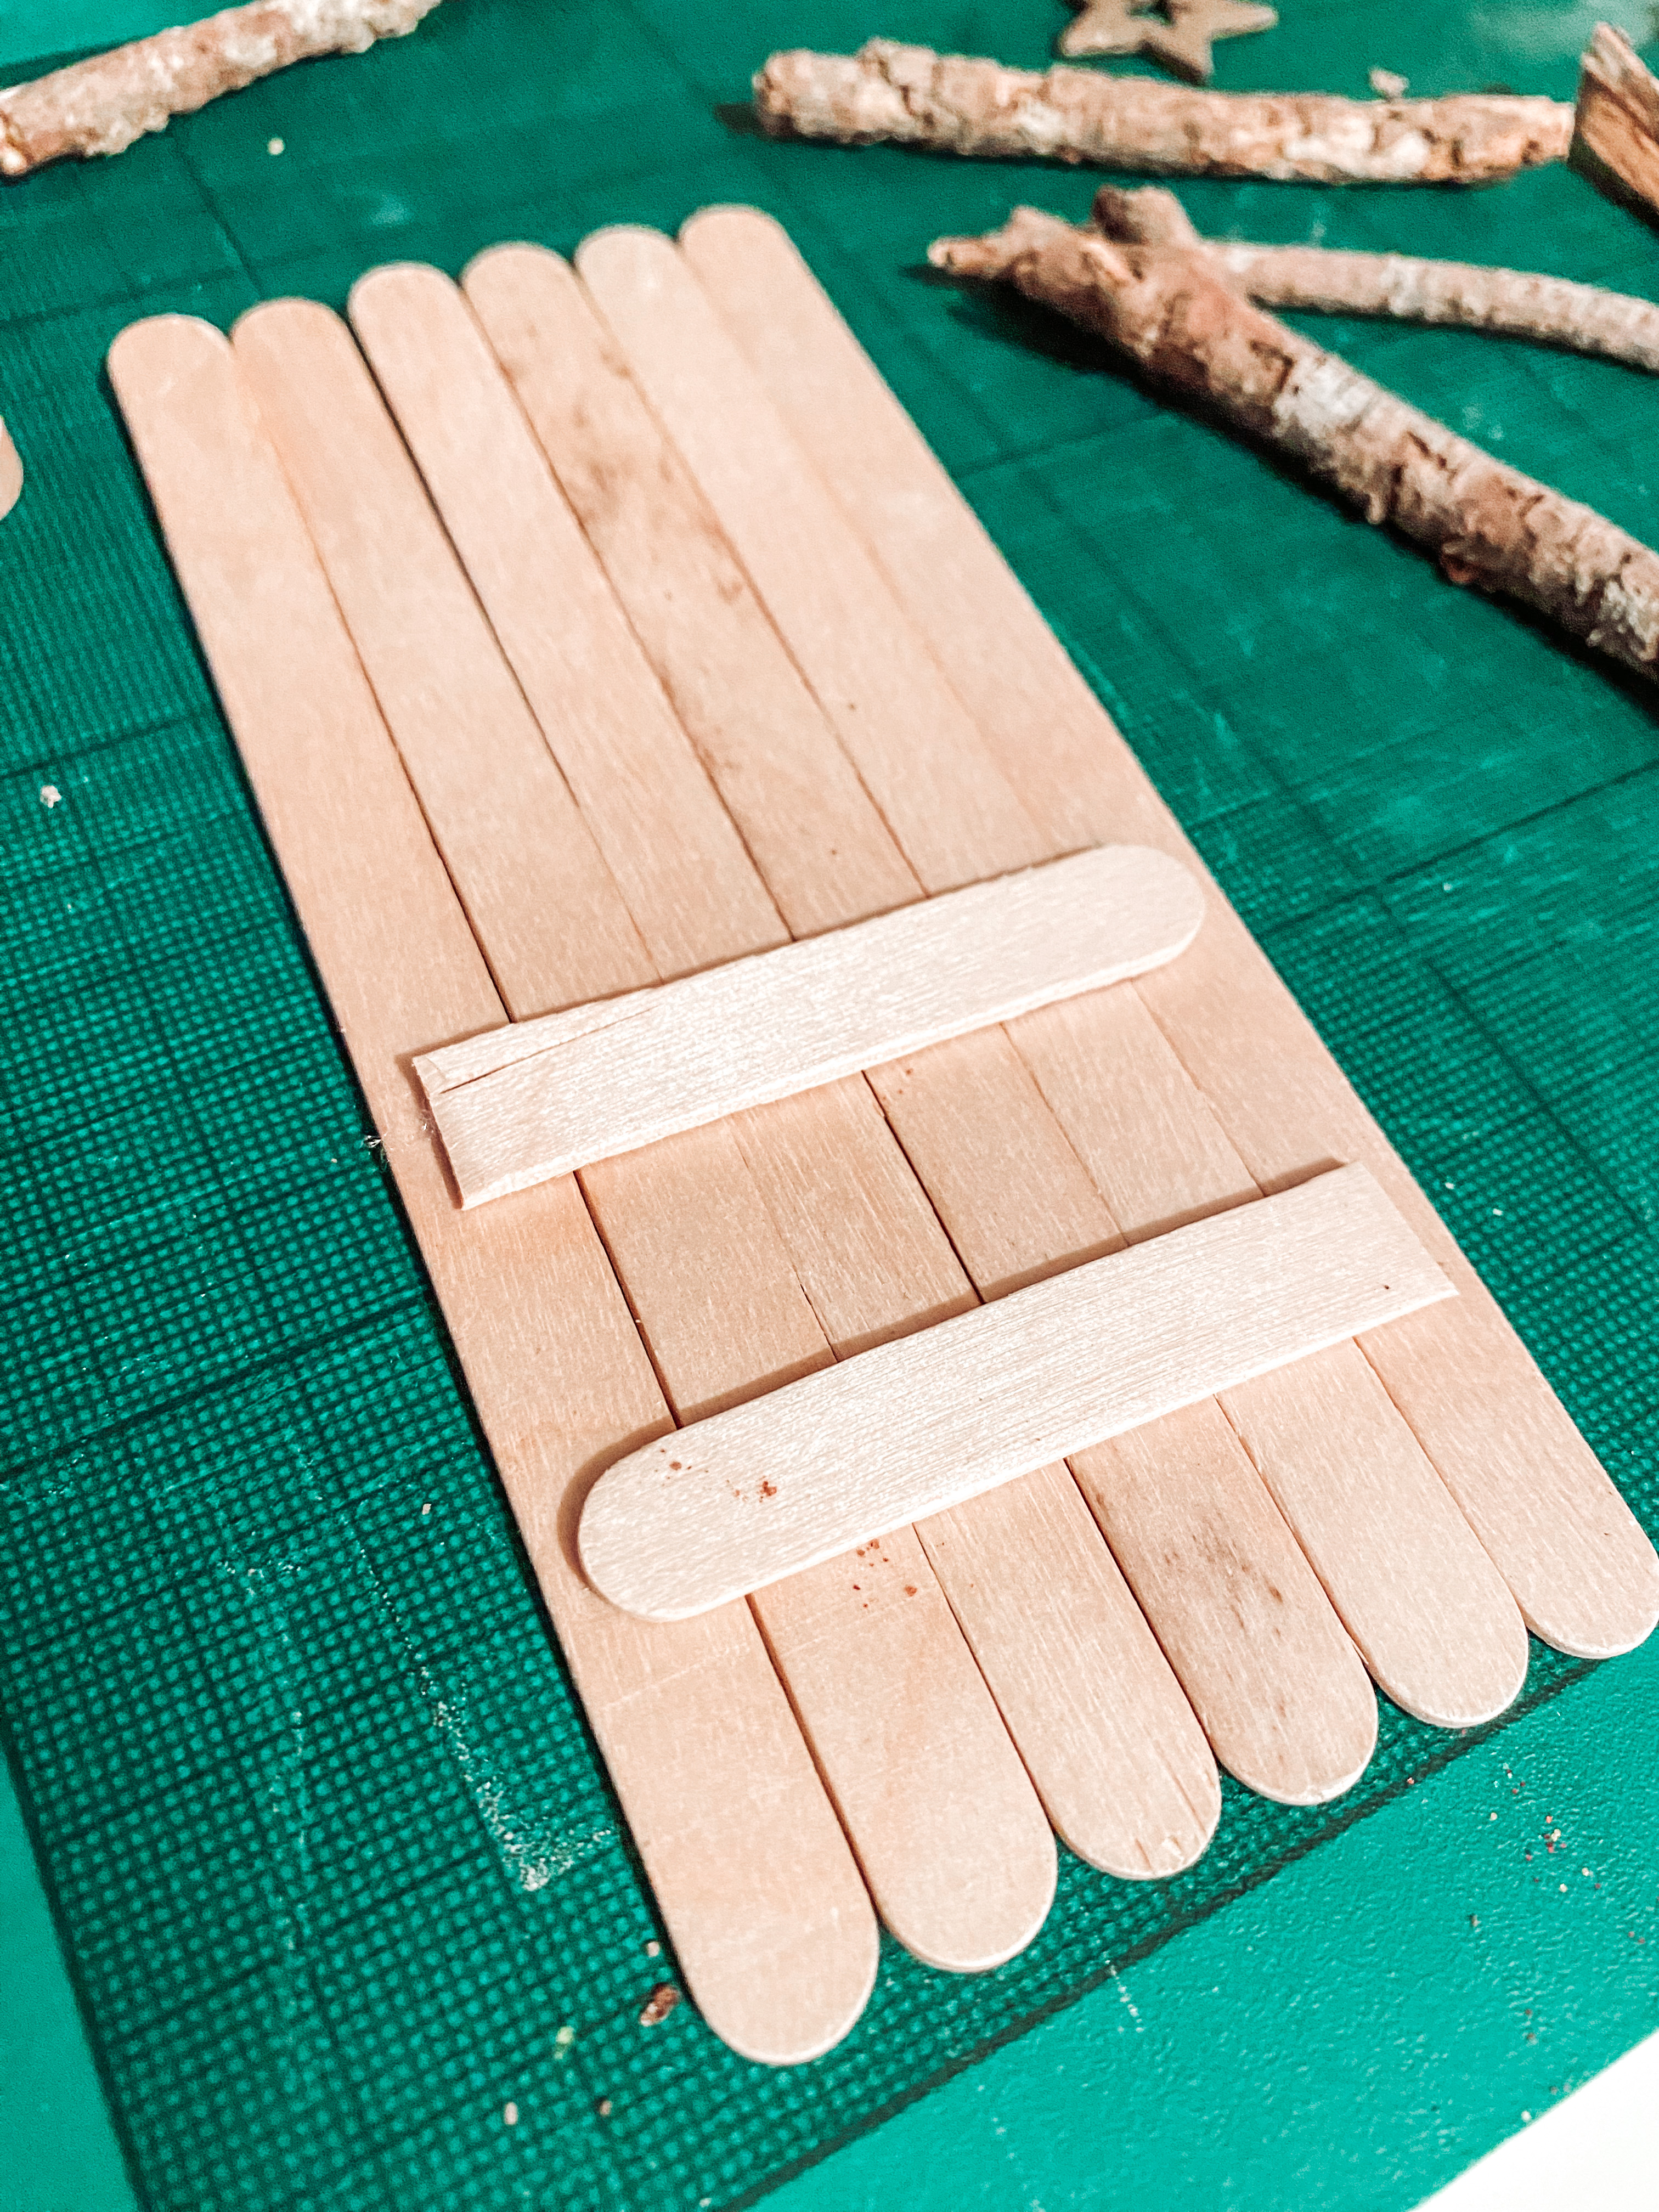
- Place your popsicle sticks side by side to create the door size you want.
- Cut a popsicle stick in half and hot glue it in the opposite direction to hold the door sticks together.
- Do the same with the other half of the popsicle stick, so you now have 2 (half) sticks reinforcing the back of the door.
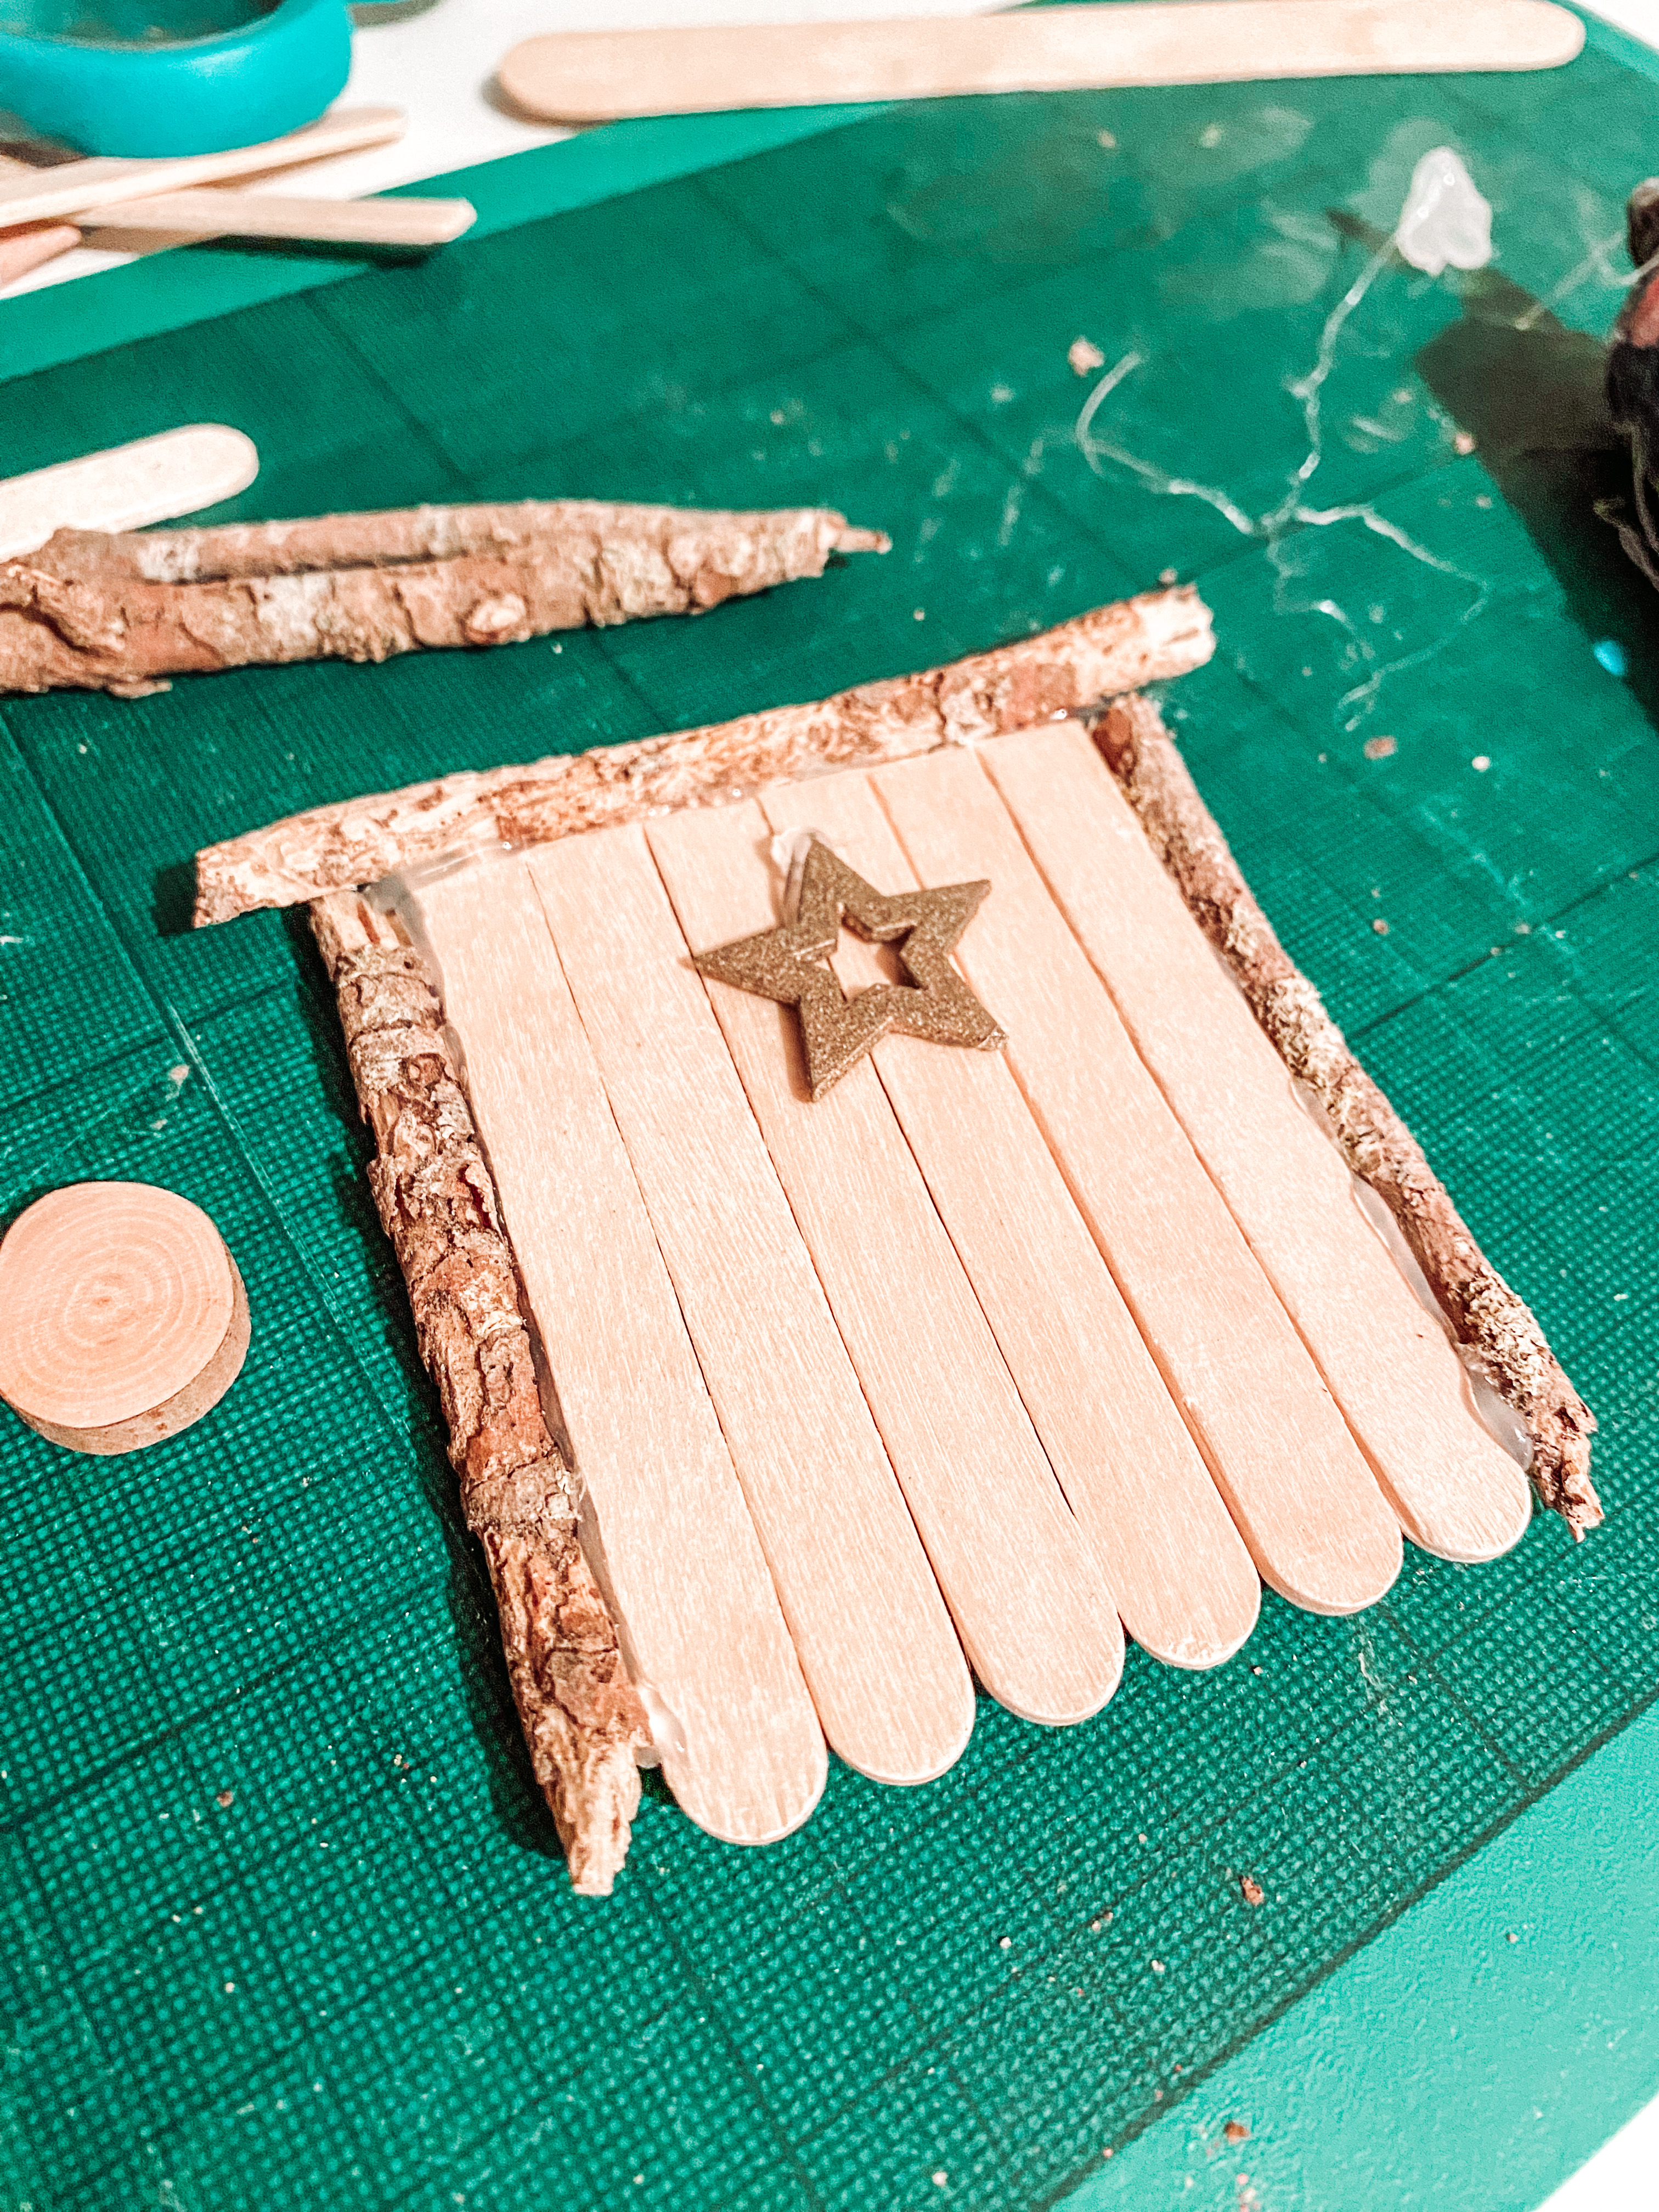
- Frame the door with scraps of twigs.
- Embellish the front of the door with any decorations such as sequins.
- Add your artificial leaves and flowers.
- Glue the base to a wider base to be able to create a stand for the door.
- Place the door against a wall or tree or in the garden and wait for the fairies to arrive ✨
I hope you enjoyed these spring craft projects I have prepared for you! They’re simple to put together, yet fun, and creative! Have fun making these with your kids!
Love,
Lorinda xxx
PS: This is where you can learn more about Lorinda and what she does at HappyPlay Co. > https://www.facebook.com/happyplayco/ and https://www.instagram.com/happyplayco/




Leave a Comment